 Figma
 API
 Web to code extension
 Adobe XD
 Discord
 Twitter
 GitHub


 Blog

Design Thinking Process: Five Stages, Examples, and a Practical Prototype Workflow9 min read
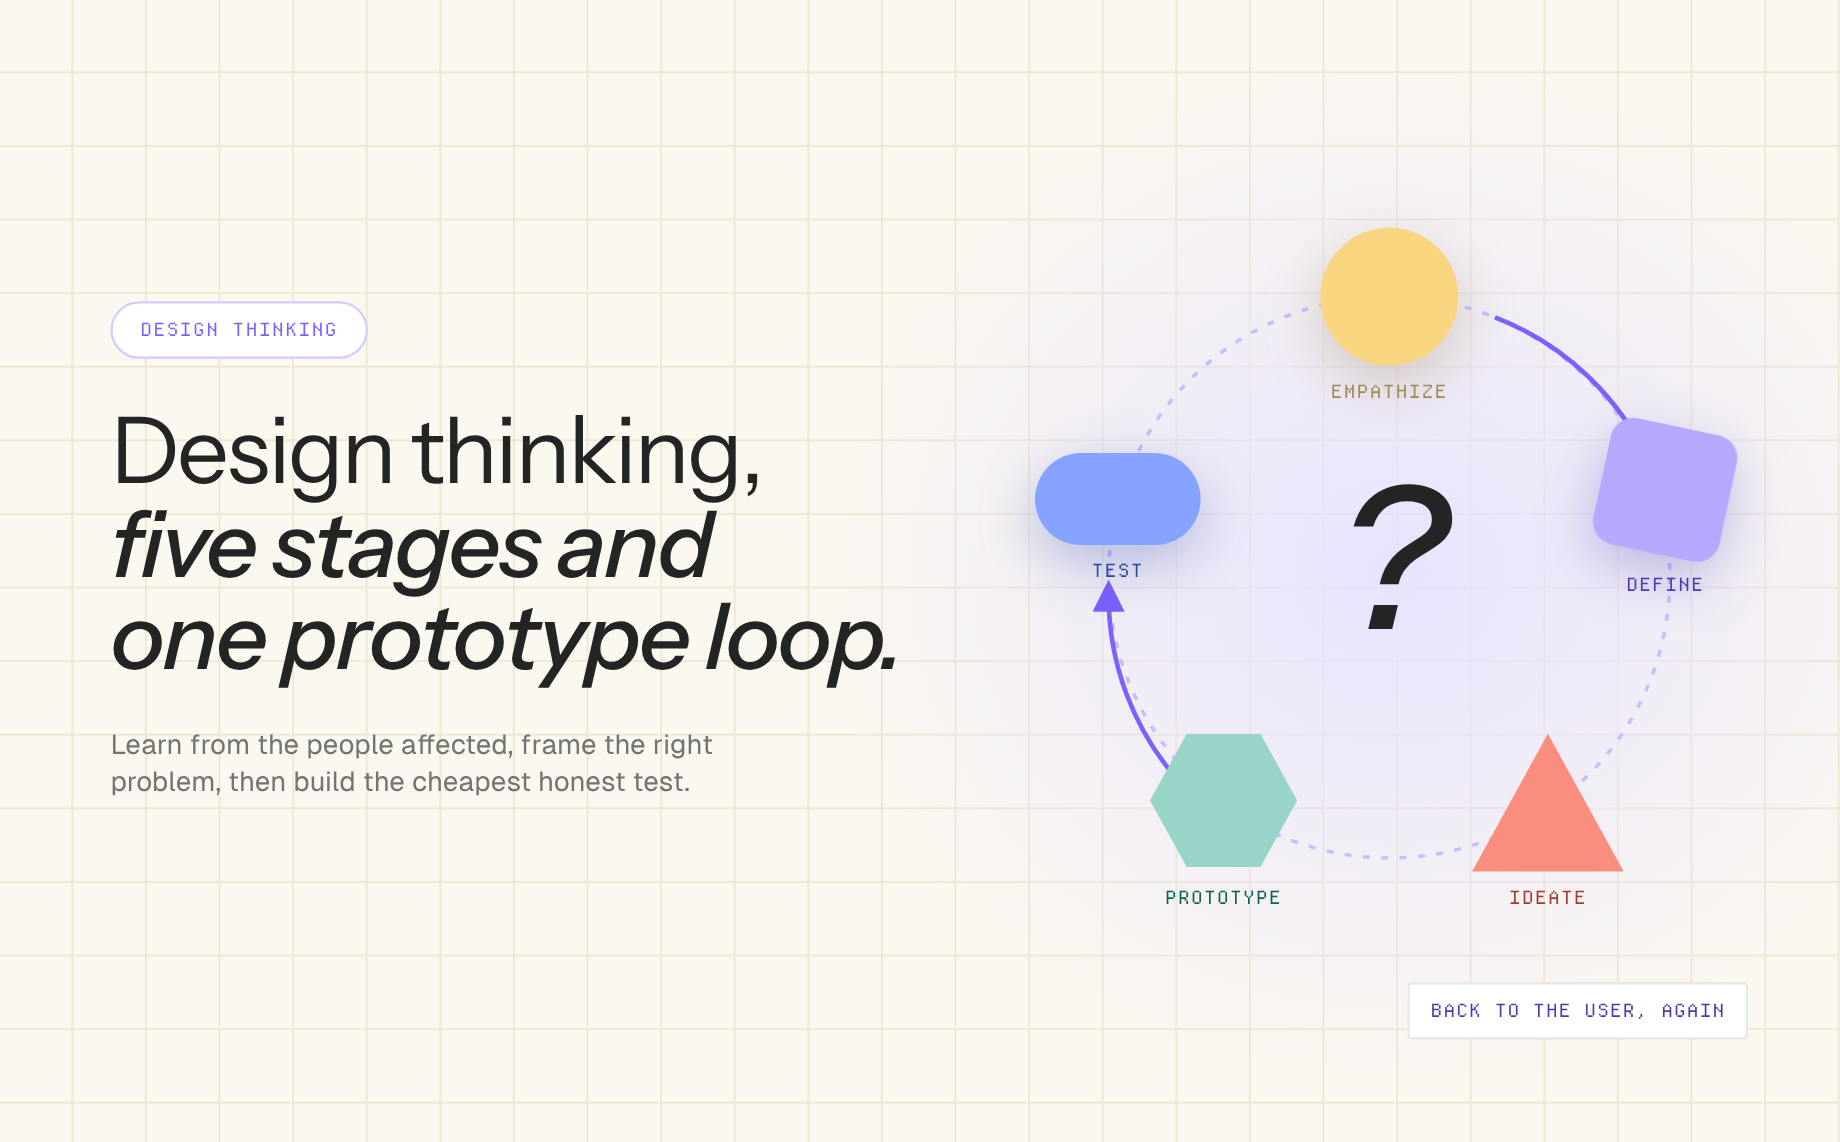
Reading Time: 6 minutesThe design thinking process is a way to solve a problem by learning from the people affected, defining the right challenge, exploring alternatives, making a testable version, and using feedback to improve it. The familiar stages are empathize, define, ideate, prototype, and test. They are a guide for making decisions, not a promise that a team can move through five neat boxes once and arrive at the answer.
If you are designing a product, service, or internal workflow, the useful question is not “Which workshop activity comes next?” It is “What do we know about the person’s problem, and what is the cheapest honest test of our proposed solution?” An interview may change the problem statement; a prototype test may send you back to research.
For digital-product teams, Anima Playground can help turn a chosen idea into an interactive web prototype that people can actually try. It belongs in the prototype-and-test part of the process, after your team has framed a user problem, not as a substitute for talking to users. Anima’s getting-started guide describes starting from a prompt, Figma design, or website URL and iterating on editable code.
Put the method into practice: write one user-centered problem statement, sketch two possible approaches, then prototype the most testable flow in Anima Playground and observe someone attempt the task.
The five stages of design thinking
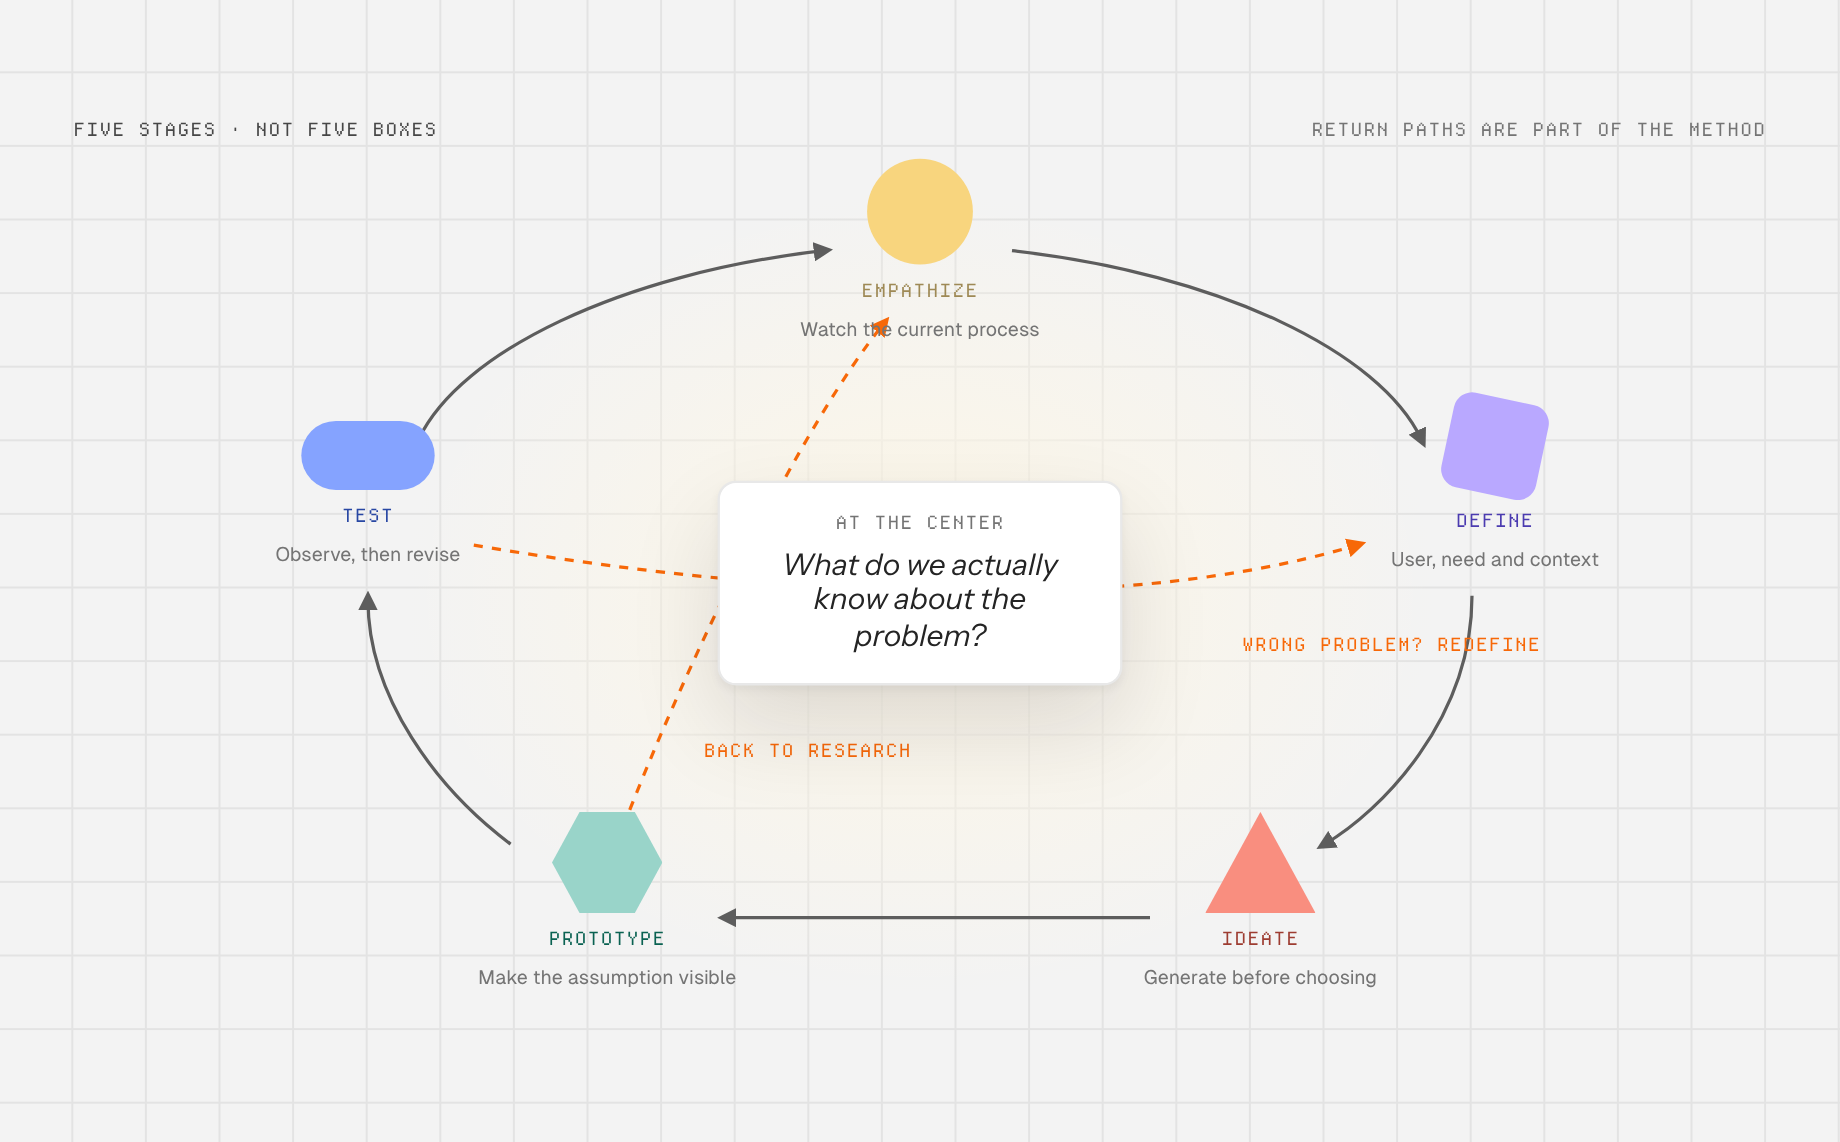
The five-stage model is helpful for teaching, but practitioners use different frameworks. IDEO explains that inspiration, synthesis, ideation and experimentation, and implementation intertwine rather than proceed as a rigid checklist. IBM’s Enterprise Design Thinking framework adds outcome-focused Hills and stakeholder Playbacks to keep larger teams aligned. Use the language that clarifies your team’s work, not the diagram that looks most official.
1. Empathize: learn what people are trying to do
Talk to the people who face the problem. Ask them to show their current process, including workarounds, handoffs, and moments of hesitation. “Walk me through the last time you did this” usually reveals more than “Would you use a new app?” Nielsen Norman Group’s user-interview guide recommends asking about specific recent experiences and using open-ended questions. Record observed behavior separately from what participants predict they would do in the future.
Consider a hypothetical clinic that believes patients need a prettier appointment calendar. Suppose interviews reveal that people first struggle to understand which visit type to choose. The immediate problem may be decision support, not calendar styling. An empathy artifact could be a short journey map with moments, quotes, and unanswered questions, with personal details removed.
2. Define: turn observations into a focused problem
Synthesize the research into a statement that names a user, their need, and the context. For example: “First-time patients need to understand which appointment type fits their concern before they pick a time, because the current labels assume clinical knowledge.” This leaves room for different solutions. “Build a chatbot” is a proposed implementation, not a problem definition.
Keep the evidence beside the statement: which interviews or support tickets support it, and where the evidence is thin. Write one success measure that reflects the user’s outcome, such as choosing a suitable visit type without staff intervention, rather than merely counting page views.
3. Ideate: generate alternatives before selecting one
Set a short, specific prompt: “How might we help a first-time patient choose a visit type confidently?” Generate options individually before discussing them as a group. Possibilities could include plain-language cards, a question-led chooser, example scenarios, or a callback option. Combine promising elements only after you have surfaced genuine differences.
Use a simple matrix to rank ideas by user value, feasibility, and what you can learn quickly. Do not allow the most polished sketch to win by default. A deliberately rough alternative often reveals a more important design assumption than a near-finished screen.
4. Prototype: make the assumption visible
Choose the lowest-fidelity artifact that can answer the current question. A paper script may suffice to test wording. A clickable flow helps test navigation and comprehension. A working web prototype is useful when validation depends on form behavior, responsiveness, or what happens after submission.
For the clinic example, build only the visit-type decision and confirmation flow. Show three plain-language options, explain what each covers, and let the person continue to a sample time slot. Do not spend the first round designing account settings, dashboards, or animations. The prototype should expose the risky assumption: can someone choose correctly with the information shown?
5. Test: observe behavior and revise
Give a participant a scenario without coaching: “You have a new concern and want to book the right first appointment. Show me what you would do.” Note their first click, hesitations, mistaken interpretations, and whether they can recover. Ask what they expected before explaining the design. Do not use a leading question such as “Was that easy?”
After each session, sort findings into wording problems, missing information, navigation problems, and hypotheses that need more research. Decide whether to revise the prototype, try another concept, or revisit the original problem statement. A failed test is useful if it changes a decision early enough to matter.
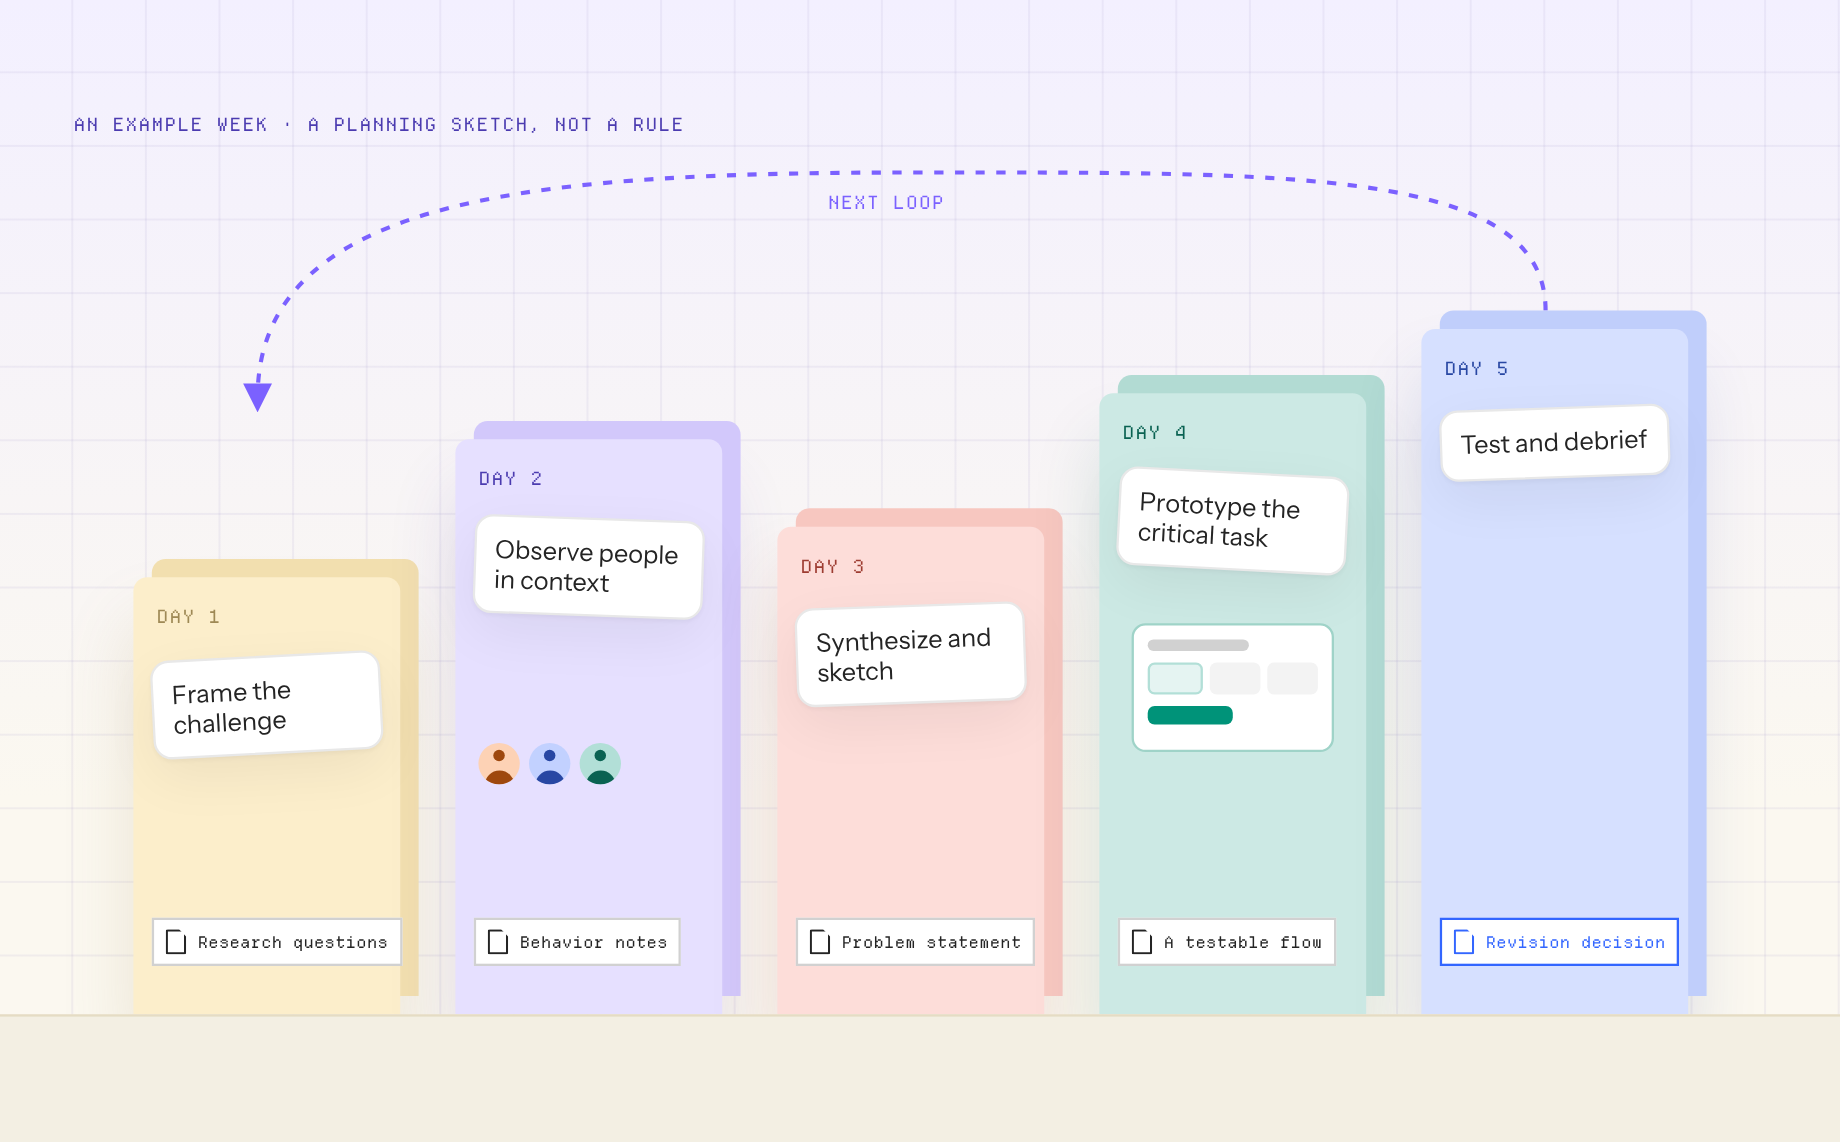
A one-week design thinking process for a product team
| When | Activity | Decision or output |
|---|---|---|
| Day 1 | Frame the challenge and review existing evidence | Research questions and recruiting criteria |
| Day 2 | Observe or interview users in context | Behavior notes, quotes, and unknowns |
| Day 3 | Synthesize and sketch competing concepts | Problem statement and selected assumption |
| Day 4 | Prototype the critical task | A testable flow, not a complete product |
| Day 5 | Run task-based sessions and debrief | Evidence, revision decision, next owner |
This is a planning example, not a universal schedule. If your team cannot recruit people with the relevant experience, delay confidence claims. Use support calls, existing recordings, or field observations as interim evidence, and label them accordingly. The Stanford d.school Design Thinking Bootleg offers practice tools for the five modes, but a workshop is not a substitute for relevant participants.
How to turn a design thinking idea into an interactive prototype
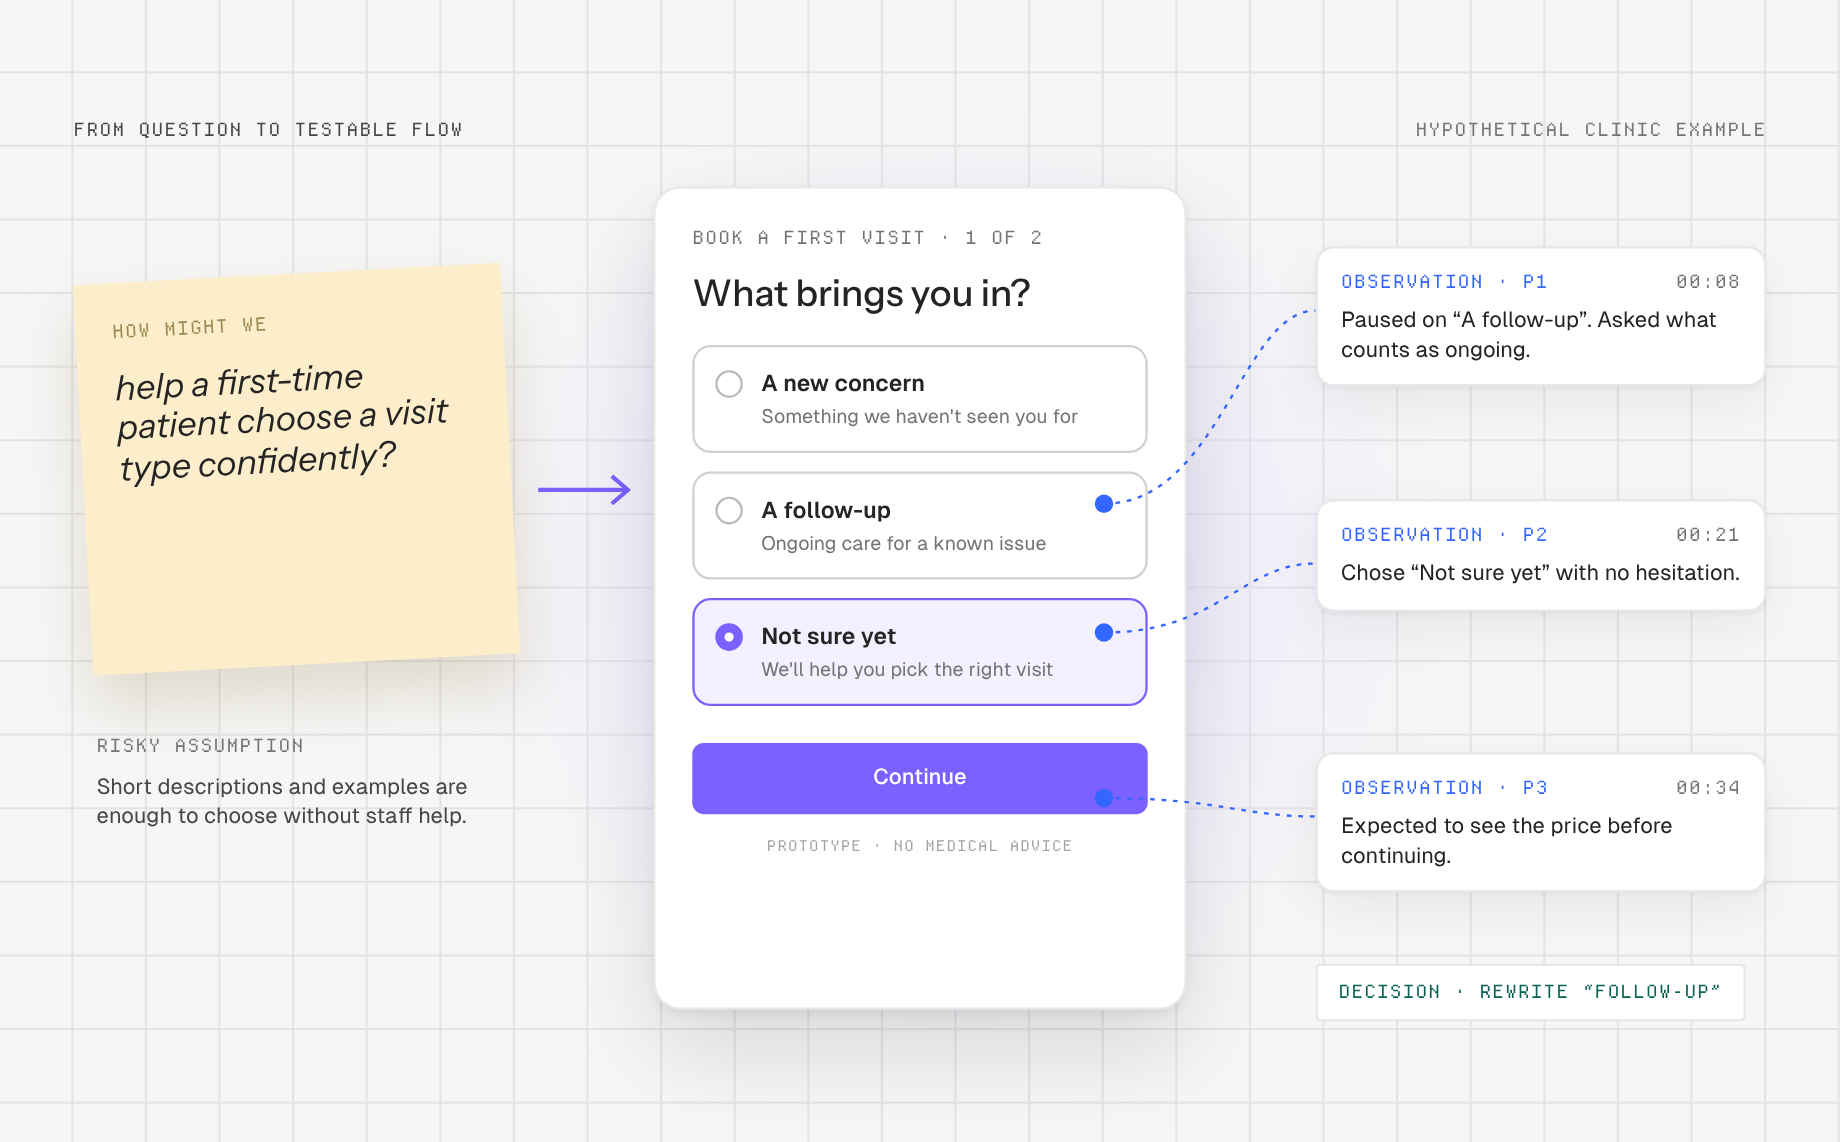
- Write the outcome, not a screen list. State the user, the task, and the uncertainty: “Help a first-time patient choose a suitable visit type without staff help. Test whether short descriptions and examples are enough.”
- Choose one entry path. Start from a prompt in Anima Playground, or bring an existing Figma design if the visual system already exists. Avoid importing unrelated screens simply because they are ready.
- Plan the flow before generating it. Anima’s Plan Mode supports discussing steps before writing code. Ask for an entry screen, choice cards, explanation state, and confirmation, with no invented medical advice.
- Inspect the rendered behavior. Test the primary path, a wrong selection, back navigation, mobile width, and readable labels. Fix issues that would invalidate the user test, then stop polishing.
- Share the test artifact intentionally. Give testers an appropriate preview or a deliberately published version. Anima’s publish guide distinguishes deploying a site and updating that deployed version. Check privacy and consent before placing any participant data in a prototype.
After the test, write the observed result beside the prototype: task completion, wrong turns, participant language, and the decision to keep, revise, or abandon the concept. The prototype is evidence-generating equipment, not evidence by itself. If you need a designer to continue refining the visual system, keep the design artifact and code handoff connected rather than treating the first generated screen as a final design.
What design thinking is not
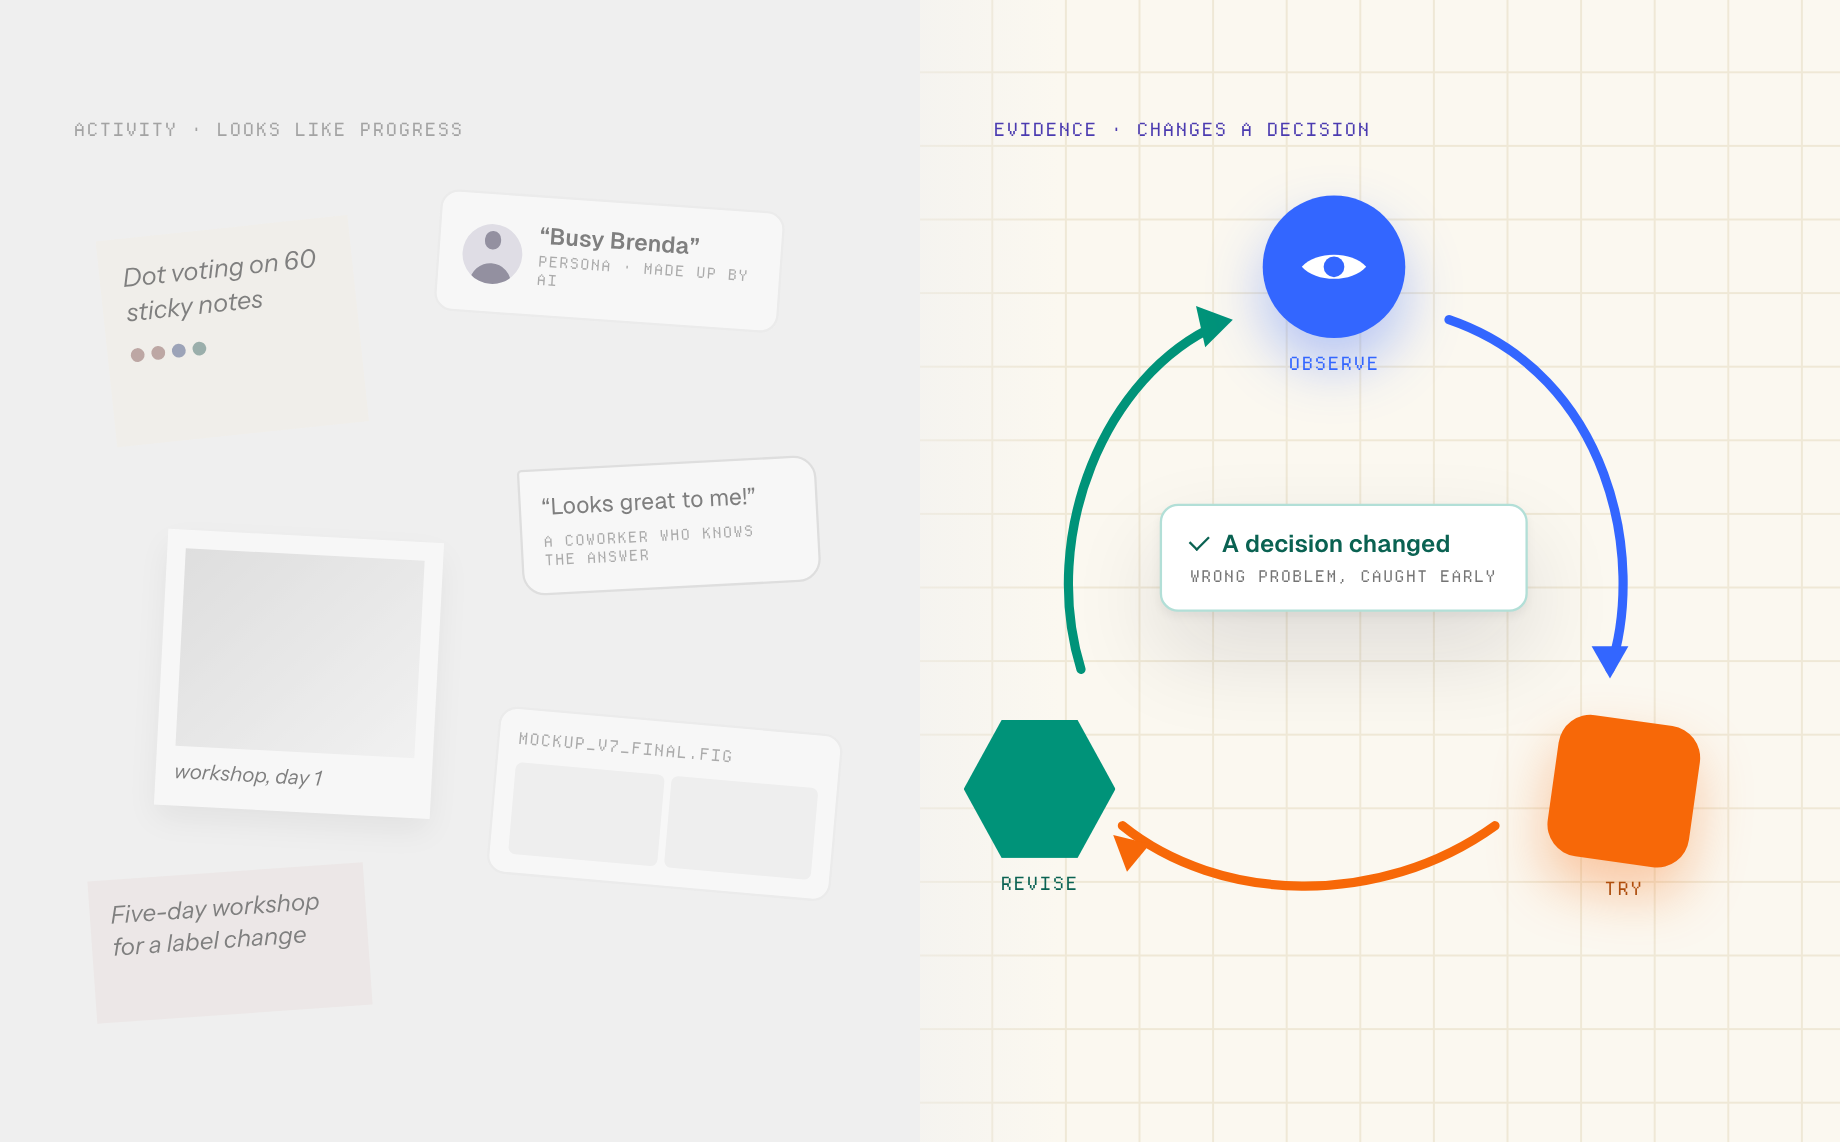
It is not a mandate to run a five-day workshop on every minor interface change. It is not permission to ignore engineering constraints or accessibility until the end. It is not validation when a team shows its favorite mockup to coworkers who already know the intended answer. And it is not the same as asking AI to invent a user persona and calling that user research.
Use actual evidence, make assumptions explicit, and select the smallest test that can disprove a consequential assumption. IBM’s focus on user outcomes and Playbacks is a useful reminder that a design process needs both discovery and decisions shared across the team. The exact stage names matter less than the discipline of returning to the user.
Frequently asked questions
Is design thinking linear?
No. You may prototype to learn which question to ask in the next interview, or test a concept and discover that you defined the wrong problem. Record why you moved backward so the iteration is learning rather than churn.
Do I need a high-fidelity prototype?
Only if the question depends on realistic interaction or visual detail. Paper, text, and clickable wireframes can answer many early questions. Build a working prototype when behavior is part of the assumption you need to test.
How do I know whether the process worked?
Look for a decision that changed because of evidence: a better-framed problem, a rejected concept, a more understandable flow, or an identified risk before launch. Measure the user’s task outcome, not the number of sticky notes or screens produced.
Start with a question you can test
Choose a real task, talk with the people who perform it, and write down the assumption that could make your solution fail. Sketch alternatives, build only enough to test that assumption, and observe before you defend the design. When an interactive web flow is the right test, use Anima Playground to prototype it, then iterate from what people actually do.