 Figma
 API
 Web to code extension
 Adobe XD
 Discord
 Twitter
 GitHub


 Blog

How to Publish a Website With Kimi Build (Powered by K3)10 min read
Reading Time: 7 minutesTo publish a website with Kimi Build, describe the site in the Build workspace, inspect its preview, click Publish, then test the public ok.kimi.link address. Kimi Build is the website-building product, powered by the Kimi K3 model; K3 is not itself a hosting destination. The preview is for editing, while publishing creates a link others can access under the sharing settings you choose.
Need other people to review it? Set up an AgentGrid.io handoff with the brief and approval notes while Kimi handles building and hosting.
How to publish a website with Kimi Build and AgentGrid.io
1. Establish the AgentGrid workspace for a Kimi Build project
Kimi Build, powered by Kimi K3, generates a site in its own preview and can deploy it on Kimi’s hosting. Before making a second copy, sign in at app.agentgrid.io, choose the team, and select a workspace with the intended audience. AgentGrid’s quickstart explains that workspace grants, not merely a team name, determine who can reach an artifact. Label the AgentGrid copy separately from the Kimi preview or ok.kimi.link site. Do not mistake Kimi’s version card or public link for an AgentGrid artifact. The snapshot does not synchronize.
2. Connect a helper only if the next edit requires one
If a cloud agent or script needs advance access, invite it through AgentGrid agent administration. Interactive coding agents usually self-connect with the CLI. Select the destination workspace, assign a recognizable name, and give Read and Write only if required. Give Share or Publish only for an explicitly authorized sharing or deployment task. Pass the one-time connection material to the agent and verify the connection; creating the invitation does not give Kimi direct access to the artifact. The invite guide describes the workflow. If you will import the files and edit them yourself, no agent invitation is necessary. Kimi Build does not edit that copy.
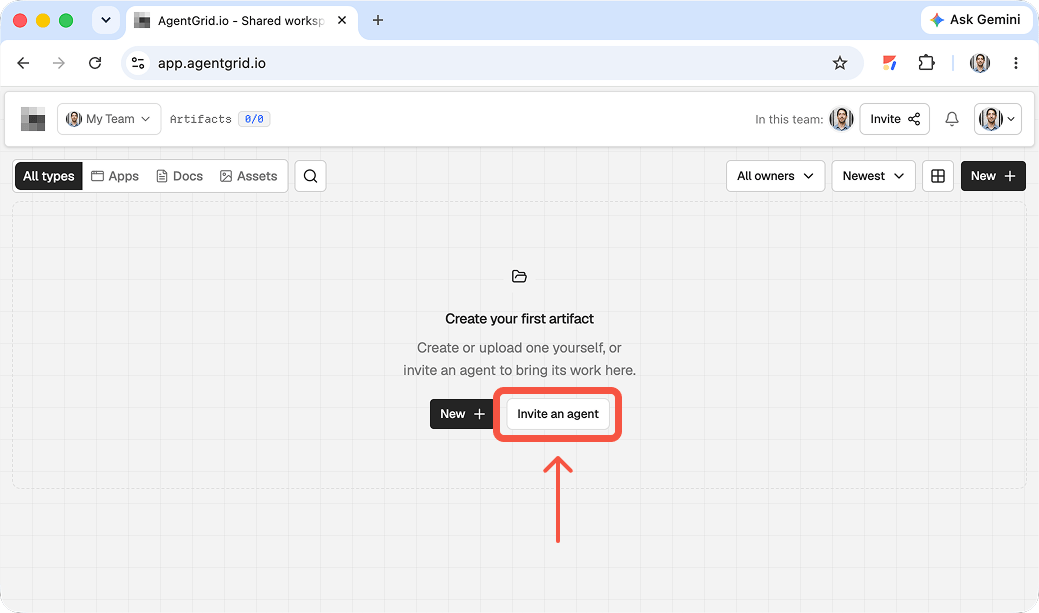
3. Download the project, then examine the import
In Kimi Build, inspect the preview and version card, then download the complete project files through its file/download control. Kimi’s Build guide documents code export, including frontend and backend files, and the difference between preview and publishing. Remove secrets and generated dependency/build folders from the package. Select New → Upload Folder or New → Import from ZIP in AgentGrid, choose app, and check the new artifact’s entry point, assets, and rendered behavior. AgentGrid’s import guide explains that a folder or ZIP is copied, not synchronized. Important: Kimi-hosted account login and cloud database do not move with downloaded code. If the project uses either, plan an independent authentication and data migration before calling the AgentGrid copy functional. A static landing page is a simpler first test than a full-stack app with platform services.
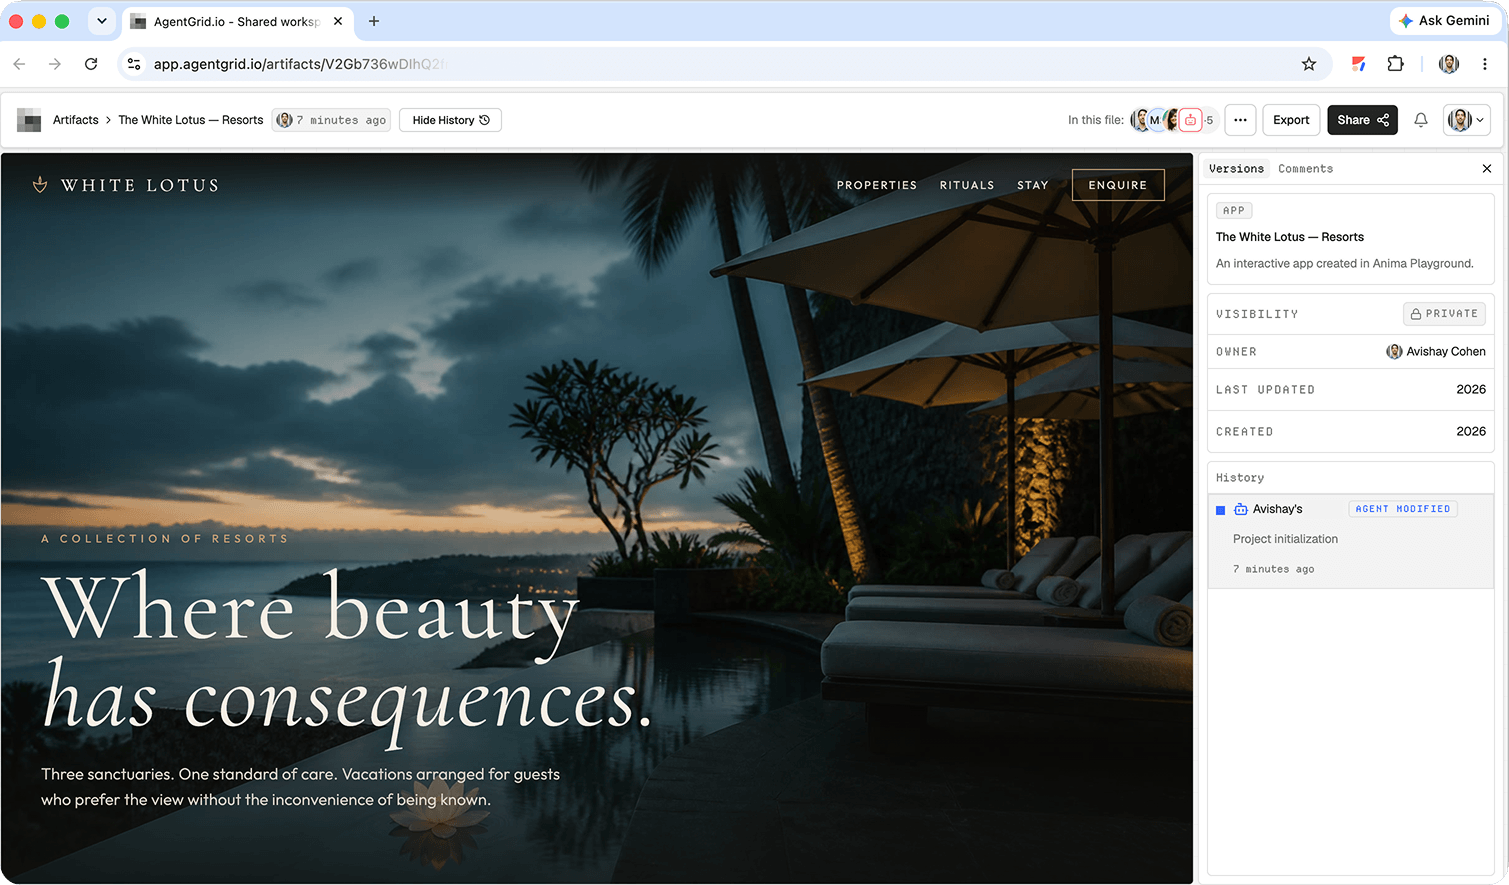
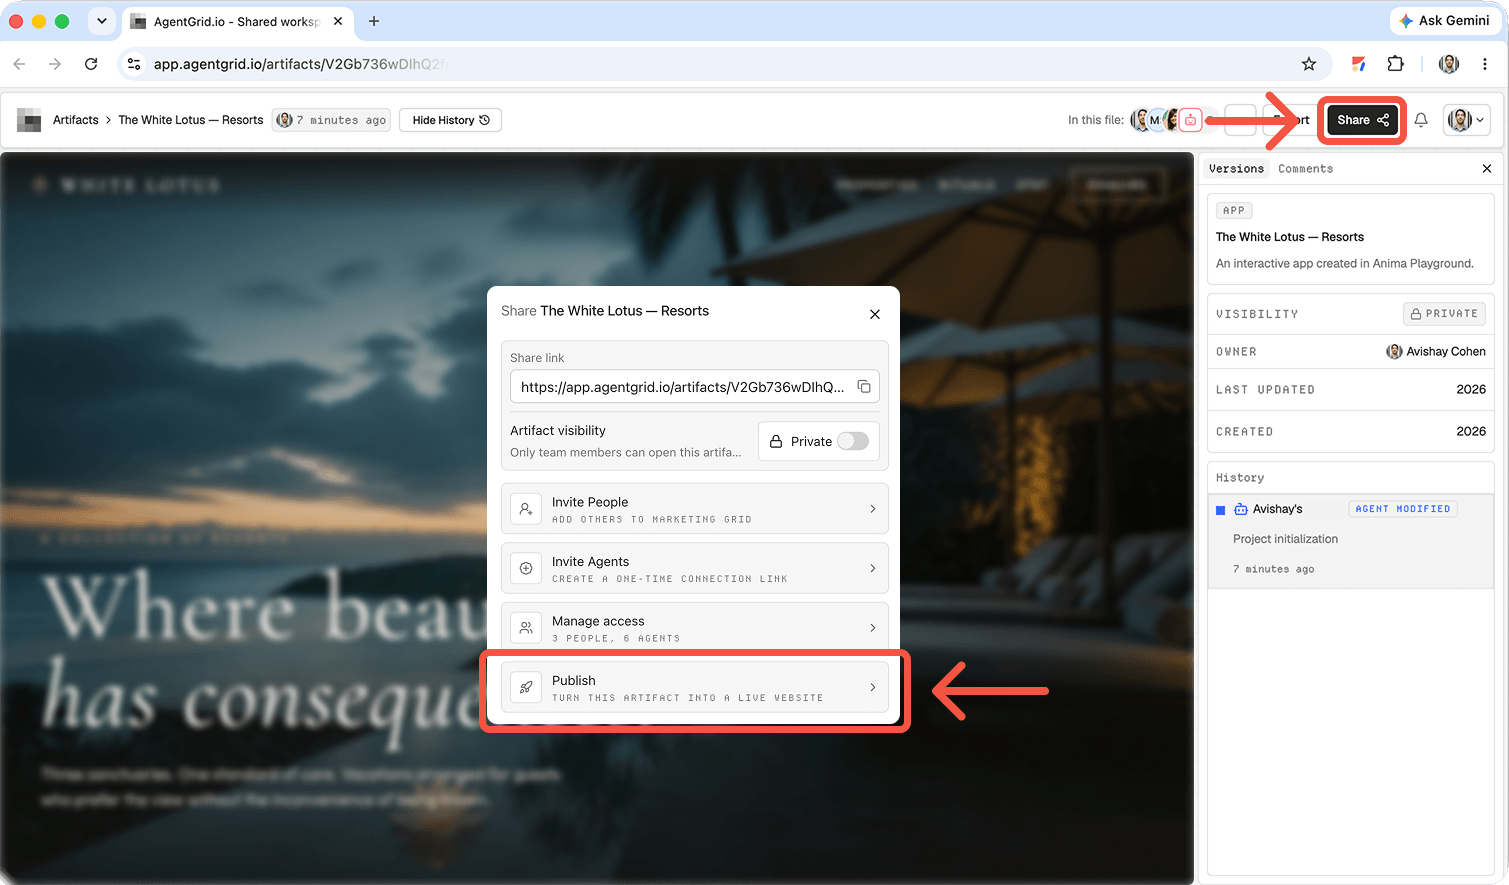
4. Keep preview, private share, and public site distinct
Kimi’s own Publish action deploys the Kimi site; its Share panel can provide the Kimi URL and its update-publication control. Those actions do not deploy the imported AgentGrid artifact. In AgentGrid, use Share to copy a private artifact link for people who have the needed workspace access. If you have publish permission and want a separate public AgentGrid page, use its publish control only after testing the imported result, then visit the public URL. AgentGrid’s share and publish guides separate the two actions. Later edits in either service require you to update the intended copy and republish there as appropriate. Label each link by host.
What Kimi Build can publish
The official Kimi Build guide describes a full-stack website builder inside Kimi Agent. It can start from a text request, design screenshot, or template; create a preview; iterate through conversation or visual annotations; and deploy a site when you manually click Publish. It also documents a database, login capabilities, version history, and a downloadable project package. Those capabilities do not mean every generated site automatically has a working backend. State the required data, authentication, and actions explicitly, then test them.
Choose a first visitor task before generating. For a ceramics studio, that could be finding the next beginner class and opening its verified booking service. Supply the real copy, price, dates, photos, and destination rather than allowing plausible placeholders to slip into a published page. Start with a small page even if the builder can support a larger app.
How to publish a website with Kimi Build, step by step
1. Open Build and describe the result
Visit Kimi Build and sign in if needed. The help center describes text input, visual reference upload, and preset templates as starting points. Select the route that matches your material: text for a clear brief, a permitted design mockup for visual fidelity, or a template when your structure is conventional. Do not mistake an ordinary chat answer containing code for a published Build project.
Example prompt: “Build a responsive ceramics studio landing page with class schedule, instructor bios, location, and Book a class action linked to [approved booking URL]. Use the logo and photos I provide. Do not invent class dates, prices, testimonials, or a checkout. Show desktop and mobile previews and flag any missing content before publication.”
Replace the bracketed URL and attach authorized assets. If the project truly needs a signup system, specify the fields, consent language, storage behavior, and who will receive the data. Kimi’s full-stack feature set can support more than a static page, but a visually convincing signup field is not evidence that submissions are saved or delivered.
2. Inspect the preview and revise the right version
Use the preview panel’s desktop/mobile toggle and full-screen view. Read the page from top to bottom, then check narrow widths, navigation, buttons, image crops, heading hierarchy, and contrast. Kimi’s guide identifies Preview/Code, Edit, Publish, Share, and version cards as separate controls. Use Edit to annotate a specific region, or ask for a focused conversational change. For example: “Keep the layout. Replace only the schedule with these approved dates and fix the button destination.”
Version cards help compare iterations and restore an earlier version when a revision harms the page. A rollback in the editor still needs to be checked against the published version. If a form or login is required, test it with a safe account or test submission and confirm the data appears where you expect. Do not rely on the appearance of a success state.
3. Click Publish and review sharing
When the page is ready, click Publish in the preview toolbar. Kimi’s help center says an unpublished site is only available for preview; manual publication deploys it to a public address. In the sharing panel, copy the URL, open the website, and, if appropriate, customize the ok.kimi.link subdomain. Review whether the site is public or private before sending the link. The Share menu also offers Unpublish if you need to take the website offline.
The hosted URL is not an exported ZIP. Kimi documents project export for self-managed deployment, but platform-managed Kimi login and cloud database data do not migrate with that code. You would need to replace the login method and move data into your own database. Choose a separate host only if your team can review and operate that backend configuration.
4. Test the public page as a visitor
Open the published address in a fresh browser session, ideally while signed out. Check that the page is reachable to the intended audience, each button goes to its approved destination, mobile navigation works, and images load. Read page title and description, then test any real signup or booking flow end to end. After later edits, use Update when the share panel indicates a new version is available and verify the actual public URL again.
Record which version you reviewed, the published link, the approver, and unresolved issues. If the site contains user data, clarify who owns the project and how submissions will be monitored before sending traffic to it.
Website SEO and launch checks that generation cannot skip
- Search intent: make the title, H1, and first paragraph explain the offer in the language customers use, not a list of generic AI-written slogans.
- Content accuracy: check every date, price, location, claim, and testimonial against approved records.
- Access and function: test public visibility, keyboard navigation, mobile layout, and the main conversion path.
- Ownership: keep a note of the project, live URL, version, domain or subdomain, and how to reverse a bad change.
A public link makes the page accessible, not automatically discoverable or persuasive. Publish only after a person has tested the task the visitor is meant to complete.
Give the next contributor more than a URL
A Kimi Build link is useful for feedback on the page. A team also needs the original brief, content approvals, asset rights, tested actions, current version, and open issues. Add those to an AgentGrid.io artifact. This is a manual shared-workflow pattern, not an assertion that AgentGrid.io automatically imports or synchronizes Kimi projects.
For another AI website route, see the Muse AI website guide. If you begin with a visual concept, read how to publish a Claude Design website. For agent-led design-to-code publishing, see how agents use Anima to design and publish apps.
Troubleshooting Kimi Build publication
The preview works but the link is not public
Check that you clicked Publish rather than copying a preview or chat URL. Open the address from the sharing panel in a signed-out session. Review privacy settings if another person still cannot access it.
A form or login fails after launch
Check whether you explicitly requested the backend behavior and whether the preview’s full-stack sandbox needed to be started. Test storage and authentication on the published version, not merely the visual frontend. Narrow the bug report to the failing action and expected result.
The live version does not show your latest changes
Use the version cards to confirm which version contains your correction. If the share panel offers Update for a new version, apply it, then open the public link again. Do not treat a successful preview revision as proof of live deployment.
FAQ
Is Kimi K3 the same as Kimi Build?
No. K3 is the model powering the Kimi Build experience; Build is the product workflow with preview, editing, publishing, and sharing controls.
Does Kimi Build host a live website?
Yes. Its official guide describes manual one-click publishing to a publicly reachable address. Check the actual link and privacy state before sharing.
Can I customize the address or take the site offline?
Kimi documents a customizable ok.kimi.link subdomain and Unpublish in the sharing menu. Confirm the final address after editing it, and test that unpublishing changes public access if you use that control.
Can I deploy the project elsewhere?
Kimi documents downloading the full project package for self-managed deployment. An external host requires its own configuration and testing; export is not the same as publishing to that host.
Next step: Publish the checked Kimi Build version, then record the next iteration in AgentGrid.io.