Blog
Blog
Figma에서 Tailwind CSS 추출하기2 min read
Reading Time: 3 minutesFigma에서 Tailwind CSS를 내보내고 계속 빌드하기
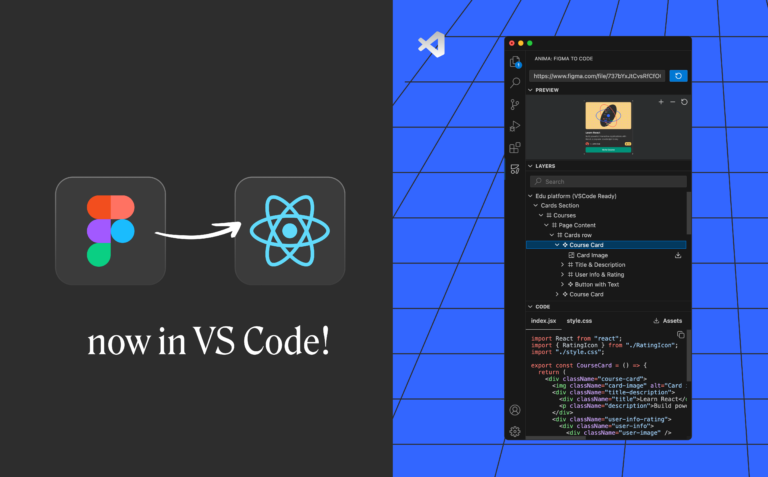
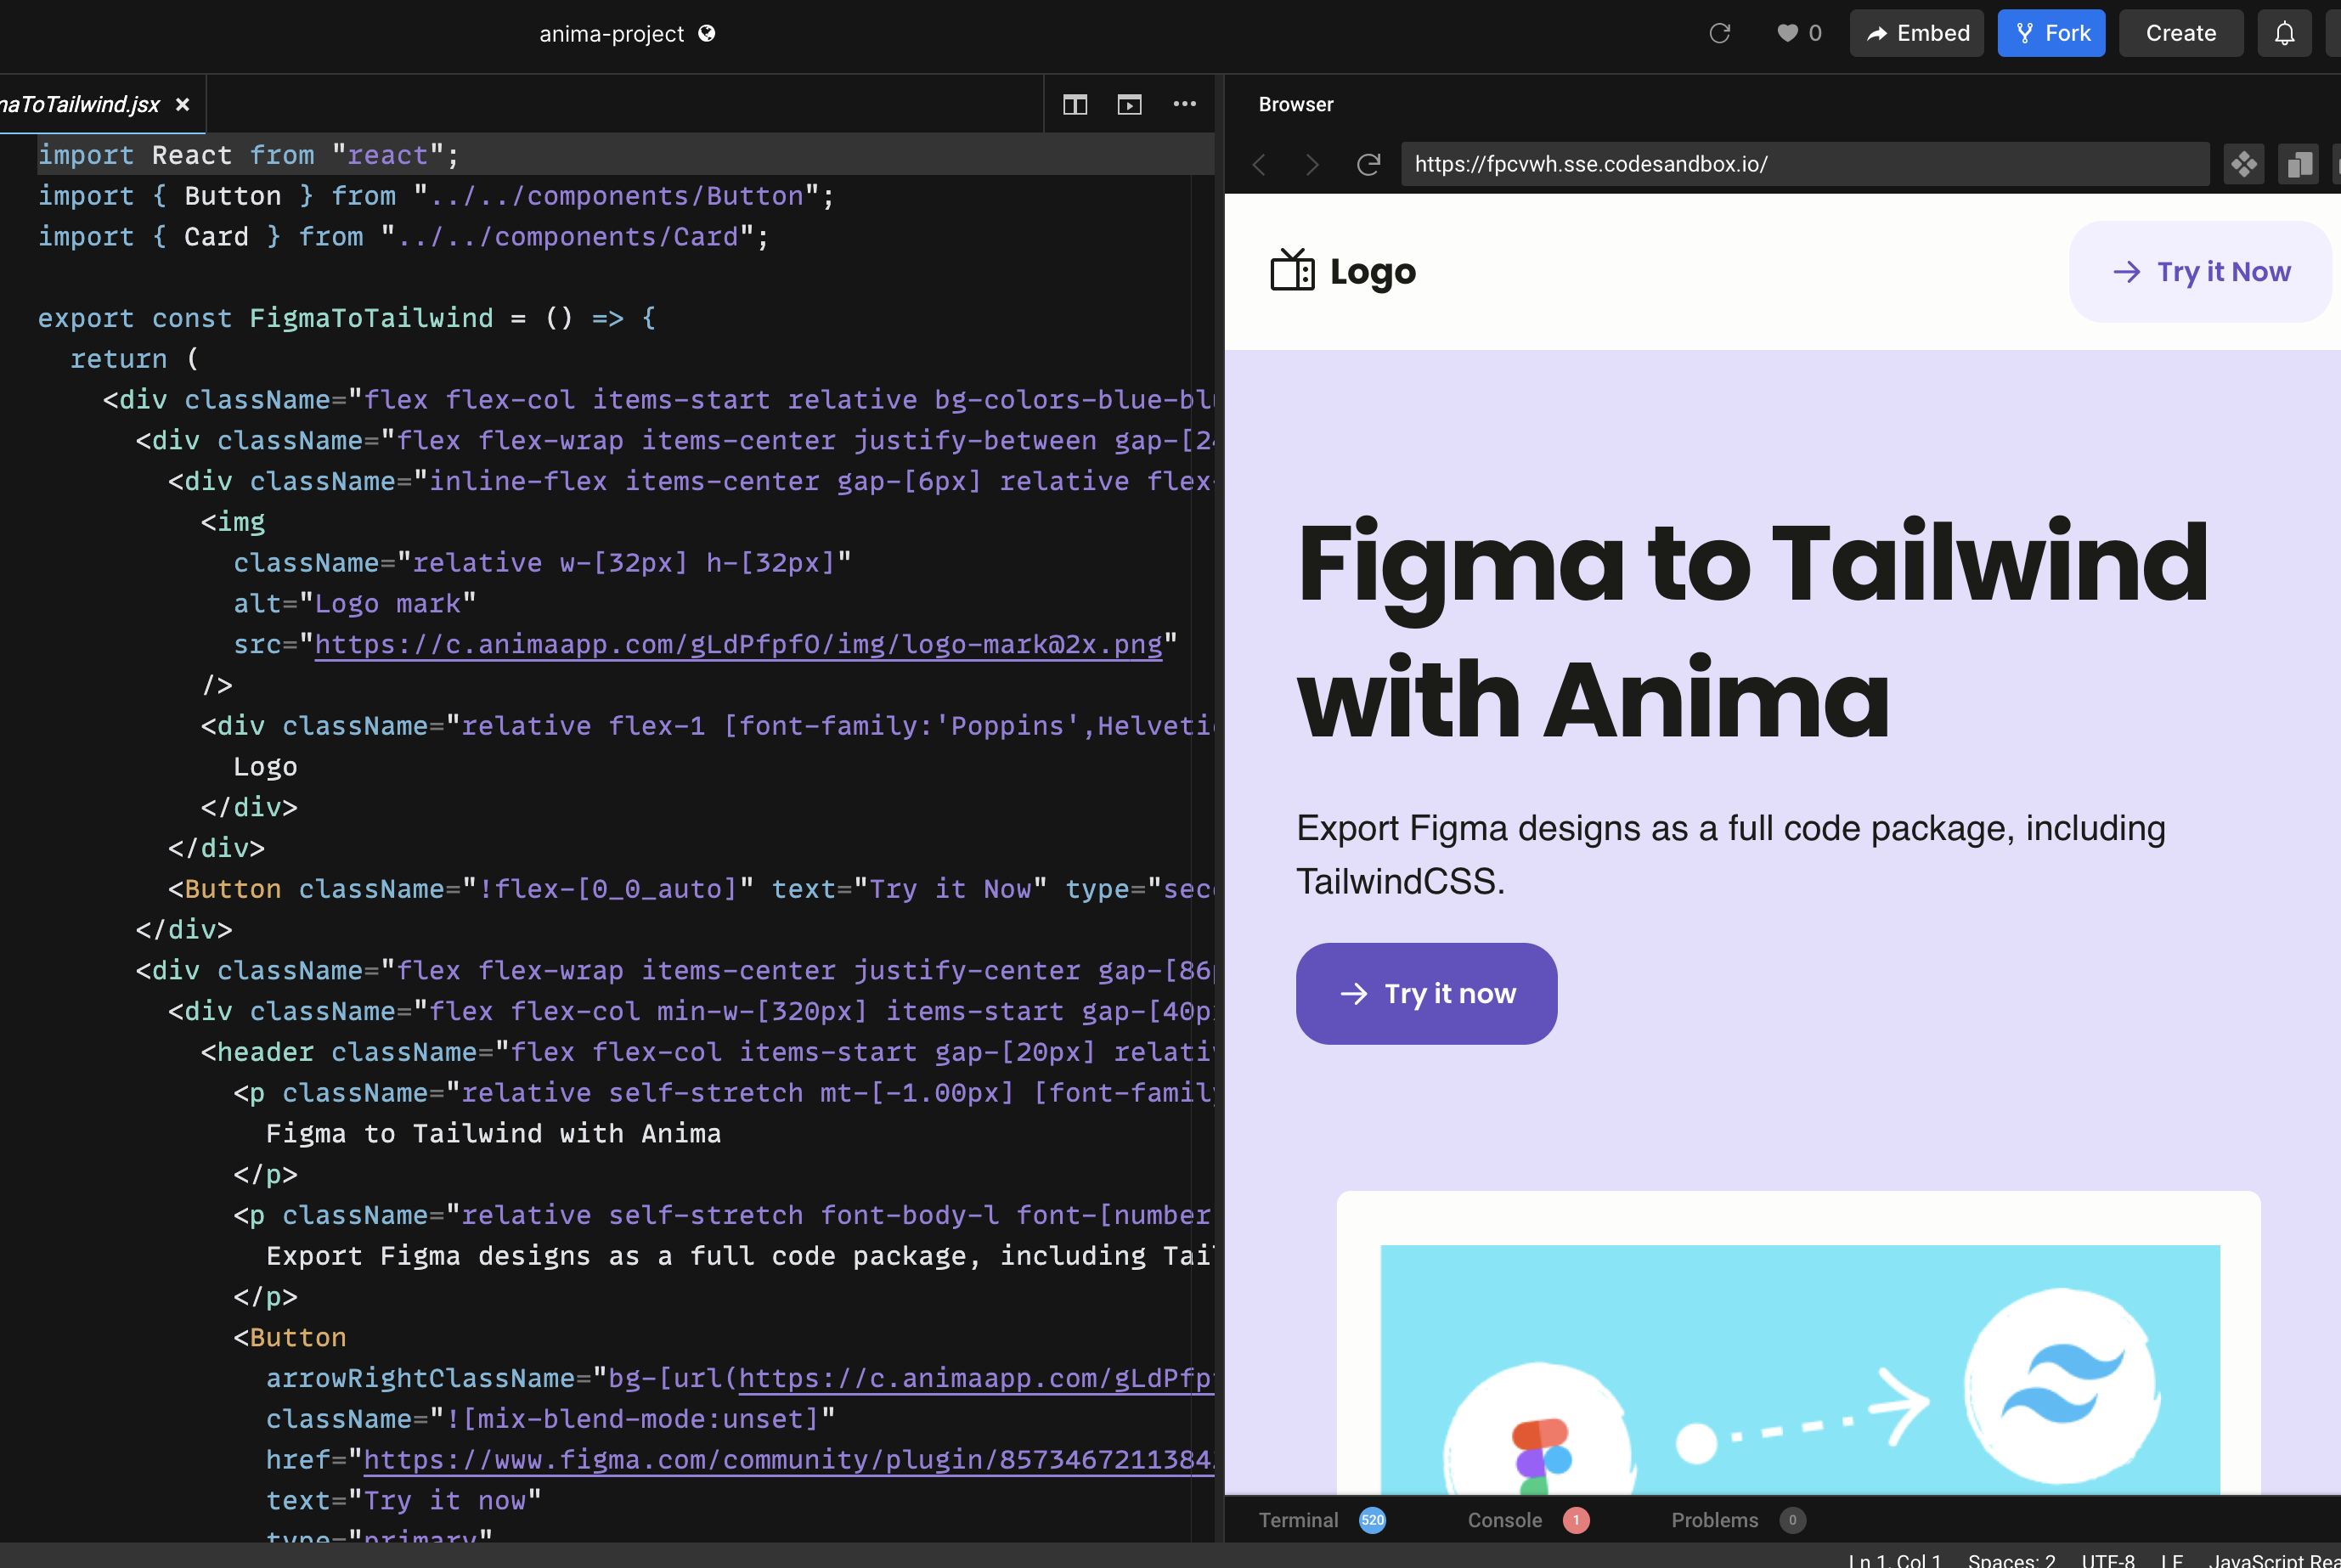
Figma 디자인을 Tailwind CSS로 스타일링된 깔끔한 React 코드로 바꾸고 싶다면 가장 빠른 방법은 Anima Figma 플러그인을 사용하는 것입니다. 프레임을 선택하고 React와 Tailwind를 고른 뒤, 생성된 프로젝트를 복사하거나 다운로드하거나 Anima Playground에서 열어 계속 편집, 미리보기, 게시할 수 있습니다.
Tailwind는 간격, 색상, 타이포그래피, 레이아웃, breakpoint 같은 디자인 결정을 재사용 가능한 utility class로 바꿀 수 있어 널리 사용됩니다. Anima는 이러한 결정을 Figma에서 frontend code로 변환해, 각 레이어를 수동으로 다시 만들지 않고 디자인에서 작동하는 UI로 이동할 수 있게 도와줍니다.
빠른 답변: Anima로 Figma를 Tailwind CSS로 변환하기
- Anima plugin for Figma
- Select the Figma frame, component, section, or layer you want to convert.
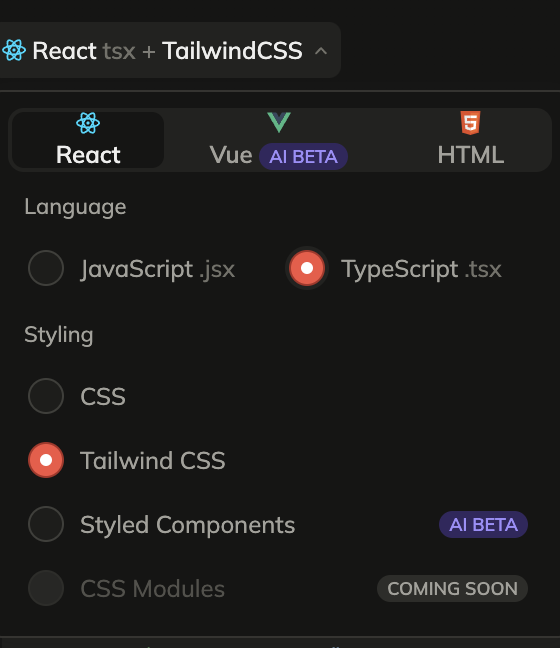
- Choose React with JavaScript or TypeScript, then select Tailwind CSS as the styling option.
- Generate the code, then copy snippets, download the package, or continue in Anima Playground.
- Use Playground to edit by prompt, preview, connect data/auth, publish, or hand off to a coding agent.
왜 Figma를 Tailwind CSS로 내보내야 할까요?
Figma는 팀이 제품 경험을 설계하는 곳이고, Tailwind는 많은 frontend 팀이 그 경험을 구현하고 싶어 하는 곳입니다. 어려운 부분은 구조, 간격, 스타일, 색상, responsive behavior를 잃지 않고 디자인을 코드로 옮기는 것입니다.
With Anima, you can turn Figma designs into React, HTML, or Vue; JavaScript or TypeScript; CSS or Tailwind CSS; and editable code that can continue into Anima Playground.
Figma에서 Tailwind 코드를 생성하기 전에
- Use Auto Layout. It helps preserve responsive structure and spacing relationships.
- Name important layers clearly. Buttons, cards, nav bars, forms, and sections are easier to understand with clear names.
- Use styles, variables, and components. Repeated colors, typography, spacing, and states are easier to map into reusable code.
- Select the right scope. Start with a focused component or screen, then expand.
Figma 디자인을 Tailwind로 변환하는 방법
1단계: Figma 파일에서 Anima 플러그인 실행하기
Open Anima in Figma. If you are a first-time user, search for Anima in the Figma plugin menu and sign in or create an Anima account.
2단계: React, JavaScript 또는 TypeScript, Tailwind CSS 선택하기
Choose React in the framework dropdown, JavaScript or TypeScript as the language, and Tailwind CSS under styling.
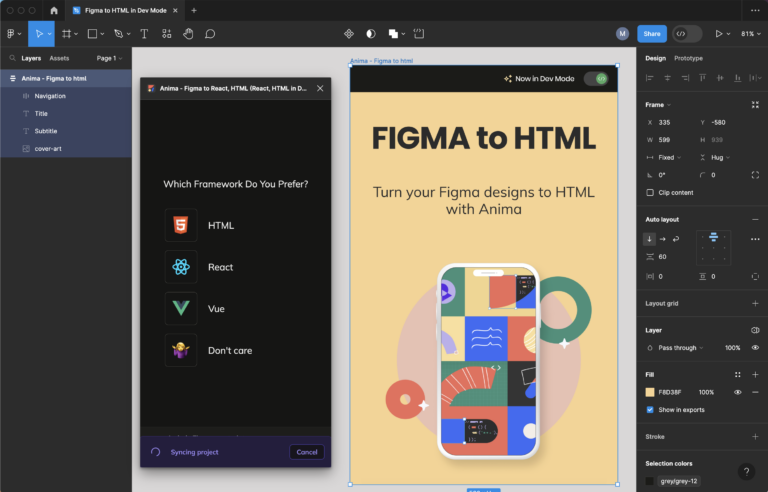
3단계: Figma component, layer 또는 frame 선택하기
Select the frame, component, section, or layer you want to export. For the first pass, choose a focused screen or component so you can inspect the generated Tailwind output quickly.
4단계: 코드 생성하고 가져오기
Once the code is generated, copy snippets, download the generated files as a package, or preview the UI and continue in Anima Playground.


Anima Playground에서 계속하기
Tailwind 코드를 내보내는 것은 유용하지만 최고의 workflow는 “코드 복사”에서 끝나지 않습니다. 디자인을 변환한 뒤에는 Anima Playground에서 live preview와 editable code를 나란히 보며 계속 작업할 수 있습니다.
In Playground, you can refine layout, add states, create responsive menus, connect forms to data, add authentication, publish, or export the project.
플러그인과 Playground 중 무엇을 써야 할까요?
Figma 파일에서 시작하고 design structure를 풍부하게 캡처하려면 Anima 플러그인을 사용하세요. 채팅으로 편집, 미리보기, 기능 추가, 게시, export 또는 coding agent handoff가 필요하면 Playground를 사용하세요.
The best path is often both: start in Figma, generate React + Tailwind with the plugin, open the result in Playground, and vibe code the final details while keeping the design intent intact.
Figma to Tailwind 자주 묻는 질문
Can Figma export Tailwind CSS by itself?
Figma is primarily a design tool. A plugin like Anima adds the conversion layer between Figma design and frontend code.
Does Anima generate React with Tailwind?
Yes. In the Anima plugin, choose React as the framework and Tailwind CSS as the styling option. You can also choose JavaScript or TypeScript.
Can I publish the result?
Yes. If you continue in Anima Playground, you can preview, refine, and publish the project from the browser. You can also export code when you want to continue development elsewhere.