 Web to code extension
 Twitter
 GitHub
 Blog
Blog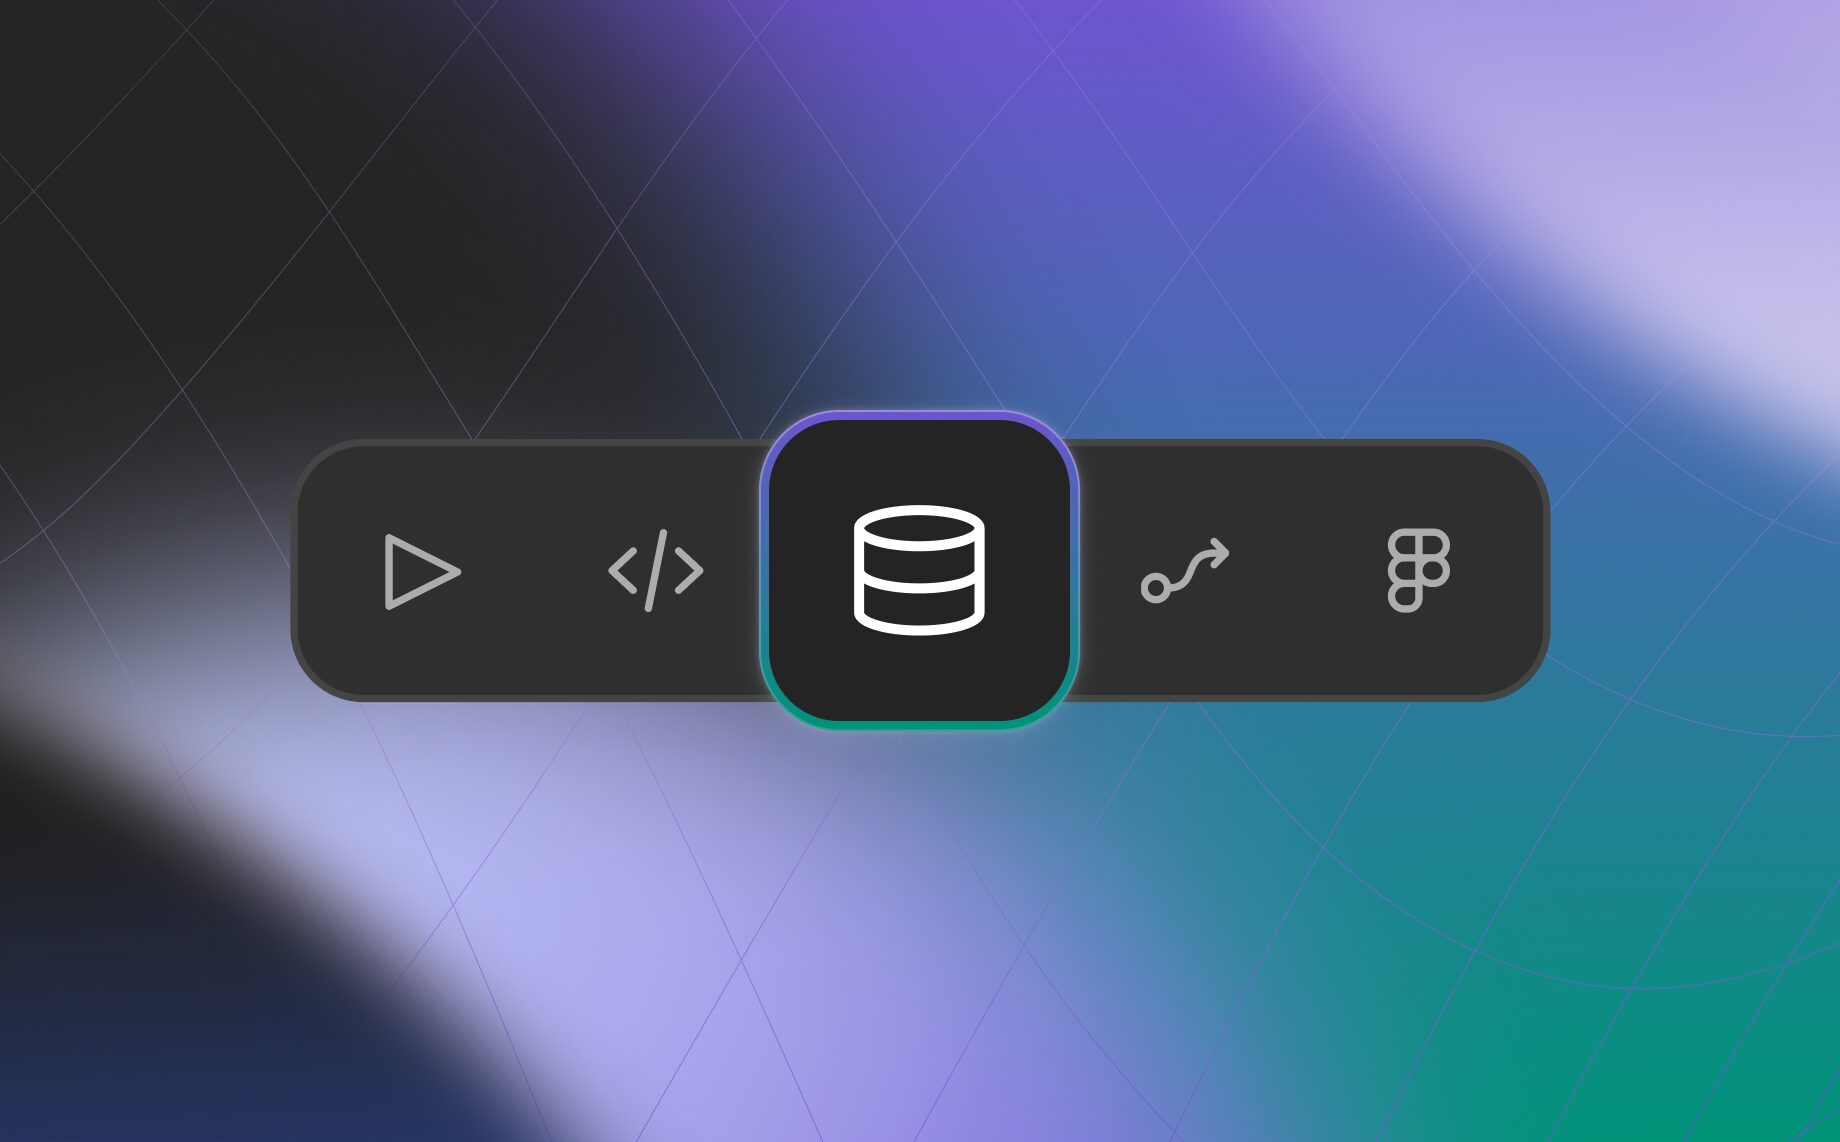
How I built Anima’s Changelog app in ~1 Hour5 min read
Reading Time: 4 minutesHow I replaced Headway with a custom changelog app in under an hour using Anima with built-in Databases
At Anima, we believe in dogfooding
—using our own tools to build our own products. So when I wanted to showcase our new Database release, I decided to build our new changelog myself, moving from Headway (which is a great tool) to our own custom app.
Usually, building a custom Content Management System (CMS) from scratch is a multi-day engineering task. But with the new Database feature in Anima’s Playground, I realized I could vibe code
a full-stack changelog app in about an hour.
Here is how I built a replacement for Headway using Anima, complete with team access, security rules, and a custom domain.
The missing piece: integrated data
Vibe coding
(building apps via prompts) has always been great for UI. But real apps need memory. They need to store data.
We just released our native Database (🎉) feature in the Playground. This means you can now define schemas and manage content directly within Anima, bridging the gap between a prototype
and a functional full-stack app.
Step 1: The “vibe” (the prompt)
I started by telling Anima exactly what I wanted – a detailed spec to get the right structure.
Here is the actual prompt I used:
Create a modern changelog application with two main views:
1. Public View
Clean, feed-style layout showing product updates in reverse chronological order.
Each update card displays: Title, Brief description, Feature image, Publication date, and Category tags (New, Announcement, Fix).
Responsive design that works on mobile and desktop.
2. Admin/Logged-In View
Main View: Shows all updates in a list (drafts and published) with an Add New Update button.
Editor Panel: Slides in from the right. Includes form fields for Title, Categories, Date/Time, and a Rich Text Editor (Headings, Bold, Image uploads, Lists, Code blocks).
Footer actions: Delete, Cancel, Save, and a Published toggle switch.
3. Technical Requirements
Authentication for admin access.
Slide-in panel animation for the editor.
Image upload and hosting.
Draft and published states.
💡 Pro tip: The more specific your prompt, the better the first version. I spent ~10 minutes refining this one.
Step 2: Out-of-the-box database
Apps need a place to store information. With most vibe coding tools today, connecting a database is still a technical headache—often forcing you to integrate third-party services like Supabase, which come with their own setup complexity and API limitations.
With the new update, Anima automatically recognized that my app needed a memory
. It instantly set up a Database Table called Updates to store the Title, Content, Images, and Date for every post.
And it’s not just a basic list. It’s a production-ready database with Row Level Security (RLS) built-in. This gives me granular control over data access directly inside Anima, without hitting external rate limits or juggling separate API keys. I didn’t have to write code or configure servers—it just worked out of the box.
Step 3: Polishing the experience (the fun part!)
The first version was good, but I wanted it to feel professional. This is where Vibe Coding
shines: I can iterate on the features just by asking for them.
I asked the chat to upgrade the admin experience with three specific capabilities:
- Friendly rich text editor: I needed the content stored as Markdown, but I wanted a friendly UI for writing. I asked for a custom toolbar with buttons for bullet points and a modal for adding links, making it as easy to use as Google Docs.
- Seamless image uploads: I added a feature to upload images directly into the editor. I didn’t need to configure complex storage buckets—Anima hosts the images automatically.
- Live preview: I wanted to see exactly how the post would look to users while I was editing it, so I added a real-time preview pane next to the editor.
Now, the admin panel feels just as powerful as any SaaS tool we used to pay for!
Step 4: Security & team access
Since this is a public website, security is critical. I needed to make sure that the whole world could read the updates, but only my team could write them.
I didn’t have to code these rules from scratch. The app set up the foundation, and I simply got two layers of permissions:
Signuppage for the team, but I set it to 🔒 Invite-only. This means I can add team members manually without opening it to the world. Now anyone on the team can log in, write a product update, and hit publish without me being the bottleneck.
Step 5: Publishing to a custom domain
Finally, to make it official, I needed it to go live on our website.
In the Playground, I clicked Publish → Custom Domain, connected our domain, and hit publish.
🚀 And voilà! There it is: updates.animaapp.com
Why does this matter?
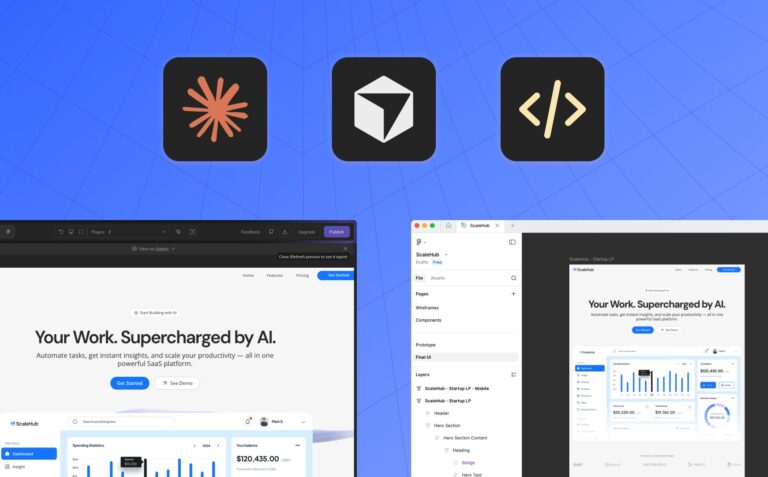
We moved from a third-party tool to a custom-built internal tool in less than an hour.
- It’s collaborative: The whole team can contribute securely.
- It’s powerful: Rich text, image uploads, live previews—everything feels like a pro SaaS tool.
- It’s real: This isn’t a mock-up. It’s a live database serving real content with proper security rules.
Want to build your own tools? Try the new Database feature in Anima Playground. Start with a prompt, and see where the vibe takes you. I’m eager to hear your feedback! 💜
FAQs
No coding experience is required. Anima uses prompt-based development, meaning you describe what you want in plain English, and the platform generates the application. However, being specific and detailed in your prompts will yield better results.
Anima's Database feature provides integrated data storage with automatic schema setup, built-in user authentication, Row Level Security (RLS) for access control, image hosting, and production-ready infrastructure. You don't need to configure external services, manage API keys, or set up separate database servers.
Unlike external database services that require separate setup, API configuration, and key management, Anima's Database is fully integrated into the platform. It automatically recognizes your app's data needs, sets up the schema, and includes built-in security rules without external rate limits or complexity.
Yes. You can define user roles within your app, such as admin and user roles. Admin users must be team members in your Anima team to have access to the database tables and admin functionality. This ensures that only authorized team members can manage your app's data, while regular users have limited permissions based on the roles you define.