 Web to code extension
 Twitter
 GitHub
 Blog
Blog
11 Vibe Coding tips9 min read
Reading Time: 6 minutesI’ve recently noticed that many vibe coders just hit a wall at one point or another, usually quite deep into their app. This is super frustrating, it feels like you’re so close to finishing your page or app and instead of moving forward, you keep getting errors, problems or it just simply doesn’t do what you want and starts to ignore you…This is usually after quite a lot of prompting, so you have a lot invested already, but you’re stuck in this rabbit hole of errors or just can’t move forward. That’s not the only problem I’ve seen after doing a few sessions with real users. I noted that some simple techniques that were obvious to me were less obvious to others, so let’s dive right in:
(Originally posted on Linkedin)
1. Start with “something” other than a prompt
Most people just start prompting right away, but hold your horses – letting Claude (that’s what’s under the hood for most of the current Vibing platforms) do the UX for you is not always a good idea. If you start with a theme, a color scheme, a brand image, a project (you can get rid of the stuff you don’t care about later) or a template, will start you off much better than just prompting.
At Anima we provide two ways to start before putting in the prompt:
- Figma – Start with a figma design. You can either use our Figma to code plugin or our playground import, your Design Theme colors, variables and tokens (from the plugin only). You don’t have to design your own Figma, you can also use the Figma community files with a design that you like.
- Website – If you have a site that you like, replicate or get inspired by it. Just feed it to the anima website link importer and start propmting!
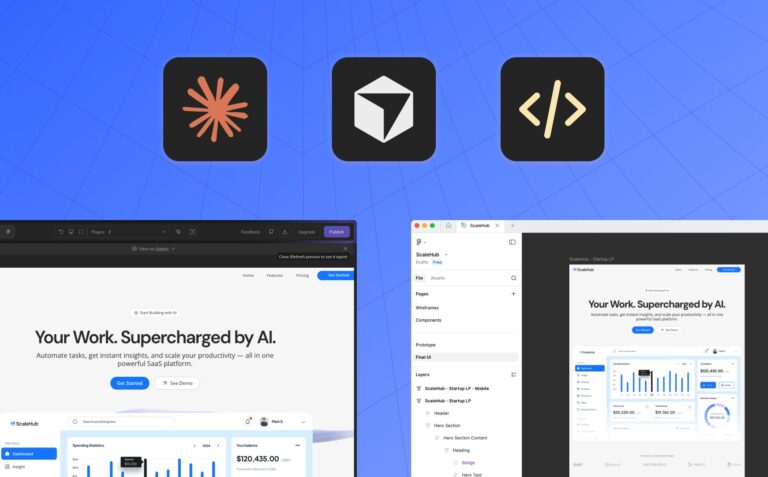
2. Pick the technology yourself
If you don’t specify anything, the vibe coding platforms like Bolt/Lovable/V0/Replit will pick their own technology. If you don’t care, they might utilize a framework you’ll be stuck with later on. React+Typescript using ShadCN+Tailwind ensures that you can take your project elsewhere and, it turns out, that LLMs particularly love this combo. This is why we picked it as the default for our Anima AI vibe coding platform.
The reason that LLMs like Tailwind is that it reflects styling right along side the design. This saves the LLM the effort of having to remember a lot of class names and information and save it to a CSS later on.
3. Keep saving! Undo right when something goes wrong…
Each time you get to a point in the vibe coding flow that the LLM got things right, save it. This is super useful if things go wrong. What I noticed many people doing, is trying to move forward or ask the LLM to correct mistakes – leading them to be stuck in a labyrinth (in coder speak – stuck a rabbit hole).
Don’t keep hitting your head running into that wall – if you save often, if something goes wrong just go back to the last working version and try it again. Even if you use the same exact prompt, it will often yield different results as the LLMs have a degree of randomness to them.
If you hit a major milestone, save a copy elsewhere – most vibe coding platforms let you fork or save a copy, so that you can roll back to this version if something goes wrong (and it very likely will, LLMs are unruly that way).
If you find yourself repeated prompting “make it work”, “fix it”, or “that’s not what I meant” – you’re doing it wrong, roll back and try it again instead.
Some vibe coding platforms offer revisions or git-like revision management. This is a bit more sophisticated, so might be complex to users unfamiliar with git, but can be super helpful.
4. Large comprehensive prompt vs. smaller step-by-step prompting
Your focus should be on a single task. Don’t overcomplicate the LLM with multiple requests all at once. Give it one focused task but be as descriptive as you can. if you prompt “make it responsive” or “make it work”, most likely the LLM will interpret it wrong. Be specific, elaborate, but stick to a single piece of functionality.
Don’t try to put an entire PRD for your project or idea in one huge prompt, unless it’s your initial prompt…
So, detailed prompts, but focused on a single, specific task or objective.
5. Use the selector(s) and “change nothing else”
Most vibe coding platforms support selectors, so you can refer to a particular element on a particular screen. Use these when you want to change or refer to an object instead of referring to “the continue button”. When you do, be very specific about what you want to do to that component – don’t write “make it larger” but instead “make it 42px high”.
Oh, and add “change nothing else!” at the end:
Make this 42px high. Change nothing else!
Yes, it is dumb, but this does work… the LLMs are sensitive to this type of thing. If you REALLY want to make it not change anything else, you can yell at the LLM by writing it in all caps:
Make this 42px high. CHANGE NOTHING ELSE!!!
Selectors are useful for navigation as well, you can select a particular component and ask it to navigate to XXX, which will add routing and multiple pages to your landing page or app.
6. All about context – AI is getting dumber and dumber
With vibe coding, context is king. Most Vibe coding platforms put all the files in the project in context. You can add a text file with constant instructions to the LLM and call it “special-instructions.rm”, that way, the LLM sees it, but it is not part of the actual project. For example, if you have a PRD or description document of the entire project, just keep it there and the platform will remember your objectives.
There’s a downside to all this context. As your project grows larger and you have more and more prompts and responses, the LLM will slowly grow dumber. Take Anthropic Sonnet 3.7, it has roughly 200K token input limit and that means that above 100K tokens (400KB), is where its intelligence starts deteriorating… Gemini Flash 2.5 has 1M input tokens, that’s more than enough for small or medium size projects, but that means that these platforms do have a clear upper limit. Cursor/Windsurf/Cline/Copilot use more sophisticated (but expensive in time and cost) techniques to bypass these context limits, by letting the LLM “collect” its own context using search and file information, but vibe coding platforms so far are avoiding this.
What can you do? Some platforms let you “squash” or “clear the chat”, which can dramatically reduce the context size, making the LLM smarter. If you feel the platform growing dumber as the number of prompts grows longer, try to use this functionality.
7. A few safety tips
If you’re not a coder by profession, be careful about interfacing with outside services. Using APIs (payments, LLM usages) typically require API keys or credentials. If the vibe coding platform does not have this integrated directly (Supabase was designed for this, so it’s safe), make sure that your API keys are not visible to end users that may use your product. For example, use Stripe only if your vibing platform supports it…
We’ve already seen quite a few products that were launched and API keys and credentials harvested and utilized elsewhere, so be careful with that. API keys and credentials must be stored securely and only used through backend services and not front end.
8. Attach images
If you try to explain something to an LLM, a picture is worth a thousand words. You can take a screenshot of the thing you want to change, and even scribble on it or circle something. Feed it back to the prompt and explain what you want done.
Some platforms will let you attach fonts/images/videos and host them for you. If that’s what you mean, make sure to explicitly tell the prompt that you want to host the image and then in the next step add it where you want it to go.
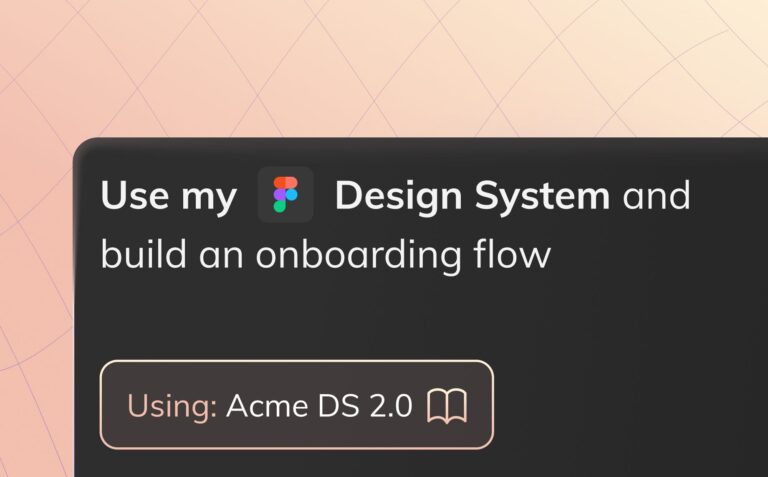
9. Vibe with your very own Design System
If you’re prototyping and you already have a brand, you know how hard it is to start with vibe coding platforms – they’ll use the colors and design aesthetic they think is right for you. Instead, use an image (or better yet a URL of one of your pages if your platform supports it) and ensure that you instruct the system to use this design – both in colors and every other styling decision (borders, gradients, corner radius, fonts, shadows, spacing, etc.).
Once you’re done, you can add more pages and eventually get rid of the original frame, as you don’t need it anymore.
10. Use smart components, not dumb ones
If you use frameworks like ShadCN or MUI, you get the added benefit of functionality. Dropdowns behave like dropdowns, menus like menus and toggles like toggles should. If you just import Figma or image functionality, you may not get a framework which means you’d need your own code to implement this. Ideally, if you pick the right framework, you’ll just get it all for free.
11. Make sure you understand the goal
What are you trying to achieve?
If you’re working on a full app, start with the hard part first: the UX. Once you have it close to what you want, start hooking it up to functionality. Make sure you’re backed up and work in small steps. Regressions (something’s not right) should be treated as a “showstoppers” and you should immediately go back to a previous save rather than try to undo.
Some platforms are better suited for Prototyping and some for application development. Some Vibe coding platforms work better for design and others for backend. Choose the one that best suites the functionality you want to achieve. That might mean that you have different experiments running on different platforms. That’s ok, you don’t have to pick one just yet. If you have sufficiently different needs, you may want to use different vibe coding tools in parallel.
That’s it for now, hope this is useful to you. If so, share it and let me know you like it.