Code-based prototype testing: a product manager’s perspective7 min read
Reading Time: 6 minutesAs a product manager, I know the importance of prototype testing. I’ve overseen hundreds of design iterations and brought dozens of digital experiences to market. I’ve learned everything there is to about each product and its users. But I can’t predict how those users will respond to a product in real life.
That’s why my team and I get users to test prototypes early and often. Prototype testing is the closest we get to testing the final product, and the unbiased user feedback we receive helps us perfect our designs before they go to developers.
In this article, I’ll discuss how user testing interactive code-based prototypes gives teams more relevant feedback, better product outcomes, and the ability to test at scale. Then I’ll explain how you can easily create and test these live prototypes yourself—without writing a single line of code.
What is prototype testing?
A prototype is a model of your final product. Prototype testing, then, is when you observe how users interact with that model, then get their feedback.
The goal is to validate your approach and identify problems and opportunities as early as possible. This way you can make any necessary improvements before developer handoff, and launch a final product that’s already aligned with users’ wants, needs, and expectations.
When you perfect a product during the design stage, you eliminate pitfalls like frustrated users, overwhelmed customer success teams, and costly post-launch redesigns.
Low fidelity vs high fidelity prototypes
All prototype testing is valuable, but not all prototypes are created equal. It’s important to understand the difference between low fidelity and high fidelity prototypes.
Low fidelity prototypes
Low fidelity prototypes are a low-tech, quick-and-dirty way to get your design ideas in front of users early in the process. Often done with pen and paper, low fidelity prototypes are static, non-interactive, and include very basic representations of a design’s structure and functionality.
They’re inexpensive to produce, and changes can be implemented quickly and easily. Their goal is to test early assumptions and help guide the design of the high fidelity prototypes that follow.
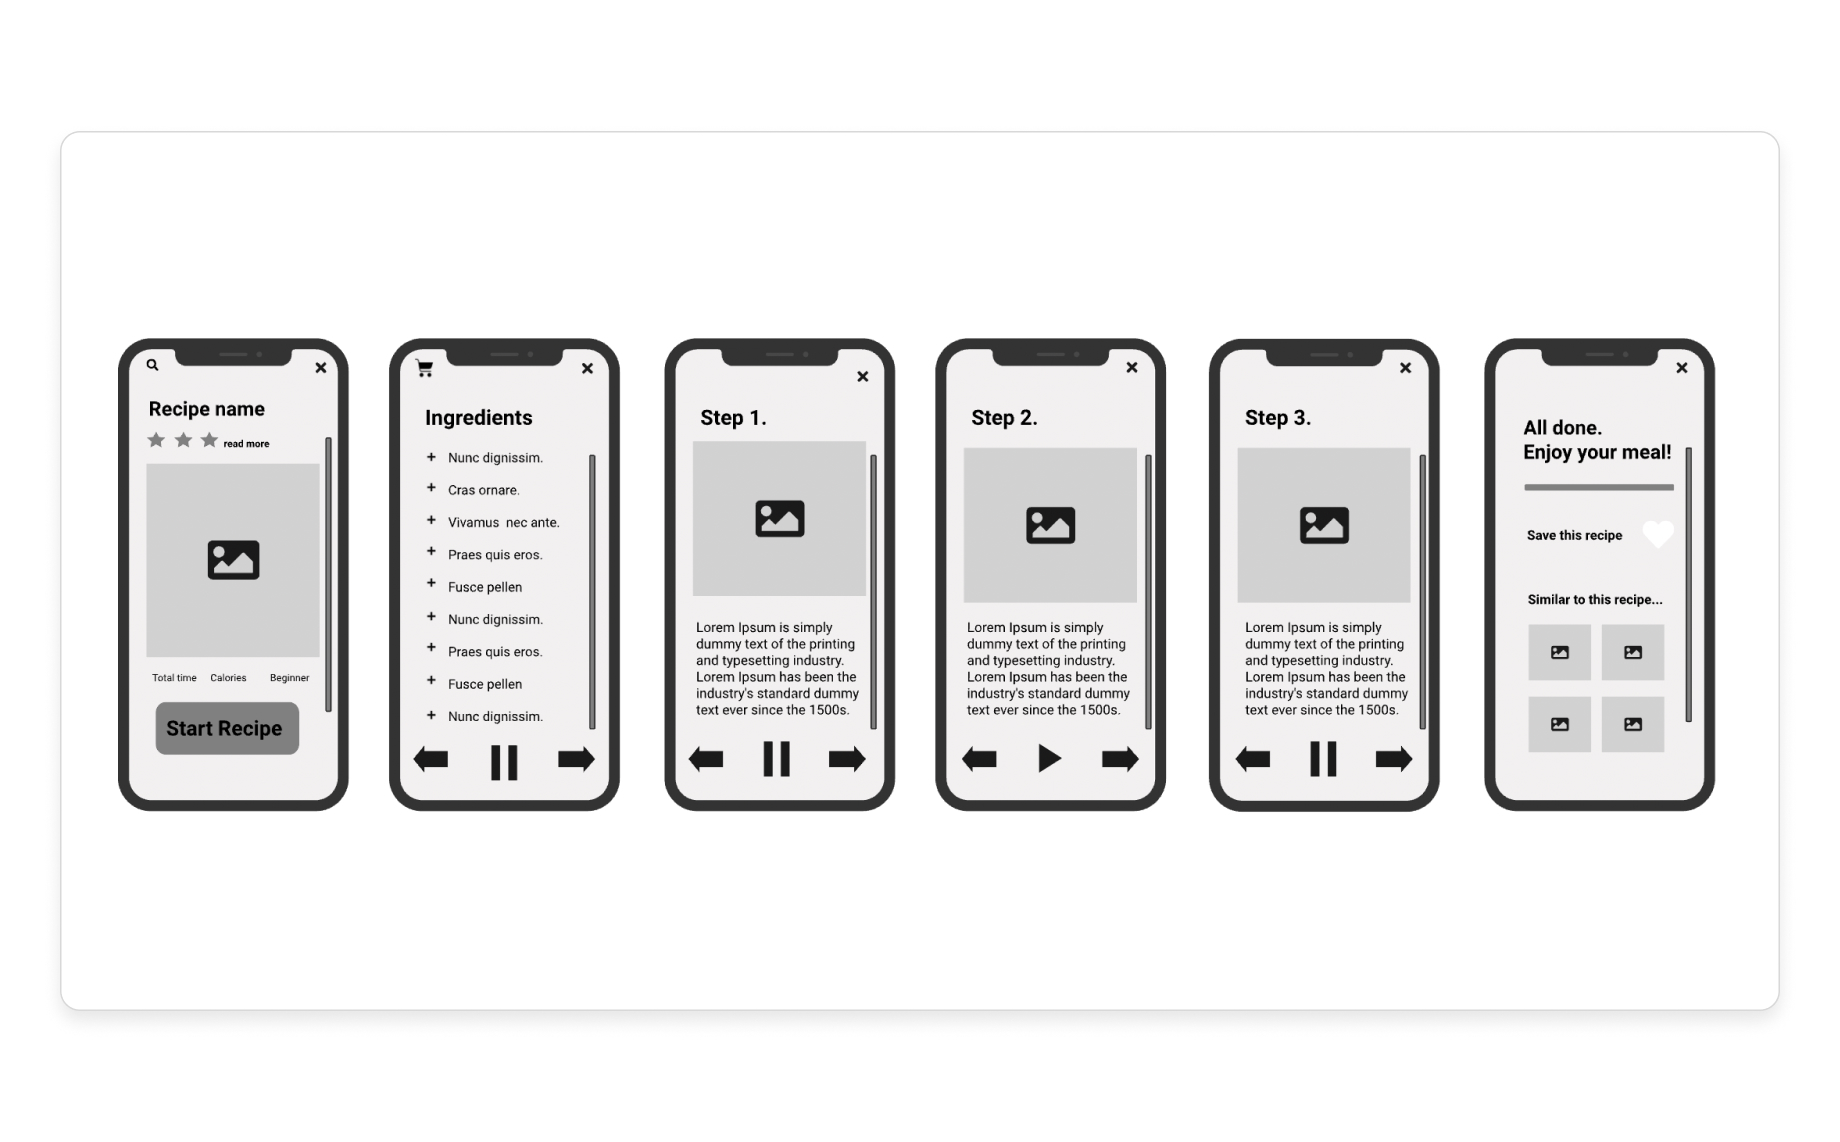
A low fidelity prototype example (source)
High fidelity prototypes
High fidelity prototypes should look, feel, and behave as much like the final product as possible. The most effective high fidelity prototypes are fully functional, responsive, and include all of the final design assets.
High fidelity prototype testing is the closest you’ll get to testing your final product without actually building it. But some high fidelity prototypes are more effective than others.

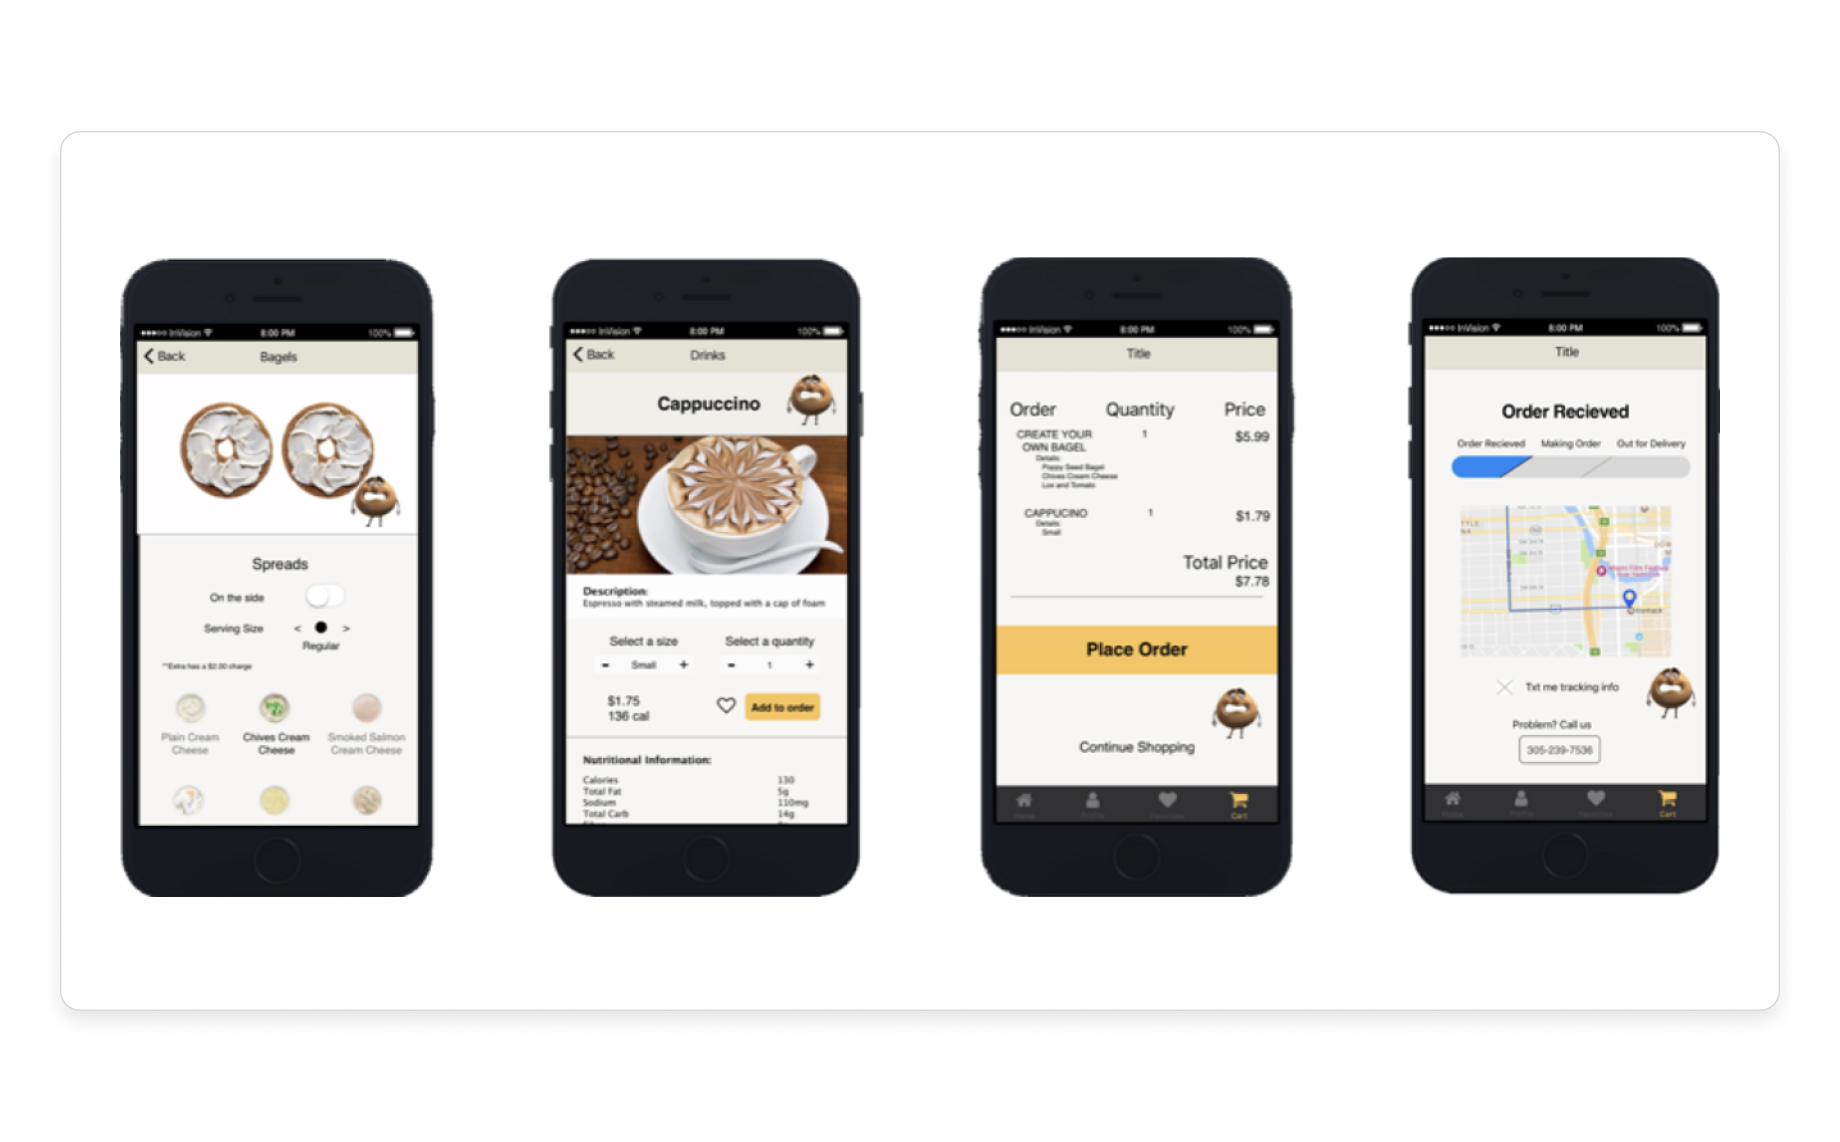
A high fidelity prototype example (source)
The problem with static high fidelity prototypes
Prototype testing is most valuable when your prototype looks, feels, and behaves like the real thing. But not all high fidelity prototypes are fully functional and interactive. That’s because live prototypes need to be code-based, and many designers don’t have the time, tools, or ability to create them.
No matter how real they look, static prototype tests are limited by your explanations and your users’ imaginations. You won’t be able to observe how users will actually navigate your final product, and the feedback you receive will lack critical insights.
Imagine, for example, that you’re running a prototype test on a car you’re designing. The car looks like the real thing, but there’s no engine and the steering wheel doesn’t work. How can you gauge a user’s driving experience if they can’t actually drive the car?
How to create prototypes that feel real
By now you understand the value of interactive, code-based prototypes. It’s impossible to create something that behaves like the final product with pixel-based images and transitions alone.
Here are the essential elements of a code-based prototype—and how to create one in your design tool without writing a single line of code.
3 elements of code-based prototypes for user testing
- Responsiveness → your prototype should adapt to any device you aim to target
- Interactive components → components should have unique states for every action
- Buttons respond to hovering, pressing, clicking, or tapping
- Text fields allow users to enter text from a physical or mobile keyboard
- Drop-down menus appear when clicked and options are selectable
- Media functions (images display, videos and music expand, play, pause, etc.)
- User testing tool integration → you should be able to connect your prototype to tools like HotJar and Fullstory (these tools only work with code-based prototypes)
Here’s an example of a fully functional code-based prototype built with Anima:
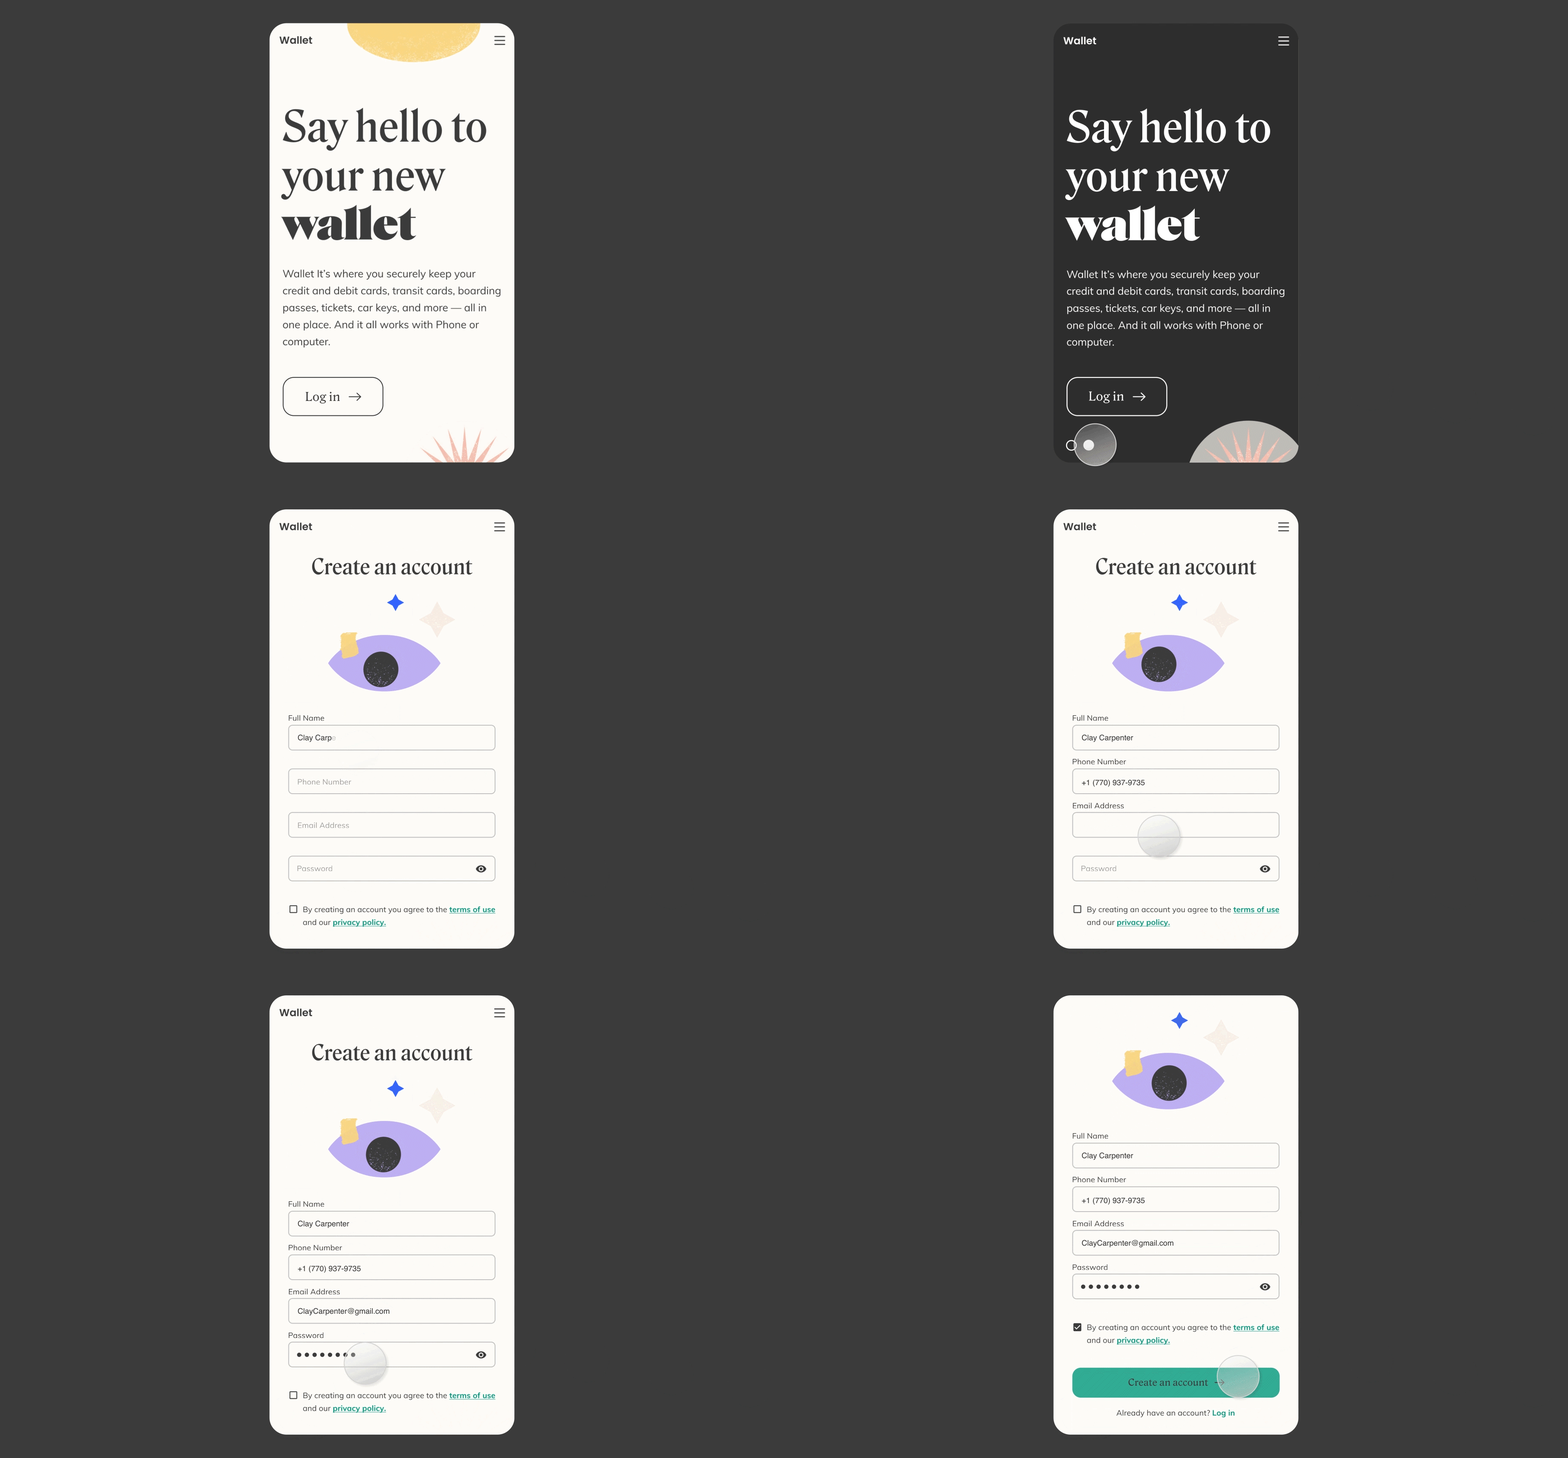
An interactive code-based prototype created with Anima
How to create a code-based prototype in your own design tool
None of the most popular design tools (Figma, Adobe XD, and Sketch) support live, code-based prototyping. But there are several tools that do. Anima, Invision, and Framer, are some of the biggest players—and all three platforms generate the code for you.
If you prefer working in a familiar design environment, however, Anima is the only option. The Anima plugin allows you to build high fidelity, interactive prototypes in Figma, Adobe XD, and Sketch. Invision and Framer, on the other hand, require you to use their proprietary design tools.
Whichever platform you choose, you’ll end up with a code-based prototype that can be used with powerful, scalable user testing tools like Hotjar and Fullstory.
How to add Hotjar to Figma and Adobe XD prototypes
Scalable user testing tools like Hotjar and FullStory depend on code to track user behavior remotely. Fortunately for you, Anima automatically converts your Figma and Adobe XD prototypes into code. Now you can visualize how users are interacting with your prototype without being present.
What’s more, you can send your prototype to hundreds of people and watch a recording or view heat maps from each user test. Talk about testing at scale!
Here’s how to add Hotjar to your Figma or Adobe XD prototypes with Anima:
- Get started with Anima
- Install Anima’s plugin for Figma or Adobe XD
- Select “Preview in Browser” on the plugin to run your prototype
- Click “Sync” to upload your prototype to Anima’s platform

Syncing a prototype to Anima's platform from Figma - Click “Share” then click “Prototype link” to generate a public link
- Copy your prototype link (i.e my-prototype.animapp.io)

Copying a sharable prototype link on Anima's platform - Signup for Hotjar
- Paste your prototype link
- Click “Add code manually,” then copy the code

Getting a Hotjar tracking code to embed in a prototype - Go back to Anima’s plugin in your design tool and click “embed code”

Clicking embed code in Anima's plugin - Paste the code on the project level, so it applies to all pages

Embedding Hotjar's tracking code in a code-based prototype with Anima - Click “sync” to update your prototype
That’s it! Now you can share your animaapp.io link with anyone, then view corresponding screen recordings and heatmaps in Hotjar.
Hotjar heatmaps from a code-based prototype created with Figma and Anima
The short version
- Prototype testing is when you observe how users interact with a preliminary model of your product, then get user feedback.
- Testing high fidelity, fully interactive, code-based prototypes that behave like the final product is the best way to predict post-launch user response.
- Interactive prototype testing limits the possibility of frustrated users, overwhelmed customer success teams, and costly post-launch redesigns.
- Not all high fidelity prototypes are code-based and interactive, but with the right tools you can create live prototypes with automatically generated code.
- Code-based prototypes allow you to integrate powerful user testing tools like Hotjar and Fullstory that help analyze user behavior and perform user tests at scale.
- A larger user sample set combined with more relevant insights per user will help you perfect your product’s UX and identify more opportunities for improvement.
Start building live prototypes in your current design tool with Anima
FAQ Snapshot
What is prototype testing?
A prototype is a model of your final product. Prototype testing, then, is when you observe how users interact with that model, then get their feedback. This helps validate your approach, identify problems and opportunities, make improvements before developer handoff, and launch a final product that aligns with users’ wants, needs, and expectations.
Does Hotjar work with Figma prototypes?
Yes, but not out-of-the-box. Hotjar uses code to track user interactions with a product or prototype, and Figma prototypes aren’t natively code-based. With Anima App, however, you can create fully functioning code-based prototypes in Figma, then integrate Hotjar for scaled user testing.
{
“@context”: “https://schema.org”,
“@type”: “FAQPage”,
“mainEntity”: [{
“@type”: “Question”,
“name”: “What is prototype testing?”,
“acceptedAnswer”: {
“@type”: “Answer”,
“text”: “A prototype is a model of your final product. Prototype testing, then, is when you observe how users interact with that model, then get their feedback. This helps validate your approach, identify problems and opportunities, make improvements before developer handoff, and launch a final product that aligns with users’ wants, needs, and expectations.”
}
},{
“@type”: “Question”,
“name”: “Does Hotjar work with Figma prototypes?”,
“acceptedAnswer”: {
“@type”: “Answer”,
“text”: “Yes. Anima App allows you to create fully functioning code-based prototypes in Figma, then add Hotjar for scaled user testing.”
}
}]
}


 Figma
Figma Adobe XD
 Blog
Blog