 Web to code extension
 Twitter
 GitHub
 Blog
Blog
How to modernize your blog to React + Contentful CMS with Anima4 min read
Reading Time: 4 minutesMigrating your blog to React and a modern stack shouldn’t mean rebuilding from scratch.
With Anima Playground, you can clone your existing site, connect it to Contentful, tweak the UI with natural-language prompts, and publish it—all from your browser.
The Stack
Frontend: React (generated by Anima)
CMS: Contentful
Deployment: Anima (Or Netlify)
Step 1: Clone Your Blog
- Go to dev.animaapp.com
- Paste the URL of your blog’s main page (e.g., https://your-blog.com).
- Hit Generate.
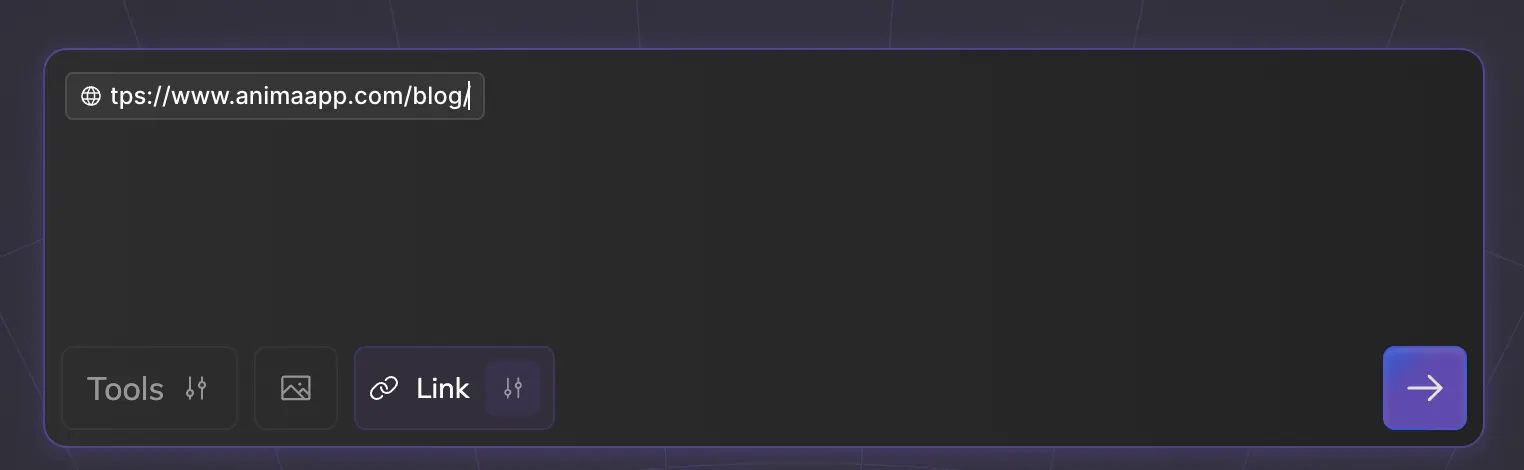
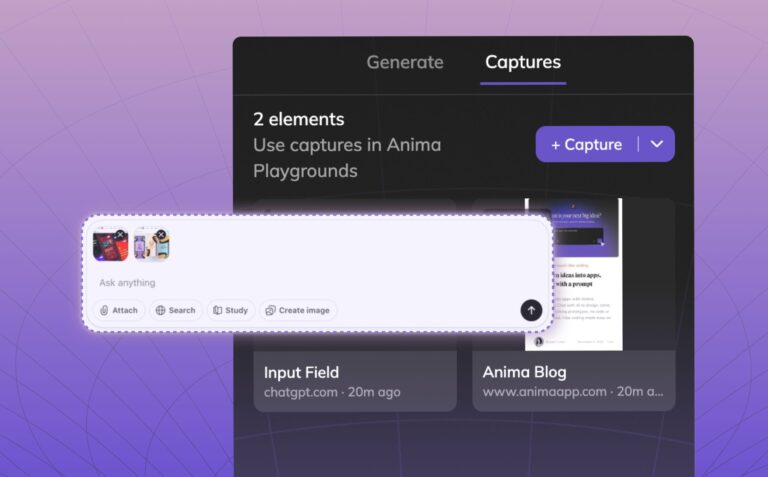
[Screenshot: Anima Playground chat interface showing a input field filled with URL and the generate button]
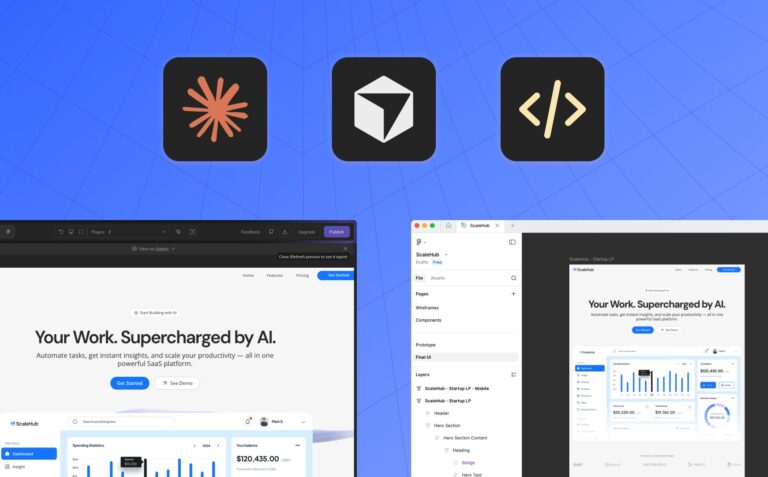
Anima analyzes your page and reconstructs the layout, styling, and structure, into a clean, editable React code. Within a minute, you’ll see your blog in the preview panel.
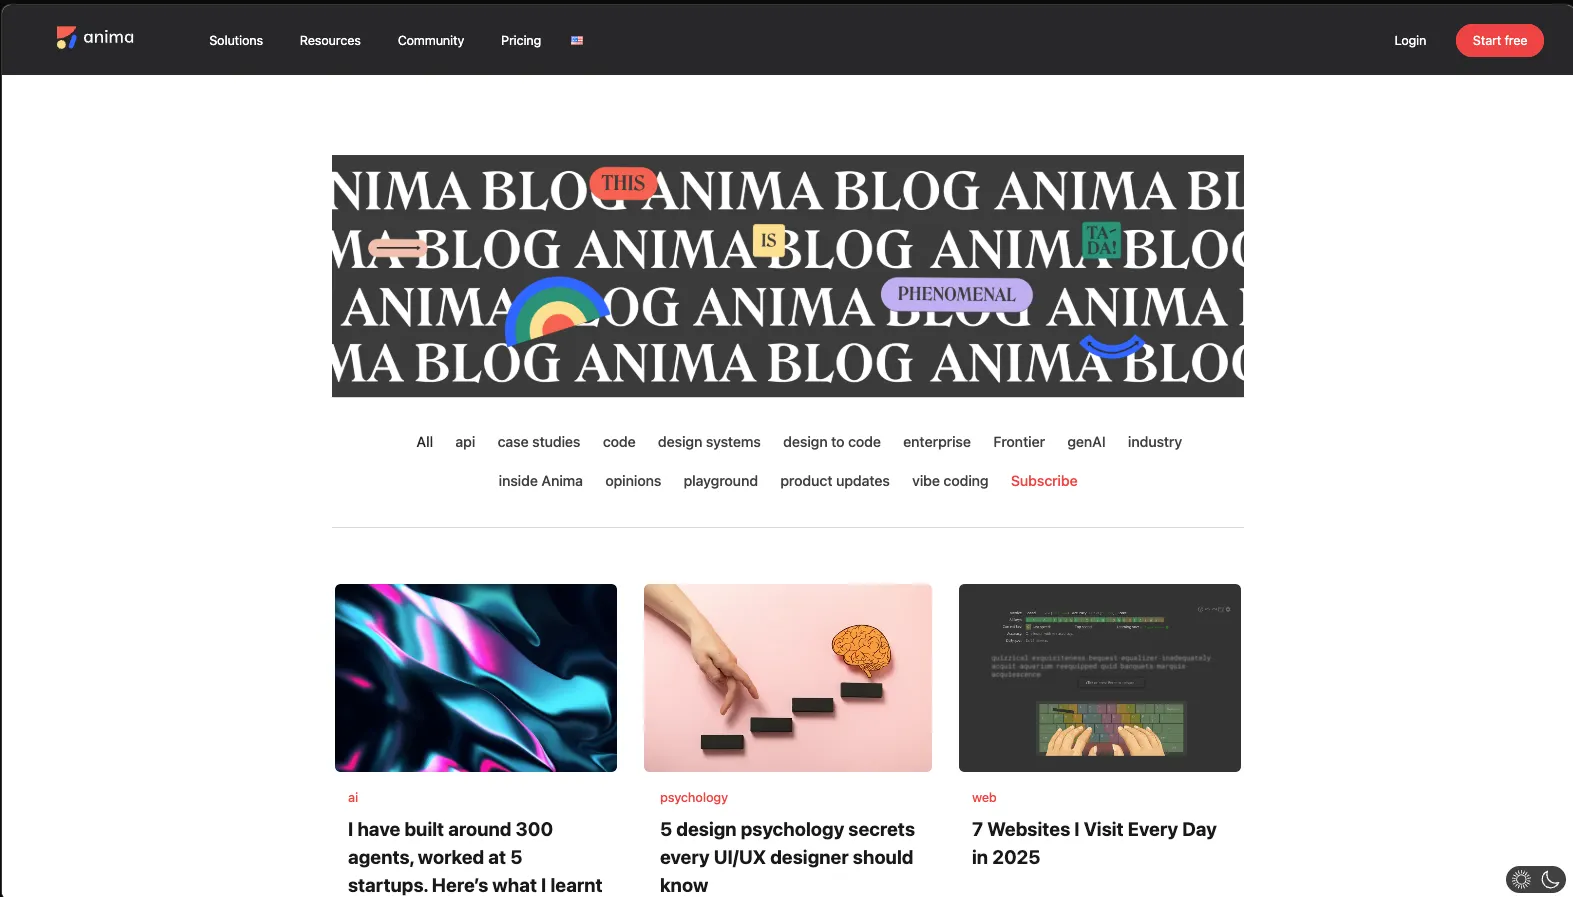
[Screenshot: Preview of generated Anima Blog page]
Step 2: Set Up Contentful
Head to contentful.com and create an account. This is where your team will manage blog content.
Create your content:
-
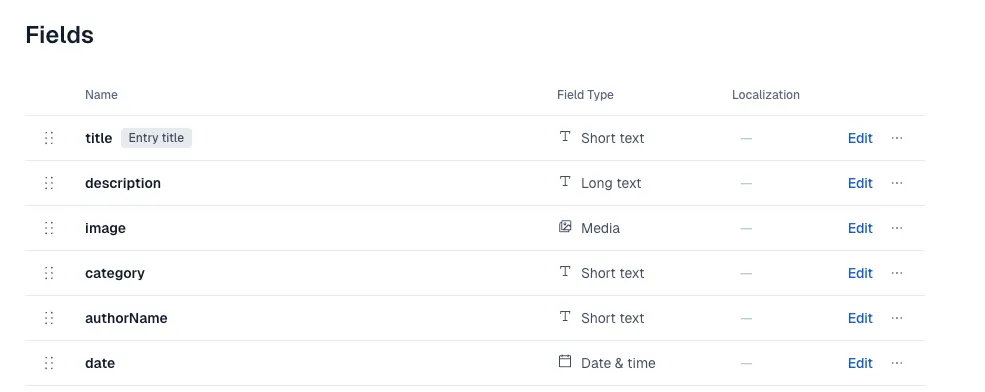
Go to the Content Model tab and create a new content type called “BlogPost”
-
Add fields you need for you blog posts. Example:
- title (Text)
- description (Text)
- image (Media)
- authorName (Text)
- date (Date & Time)

-
Go to the Content tab and add entries so we have data to fetch.
-
Publish your updates
Grab your Contentful access tokens: Find Space ID and Access Token inside: Settings > API Keys
Step 3: Connect Contentful via Chat
Inside Anima Playground Chat you can simply tell it to connect your app with Contentful.
Here’s the single prompt you can paste with instructions from Contentful documentation:
I want to connect my app to Contentful so it reads data from there. Lets use Contentful Delivery API

My content type is 'blogPost’, fetch all entries from there and display them instead of dummy data.

Each blogPost has these fields:

title (text)
description (text)
image (media/asset)
category (text)
authorName (text)
date (Date & time)
authorImage (media/asset)
readingTime (text)

Additional: In Contentful's response, media fields like 'image' and 'authorImage' come back as linked Asset objects, not direct URLs.

Here are my Contenful tokens:
SPACE_ID:     **********
ACCESS_TOKEN: **********
Contenful tokens: Paste your tokens directly in the chat. These are public, read-only keys — no special wiring needed. Note on images: Contentful stores images as special type, so in case you are using images you should make sure to copy last part of the prompt which explains how to work with this type
Anima sets up the Contentful connection and wires everything in your app. Once that’s done, your real articles will appear in the preview.
Step 4: Make visual changes using vibe‑coding
Want to change something? Just ask:
-
“Lets show 4 columns instead of 3”
-
“Remove header section”
-
“Update nav bar so it looks more like the nav bar in screenshot I attached I want this pinterest like navigation, where each item has background color, and it is in pastel light colors”

-
“Lets add Event announcement banner, under the header It should say that on 20th of January there will be new updates lunching, join live”

In this example, after all updates the app looks like this:
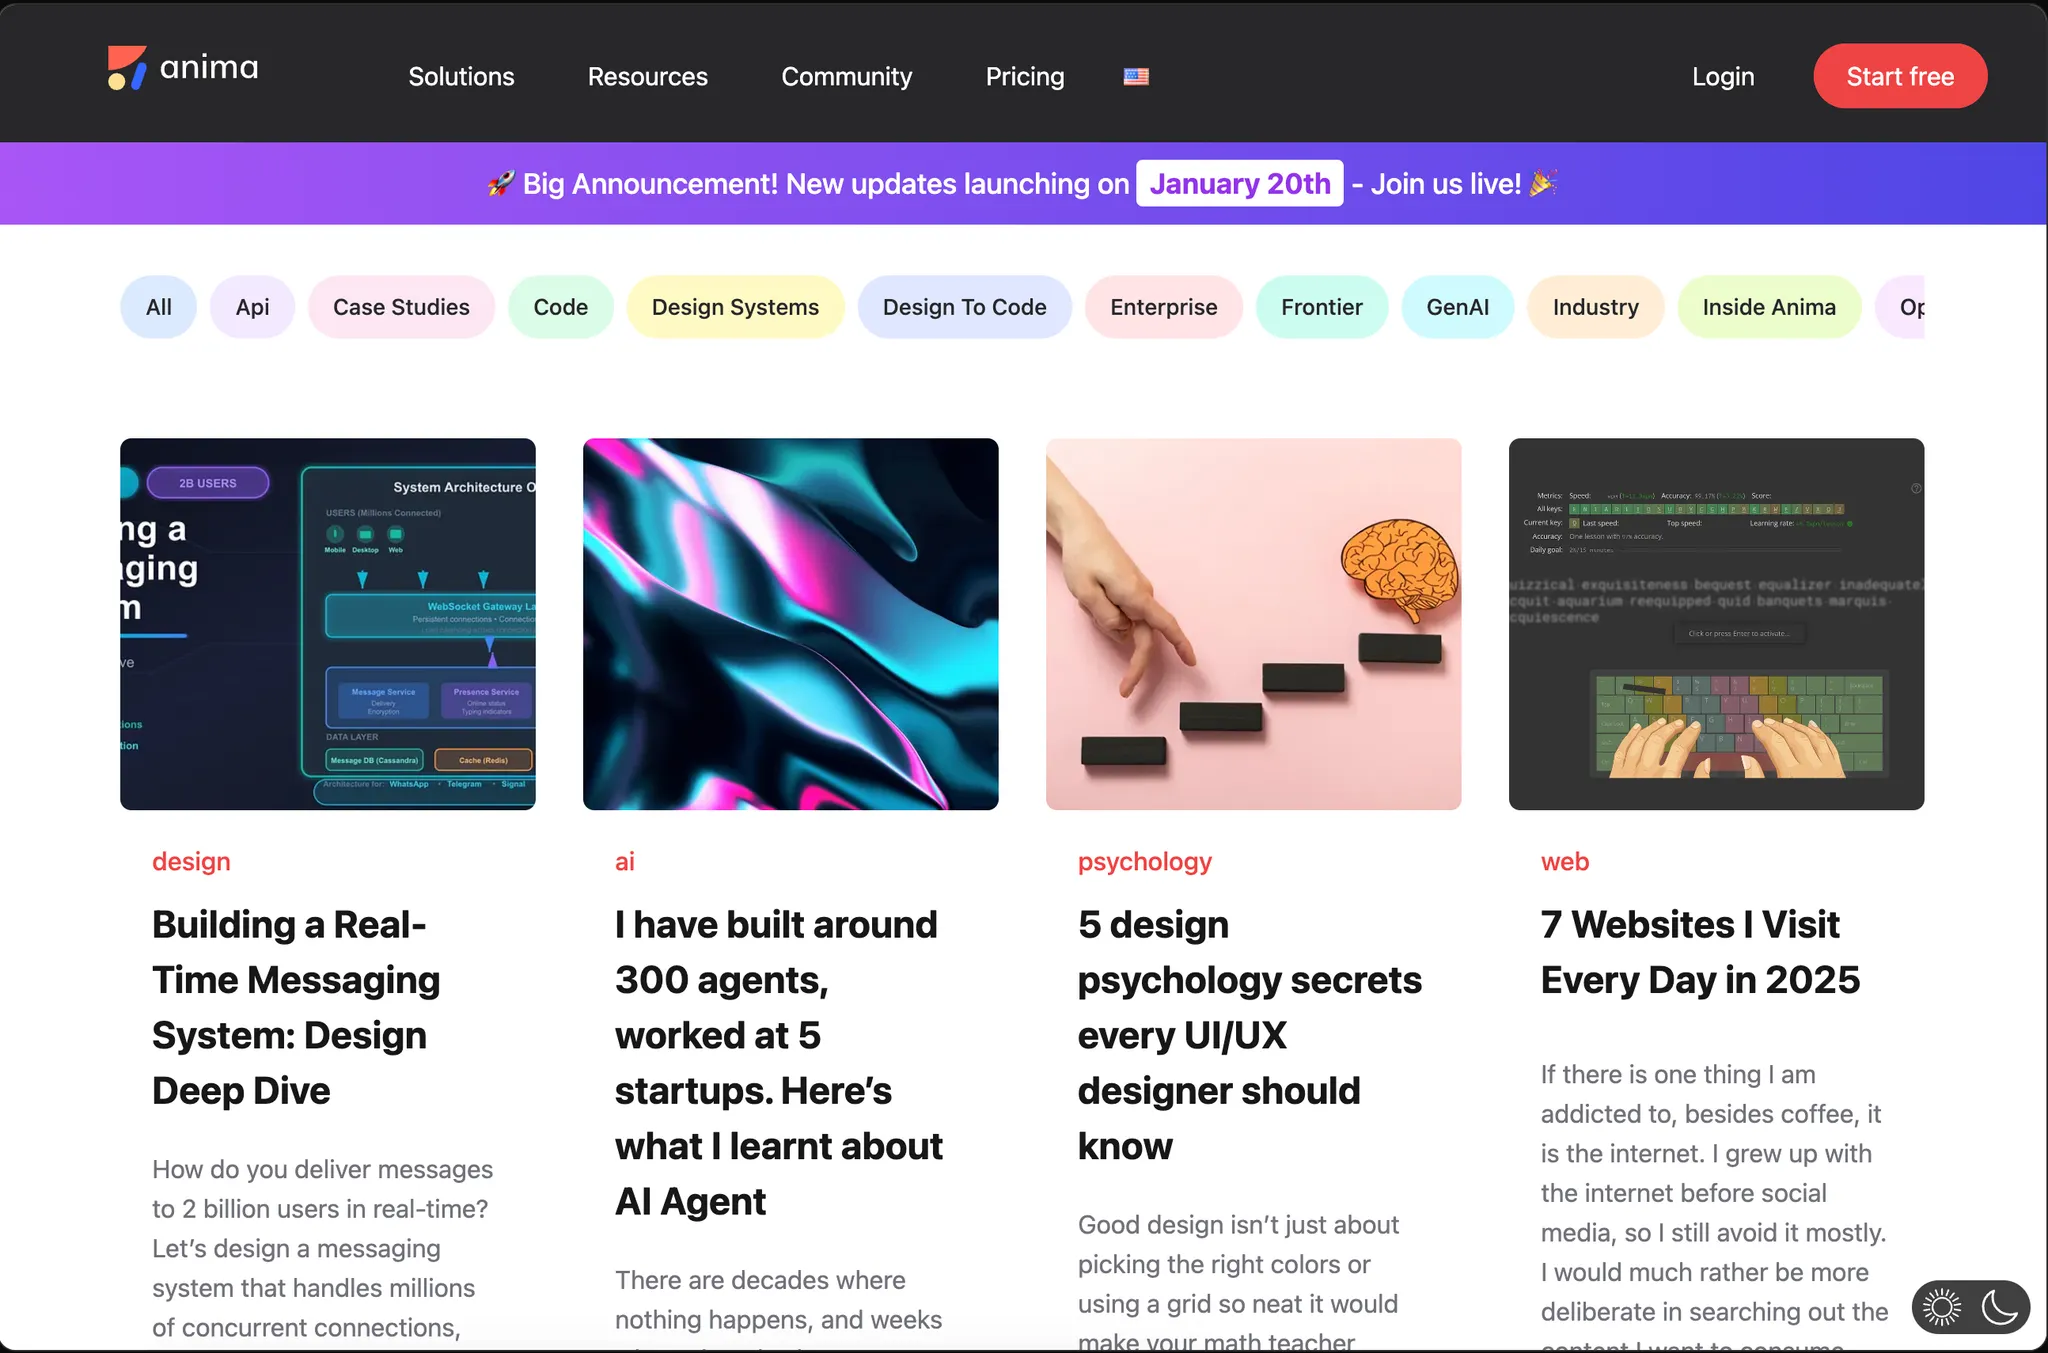
[Screenshot: Preview of updated Anima Blog page with all the requested changes]
Step 5: Publish
Once everything looks right, you can publish it by clicking on “Publish” button. You will get assigned, shareable link or you can connect it to your custom domain.
Taking it further
For professional teams that modernize their blog and have a dedicated engineering team that could take the project to production. When you’re ready to hand off:
- Share the Playground with your dev team
- Or download the code as a complete React project
The code is clean, well-structured, and ready for production. Your developers will thank you.
Bonus: Deploy to Netlify
While Anima offers a quick way to deploy static apps, Netlify allows advanced hosting, and features such as SSR (see below) for SEO. Here’s how to take your Anima created Blog to Netlify:
- Download code from Anima
- Push to GitHub
- Log in to Netlify and select “Import from Git”.
- In Netlify’s “Site Settings” -> “Environment Variables”, add your:
CONTENTFUL_SPACE_ID,CONTENTFUL_ACCESS_TOKEN - Click Deploy
Server Side Rendering (SSR) and SEO
For public blogs, server-side rendering (SSR) gives you real advantages:
- Better search rankings: search engines can read your full content immediately
- Faster page loads: visitors see content sooner
- Smoother experience: pages feel snappier and more responsive
Your dev team can easily wrap the React components in Next.js to get these benefits. They’ll have a complete, working project to build on, with code that’s ready for production.
Summary
Migrating a blog used to mean rebuilding the entire design in a new codebase which was long and manual work.
With Anima Playground, you generate the frontend instantly from your existing URL. Pair it with Contentful for easy content management and publish it directly from Anima, or hand off a polished, working project to your dev team to take it further.