Use live Storybook components in your Figma prototypes4 min read
Reading Time: 5 minutesOne of the biggest challenges for product teams working with design systems is ensuring that all components across all workspaces are consistent with the ones used in production.
With Anima, you no longer have to worry. Anima automatically syncs your Figma components with your code components in Storybook, including variants, Auto Layout, and Figma Styles. It protects and ensures a single source of truth at the code level and keeps all components continuously up-to-date in Figma.
And since Anima renders your actual component code in its Live Preview, you can design and share an interactive, responsive prototype that’s 1:1 with production—without a developer. In this article, we’ll show you how it works in 3 simple steps.
Step 1. Import your code components into Figma and build a prototype
Here’s how you can easily import your code components into Figma and use them to build interactive, responsive prototypes without a developer. To demonstrate this, we’ll create a sample form based on this wireframe:
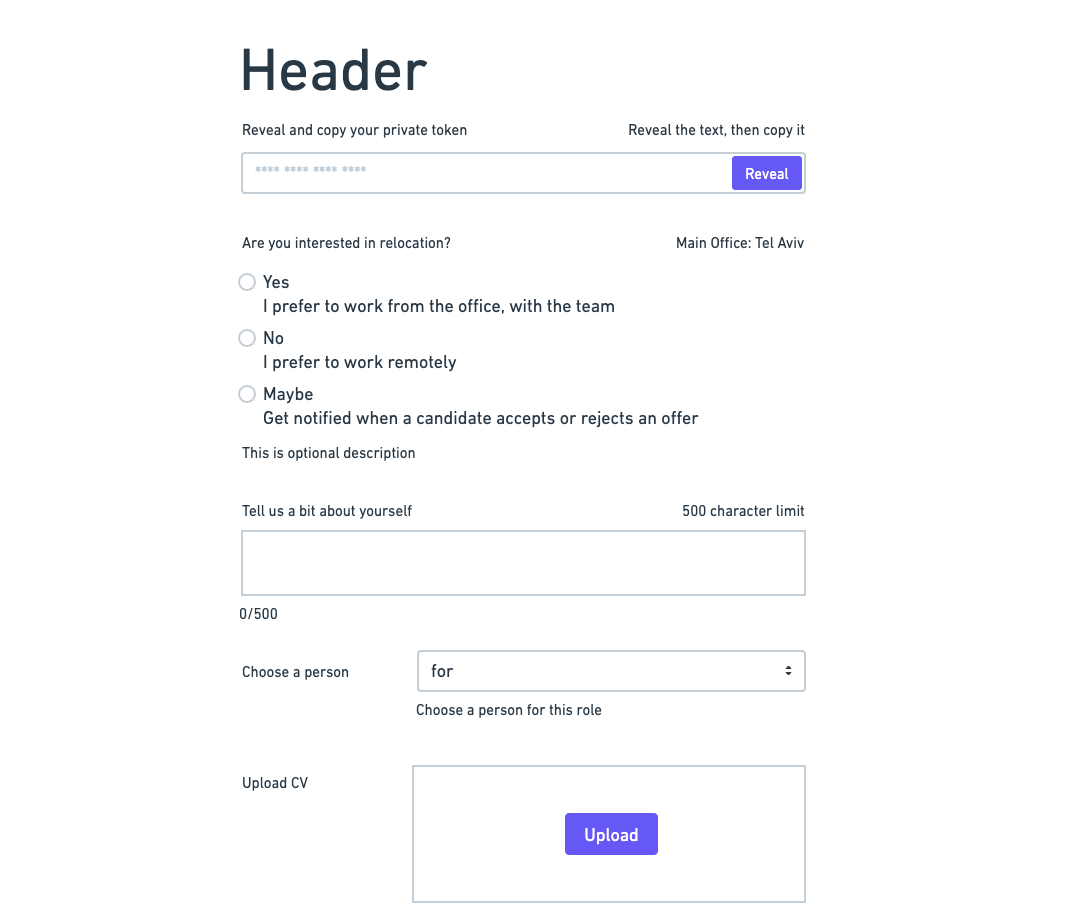
A simple form wireframe
We will be building our form using components from the Supabase design system in Storybook, but you can just as easily use your own coded design system or any other open-source design system available on Storybook.
Let’s head over to Supabase’s Storybook:
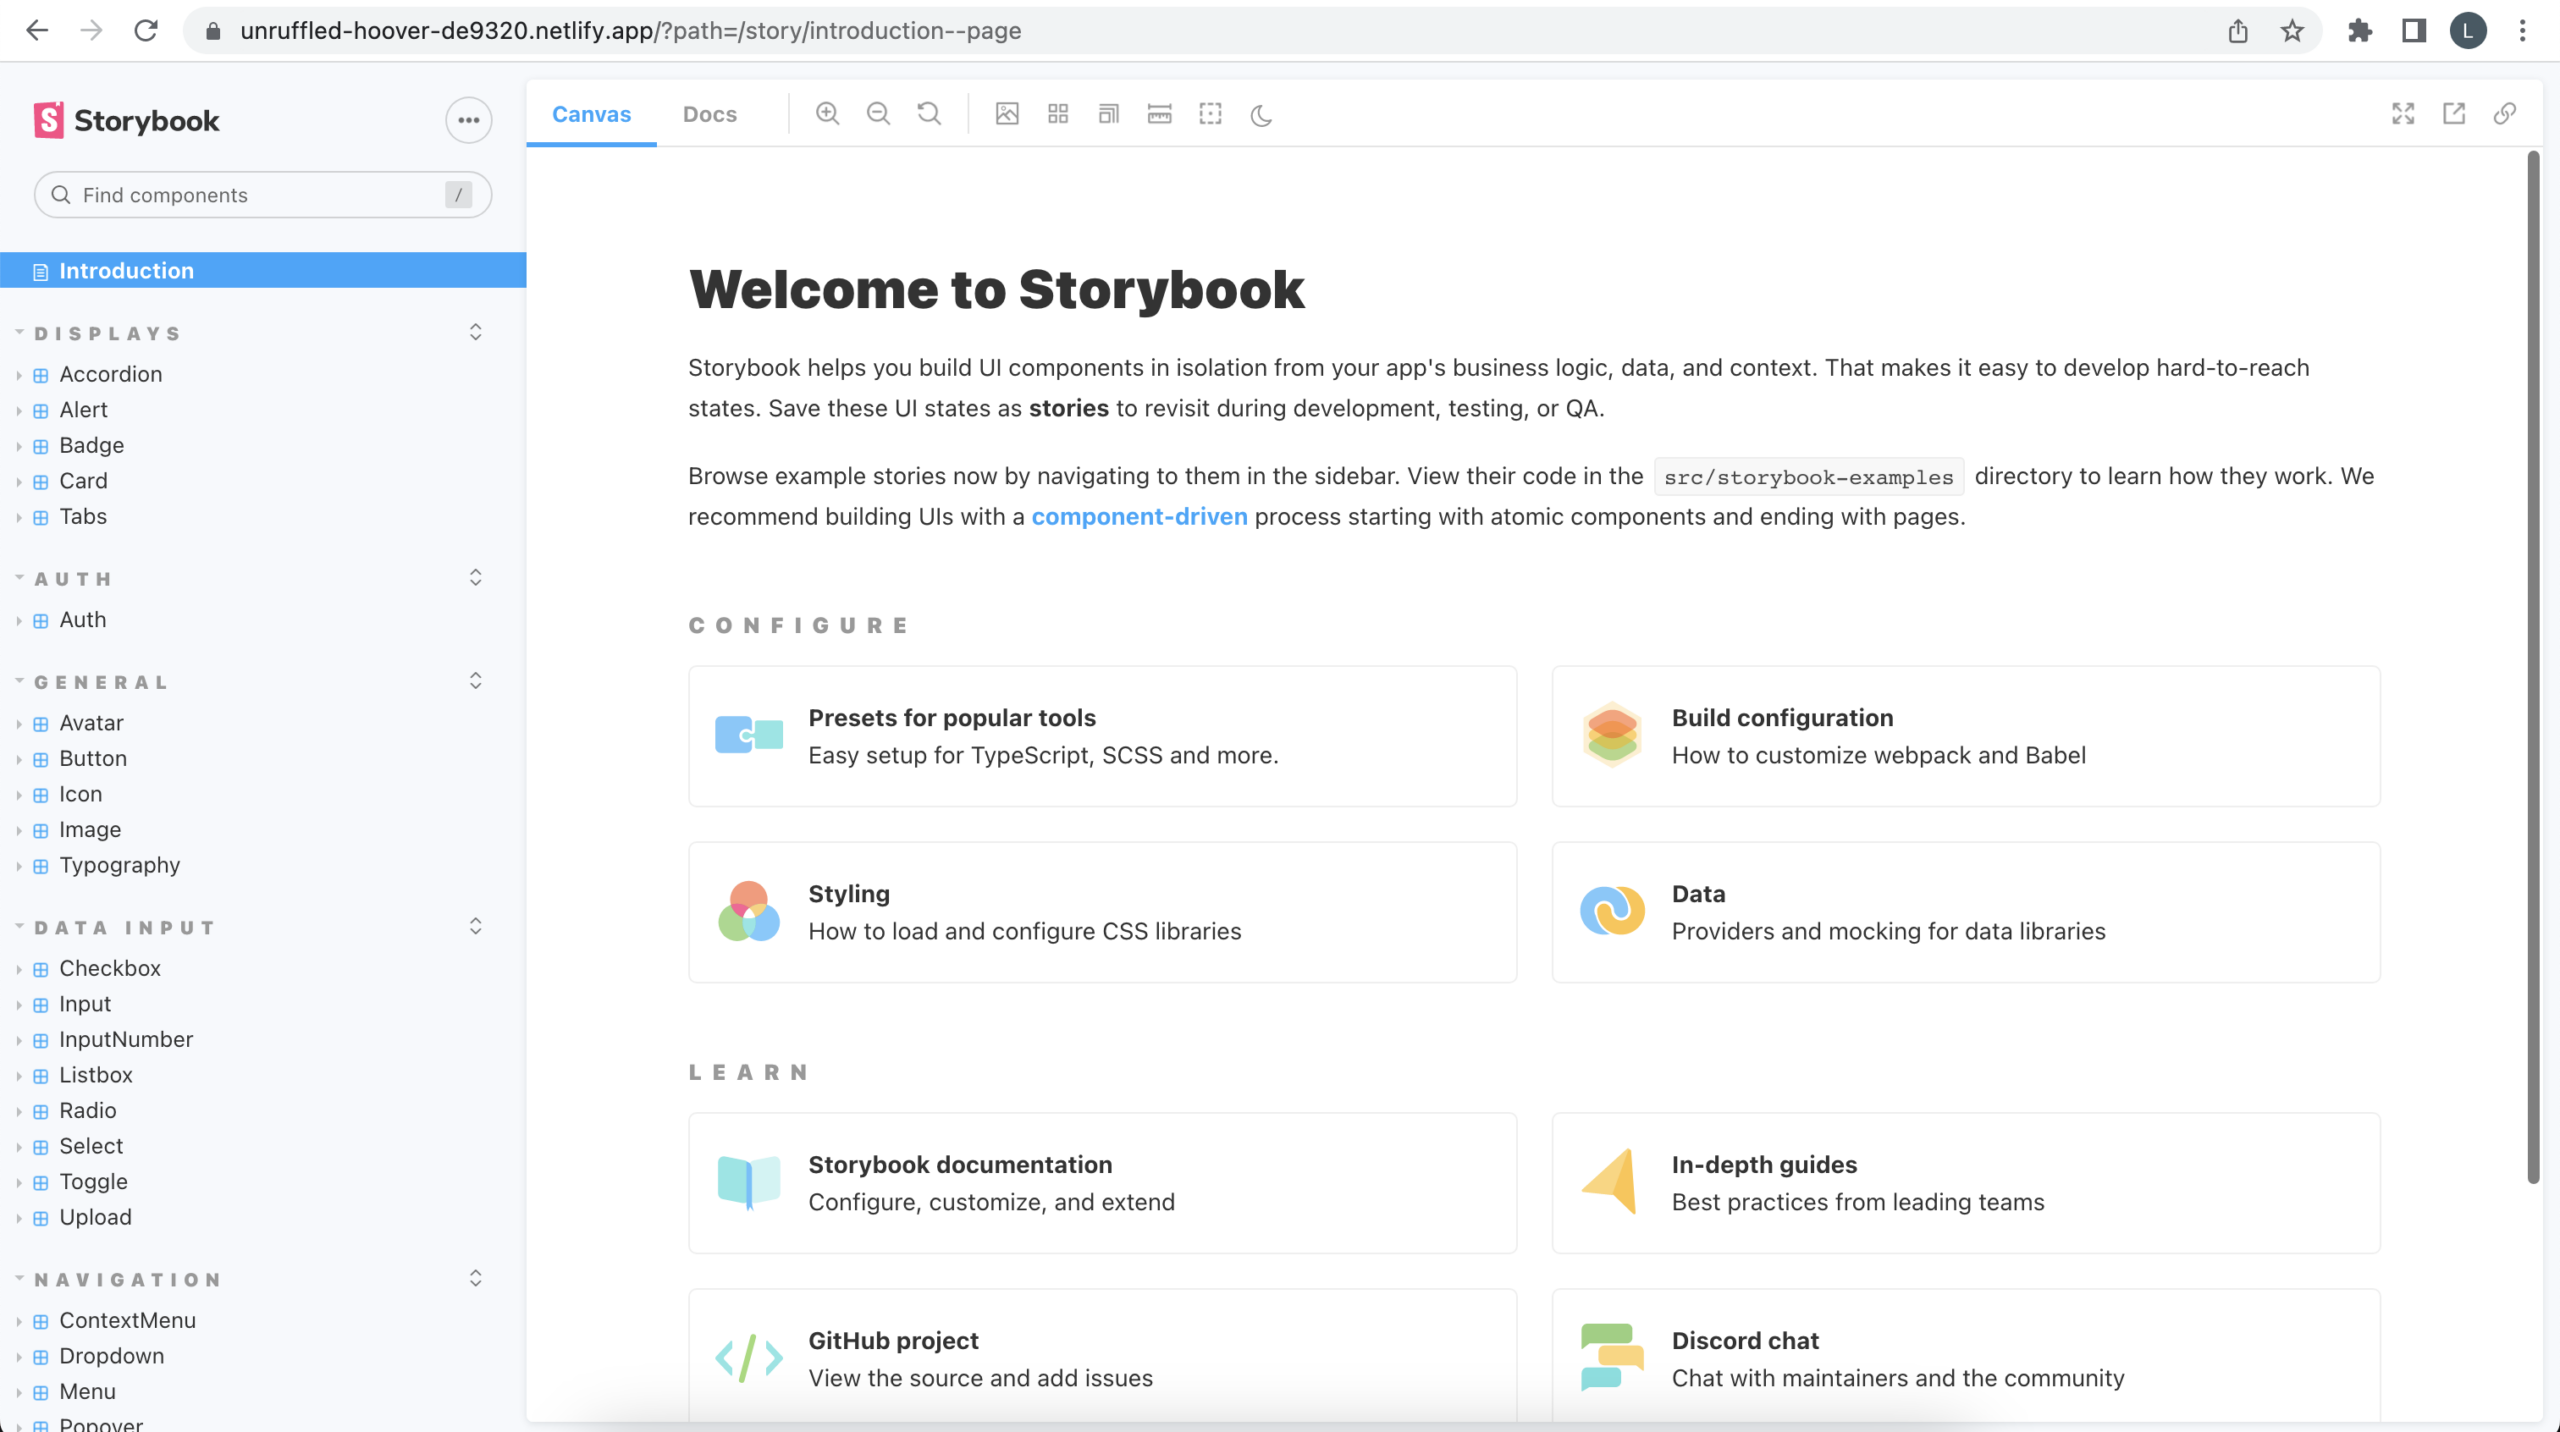
Supabase's open source design system in Storybook
Here, we’ll explore and choose components that suit our needs for our sample project. For our form wireframe, we’ll narrow down the required components to Data Inputs (With Reveal and Copy, Text Area, ListBox, Upload, Radio) and generate them in Figma automatically.
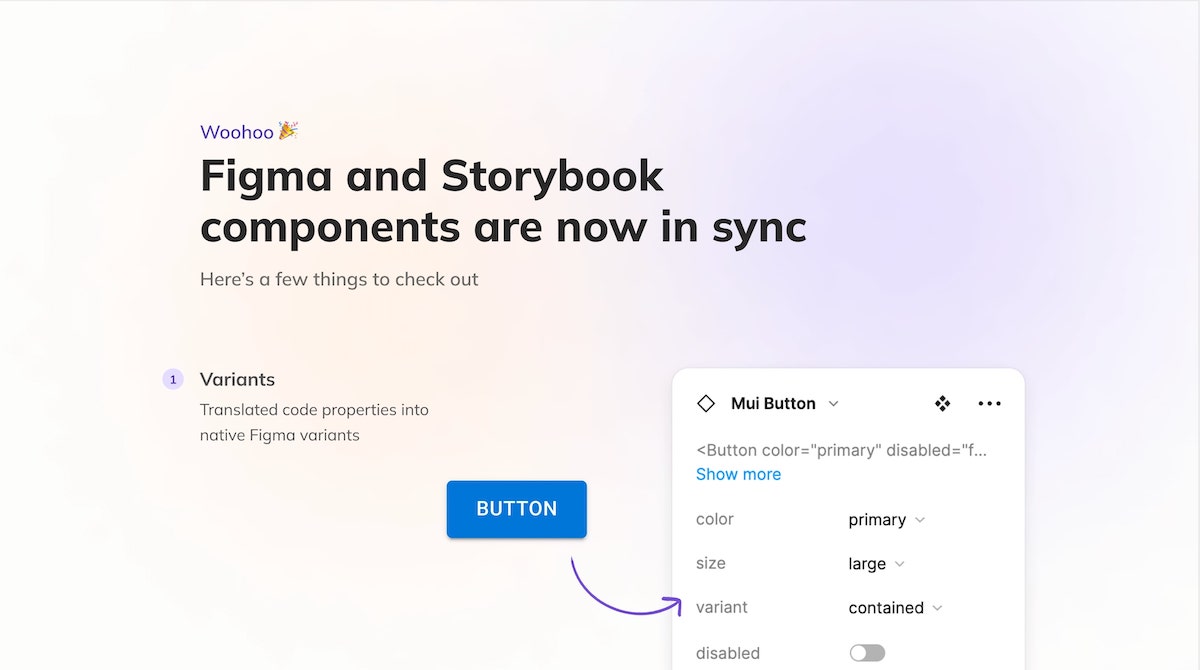
Anima automatically generates a Figma library from Storybook code components
Now, let’s take a closer look at one of the Figma components Anima generated from code.
For this alert component, you can see in the control panel that Anima turned its props into Figma variants and responsive CSS into Figma Auto Layout. Anima also translated its design tokens to Figma’s Local Styles.
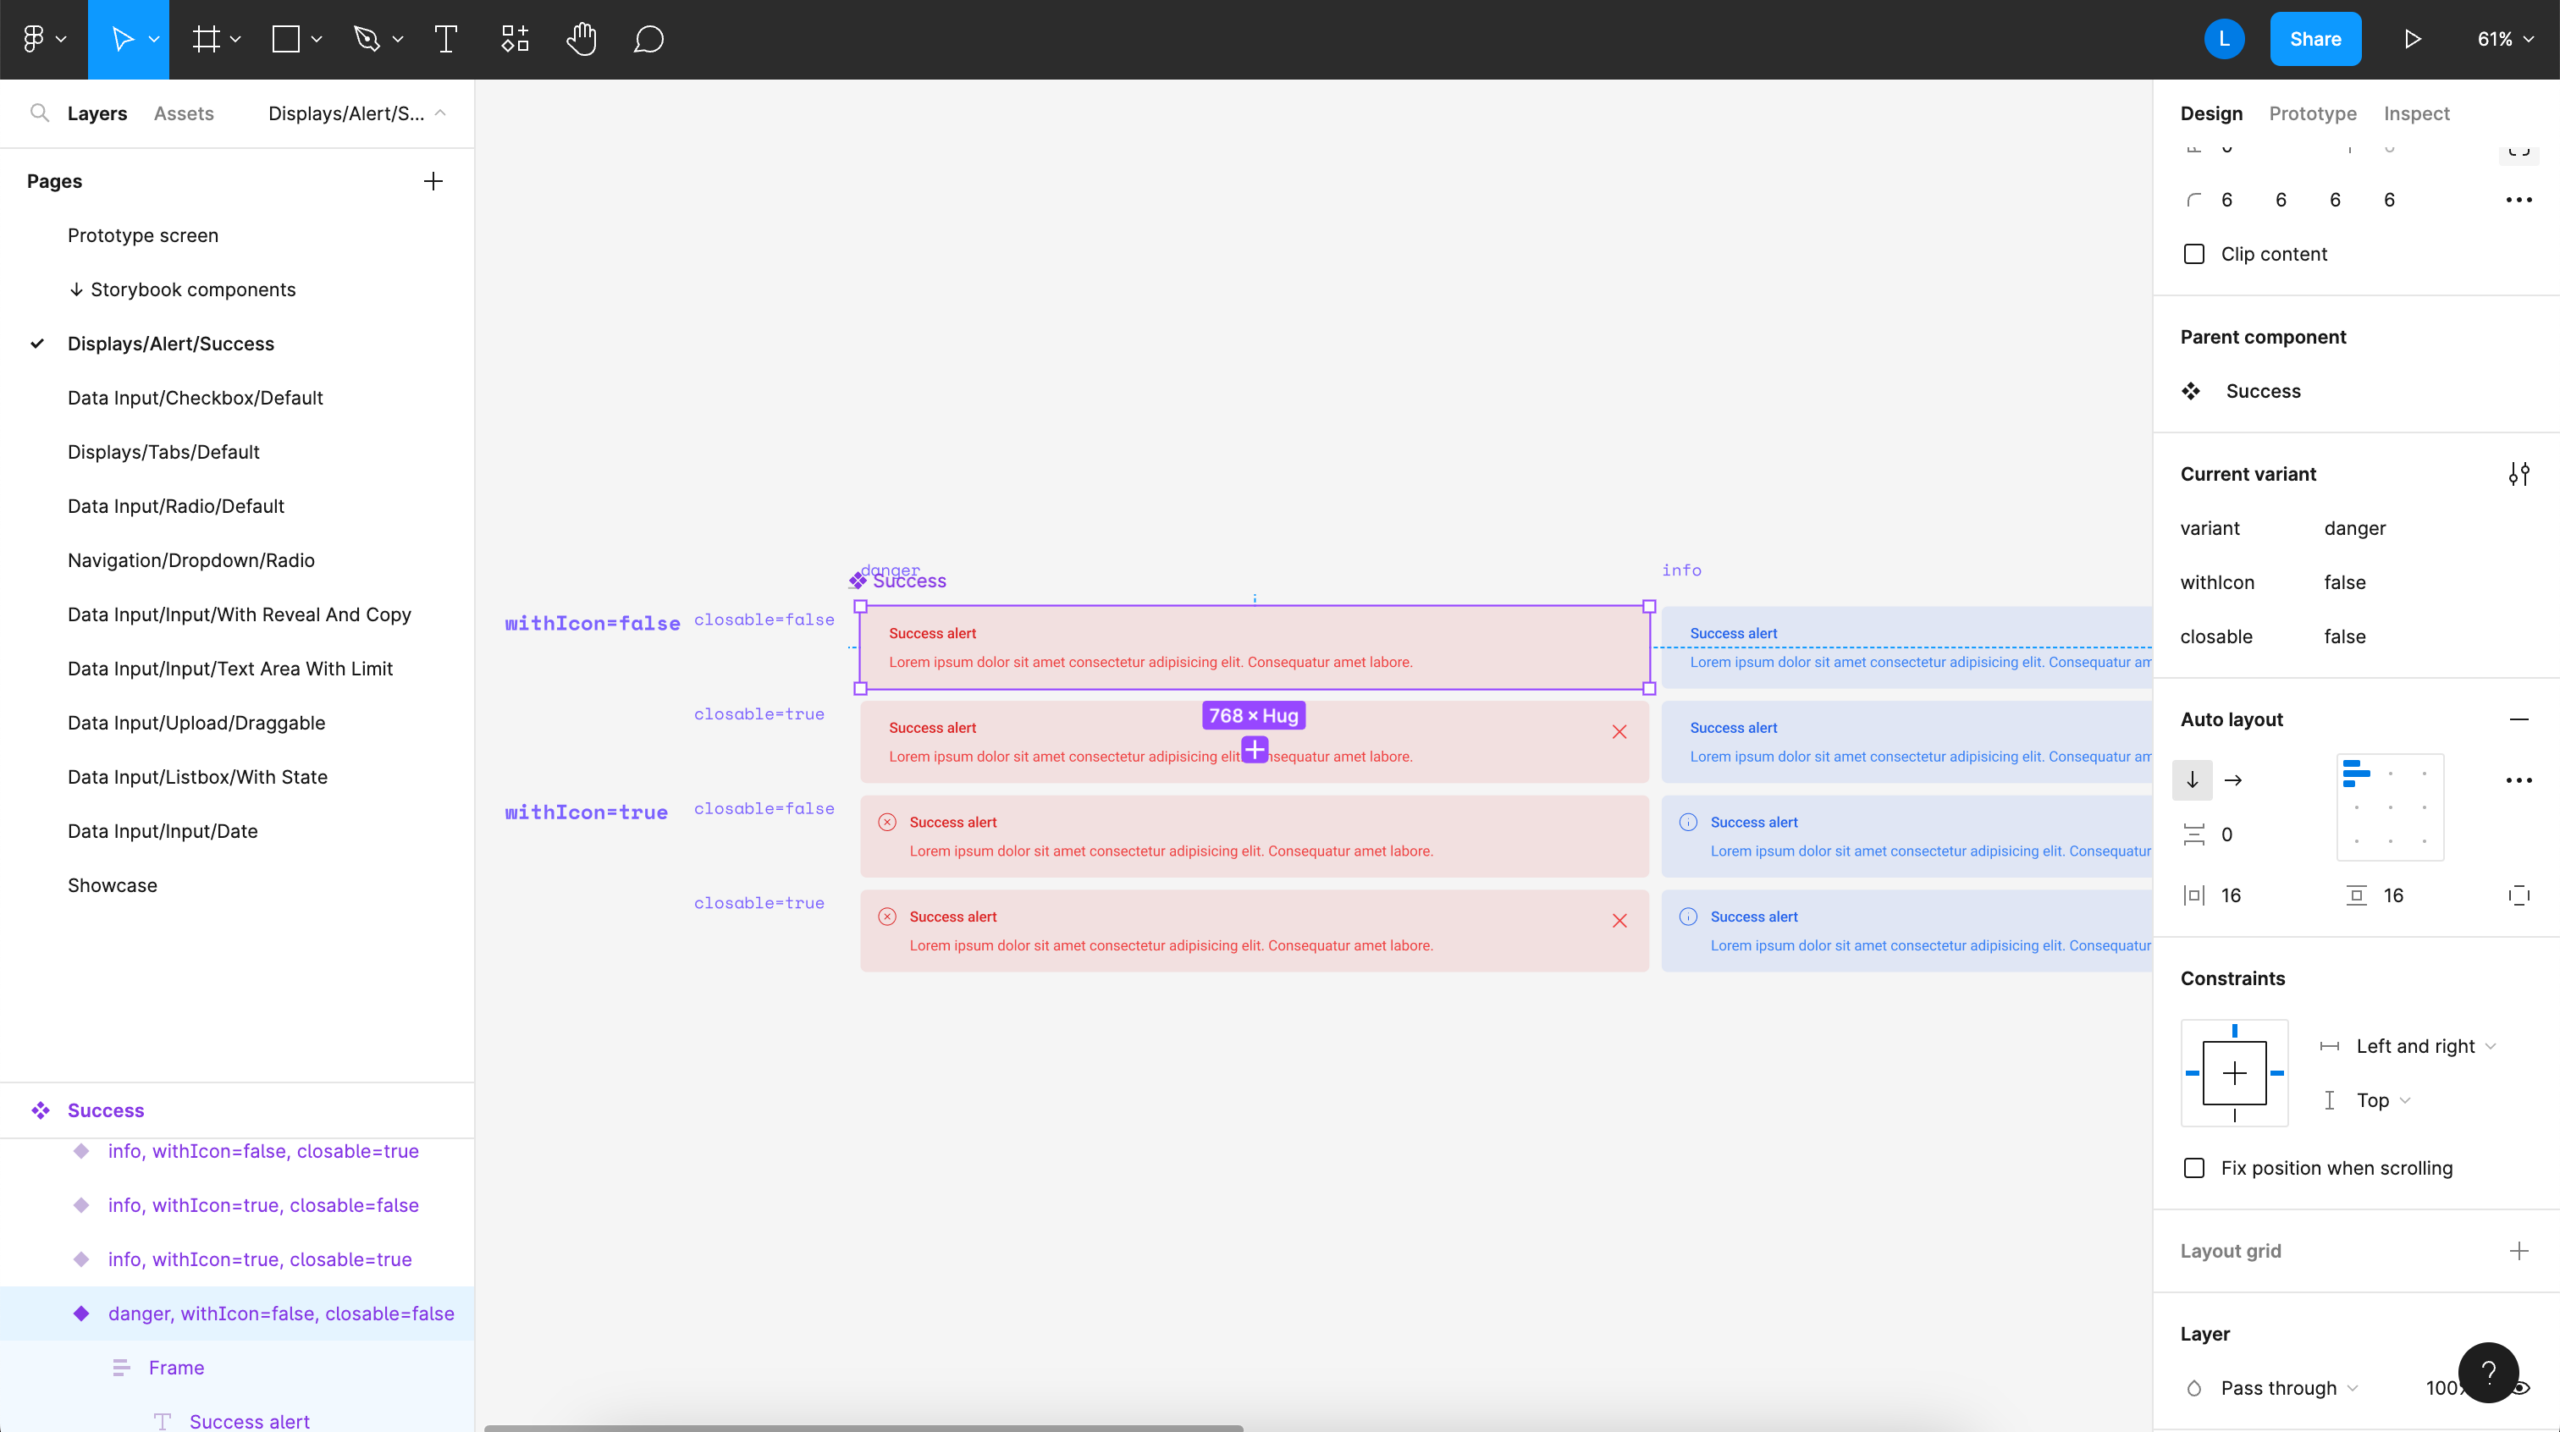
Anima converts code props to Figma variants, responsive CSS to Auto Layout, and design tokens to Figma Styles
Once we’ve confirmed our components were properly imported, we’re ready to create our first design.
Using the newly synced components in the Figma library, we can easily build our form prototype. It’s a simple yet fully functional form with just 5 components from the assets. Did I mention these components are synced in real-time with our coded components in Storybook?!
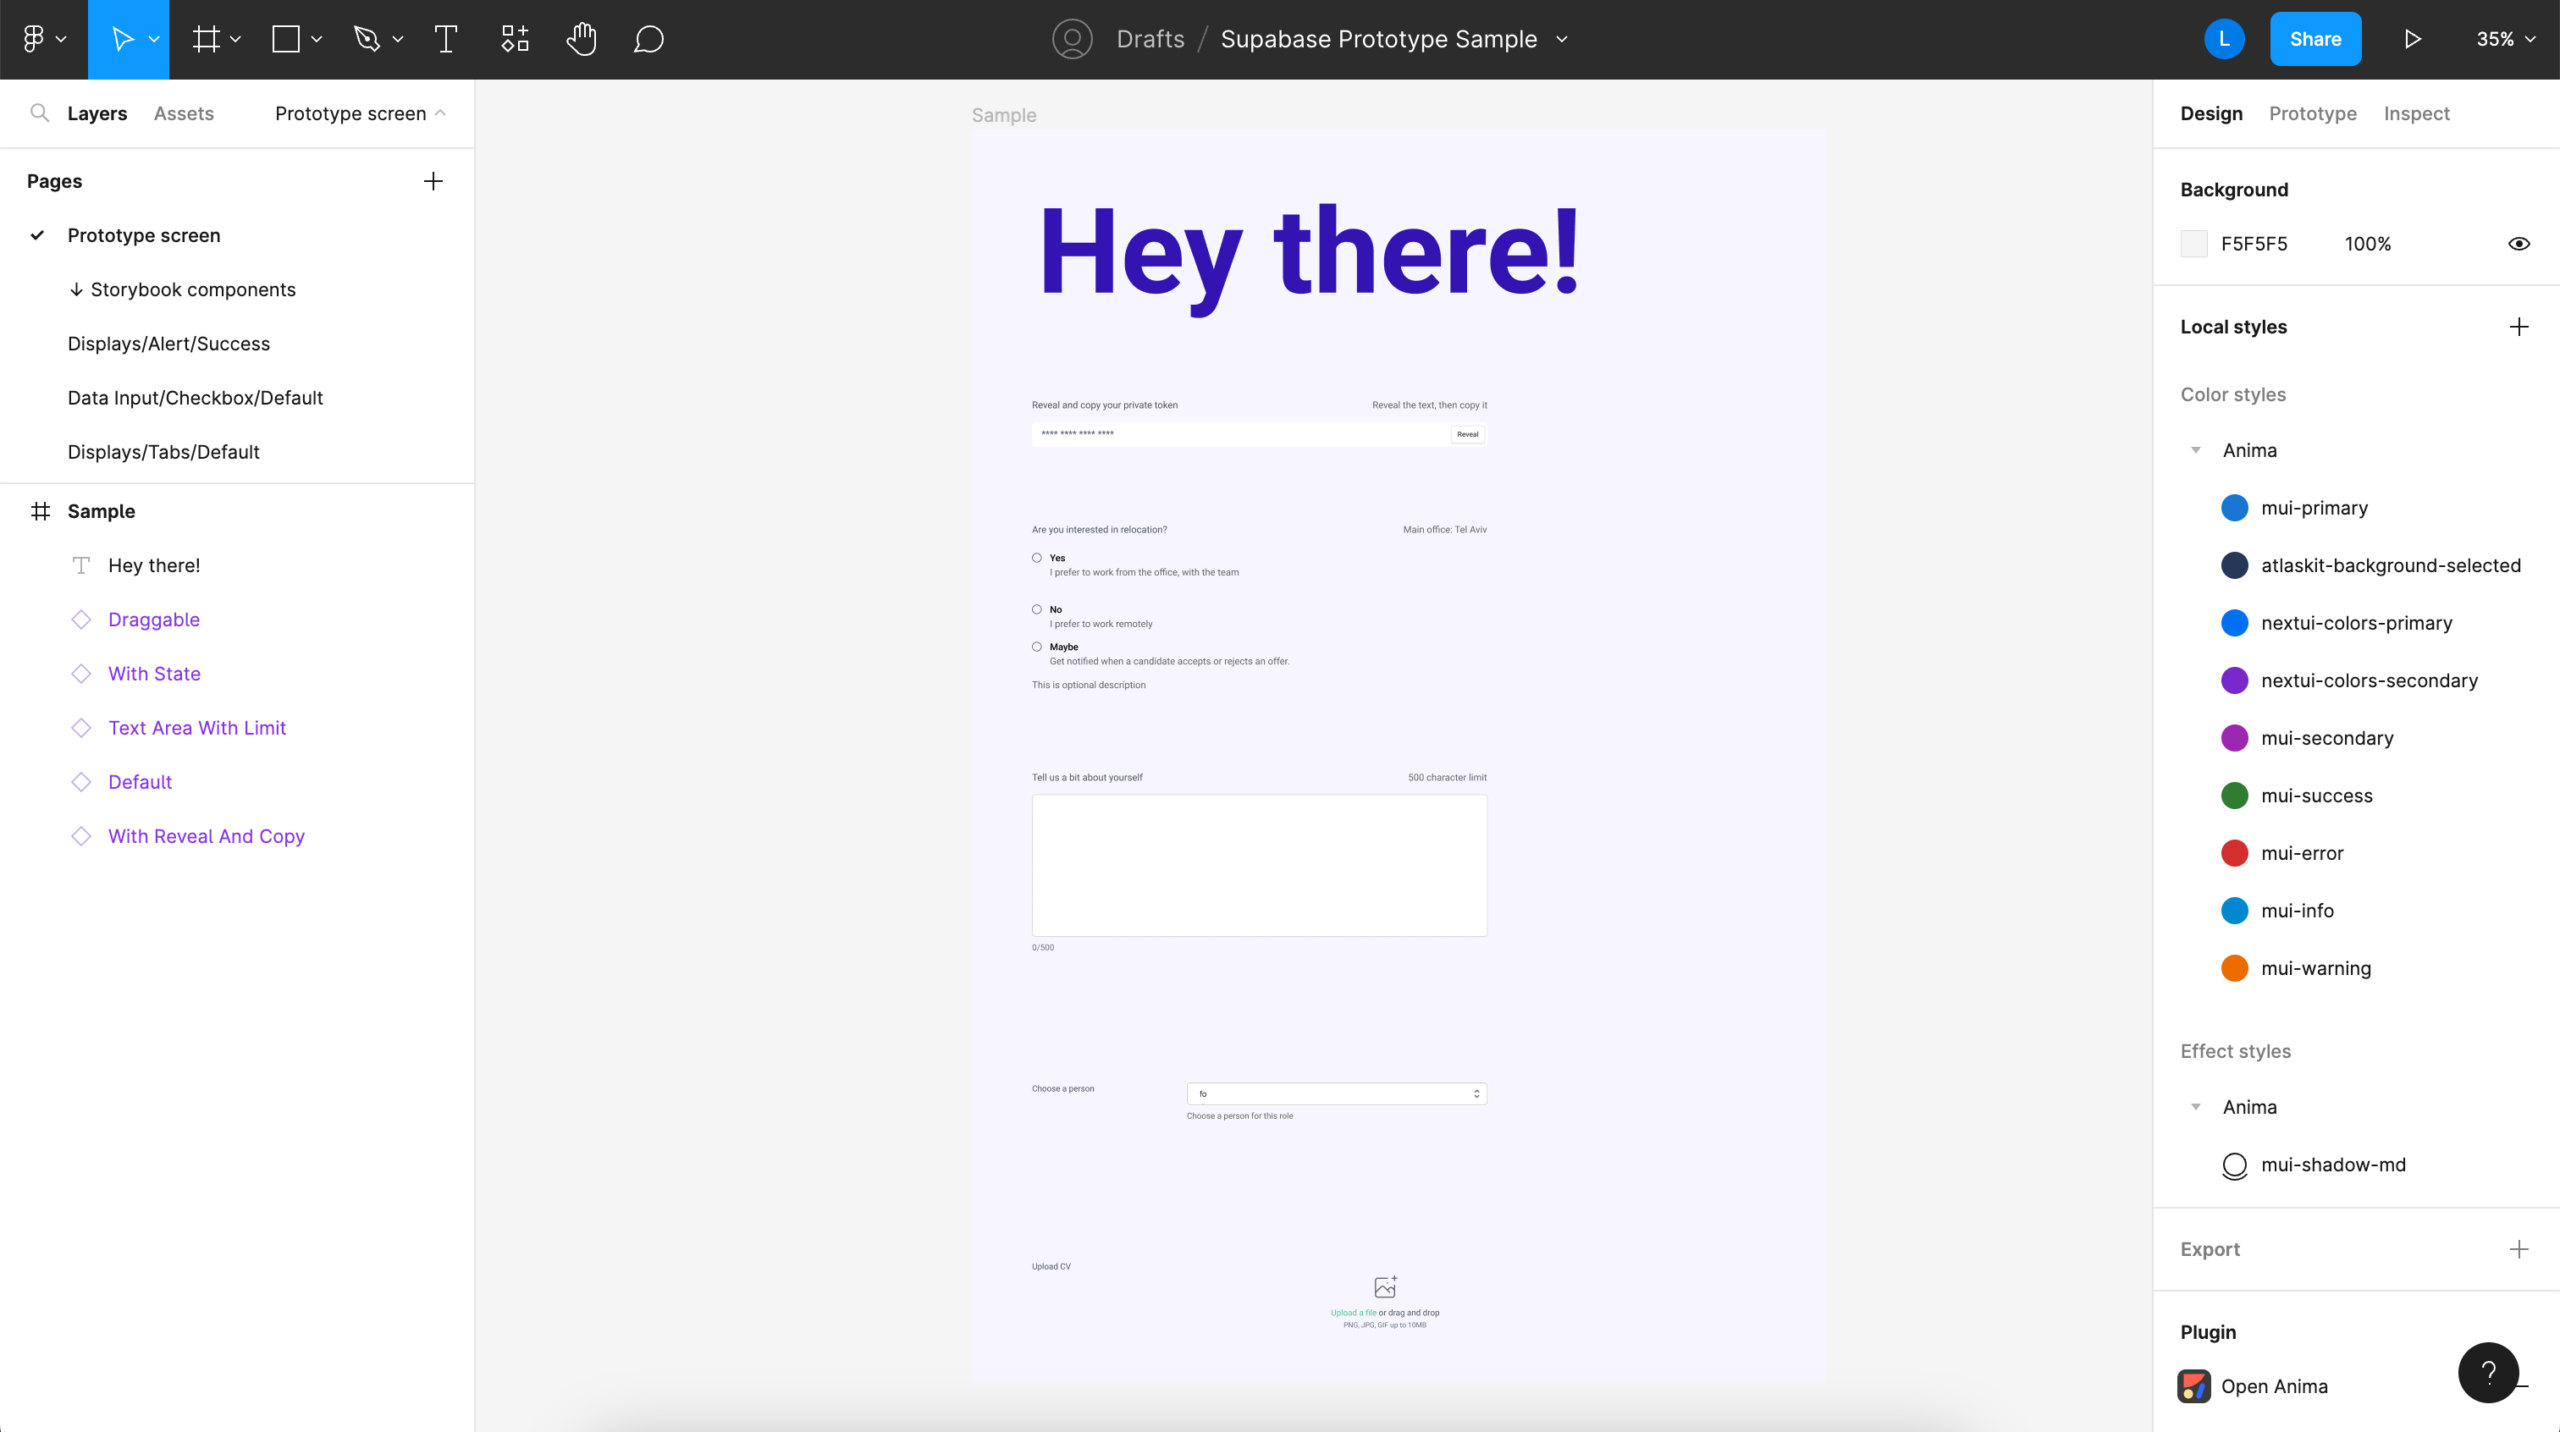
A form built with live production components in Figma
Step 2. Preview your interactive prototype
Anima allows you to transform your Figma project into a live preview or prototype that’s rendered from your actual production code. You first need to launch and sign into Anima’s plugin for Figma, and choose “Turn Design to Code” option.
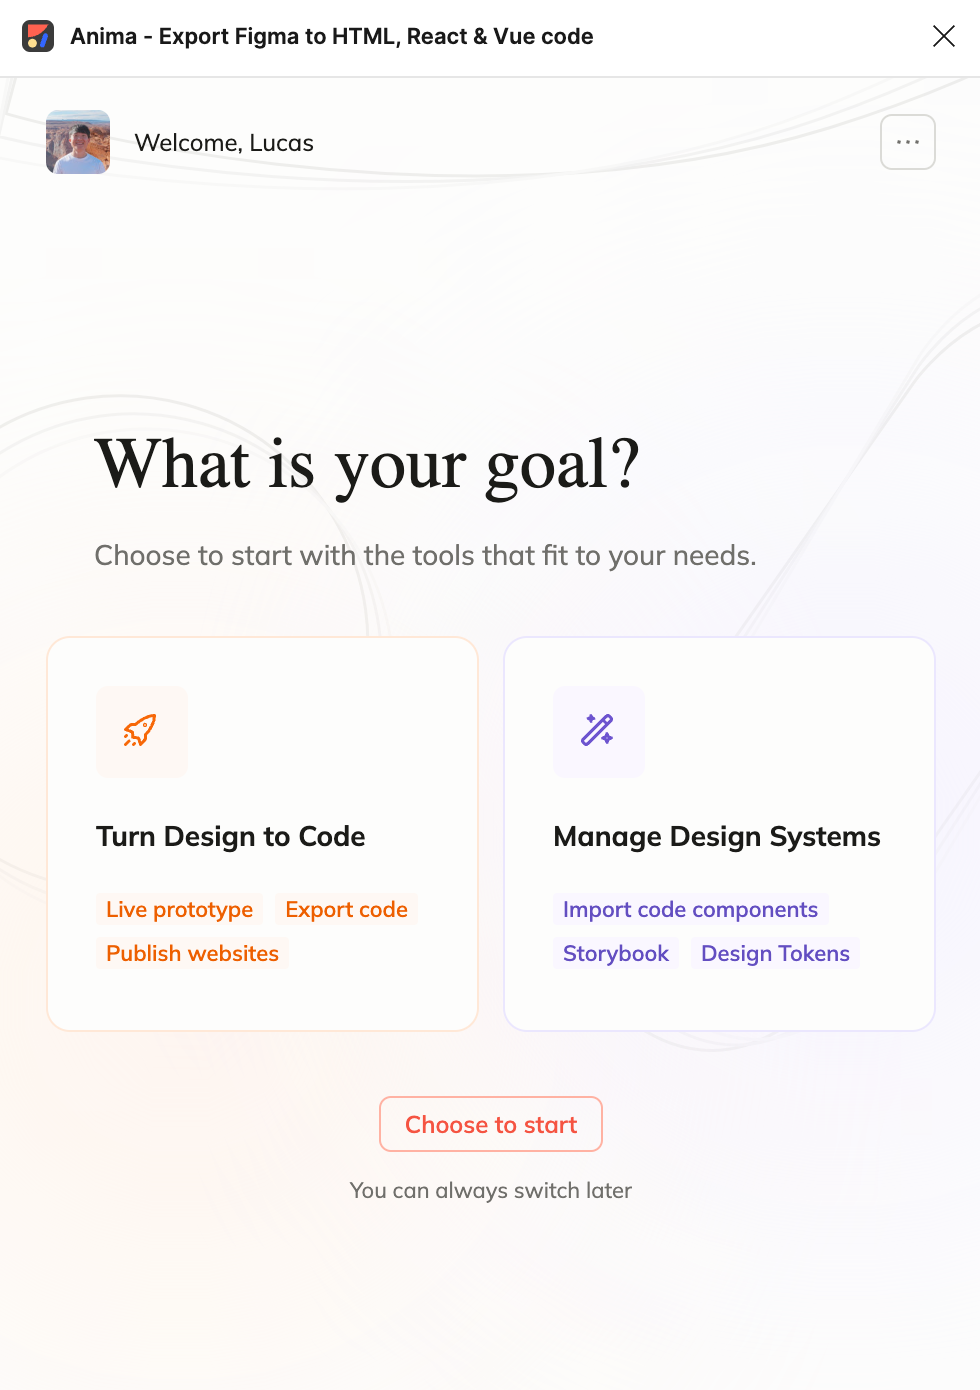
Anima plugin's opening screen
Next, select the frame you would like to preview (in our case, our sample form), and click on the “Preview” button.
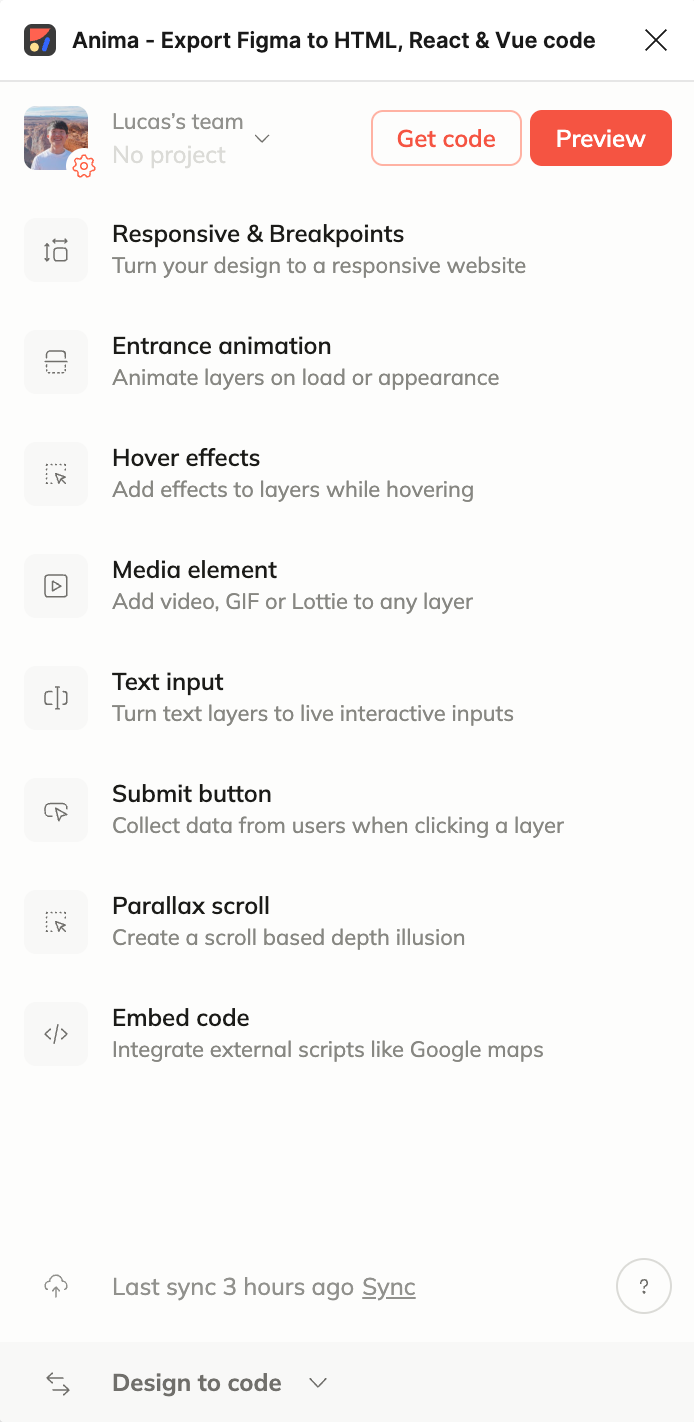
Preview your interactive prototype right from Anima's plugin for Figma
In the live preview, all of your components will look and behave exactly as they will in production since they’re rendered with your actual source code. For example, you can click on the dropdown menu and choose different options exactly like you can in Storybook—or in the final product.
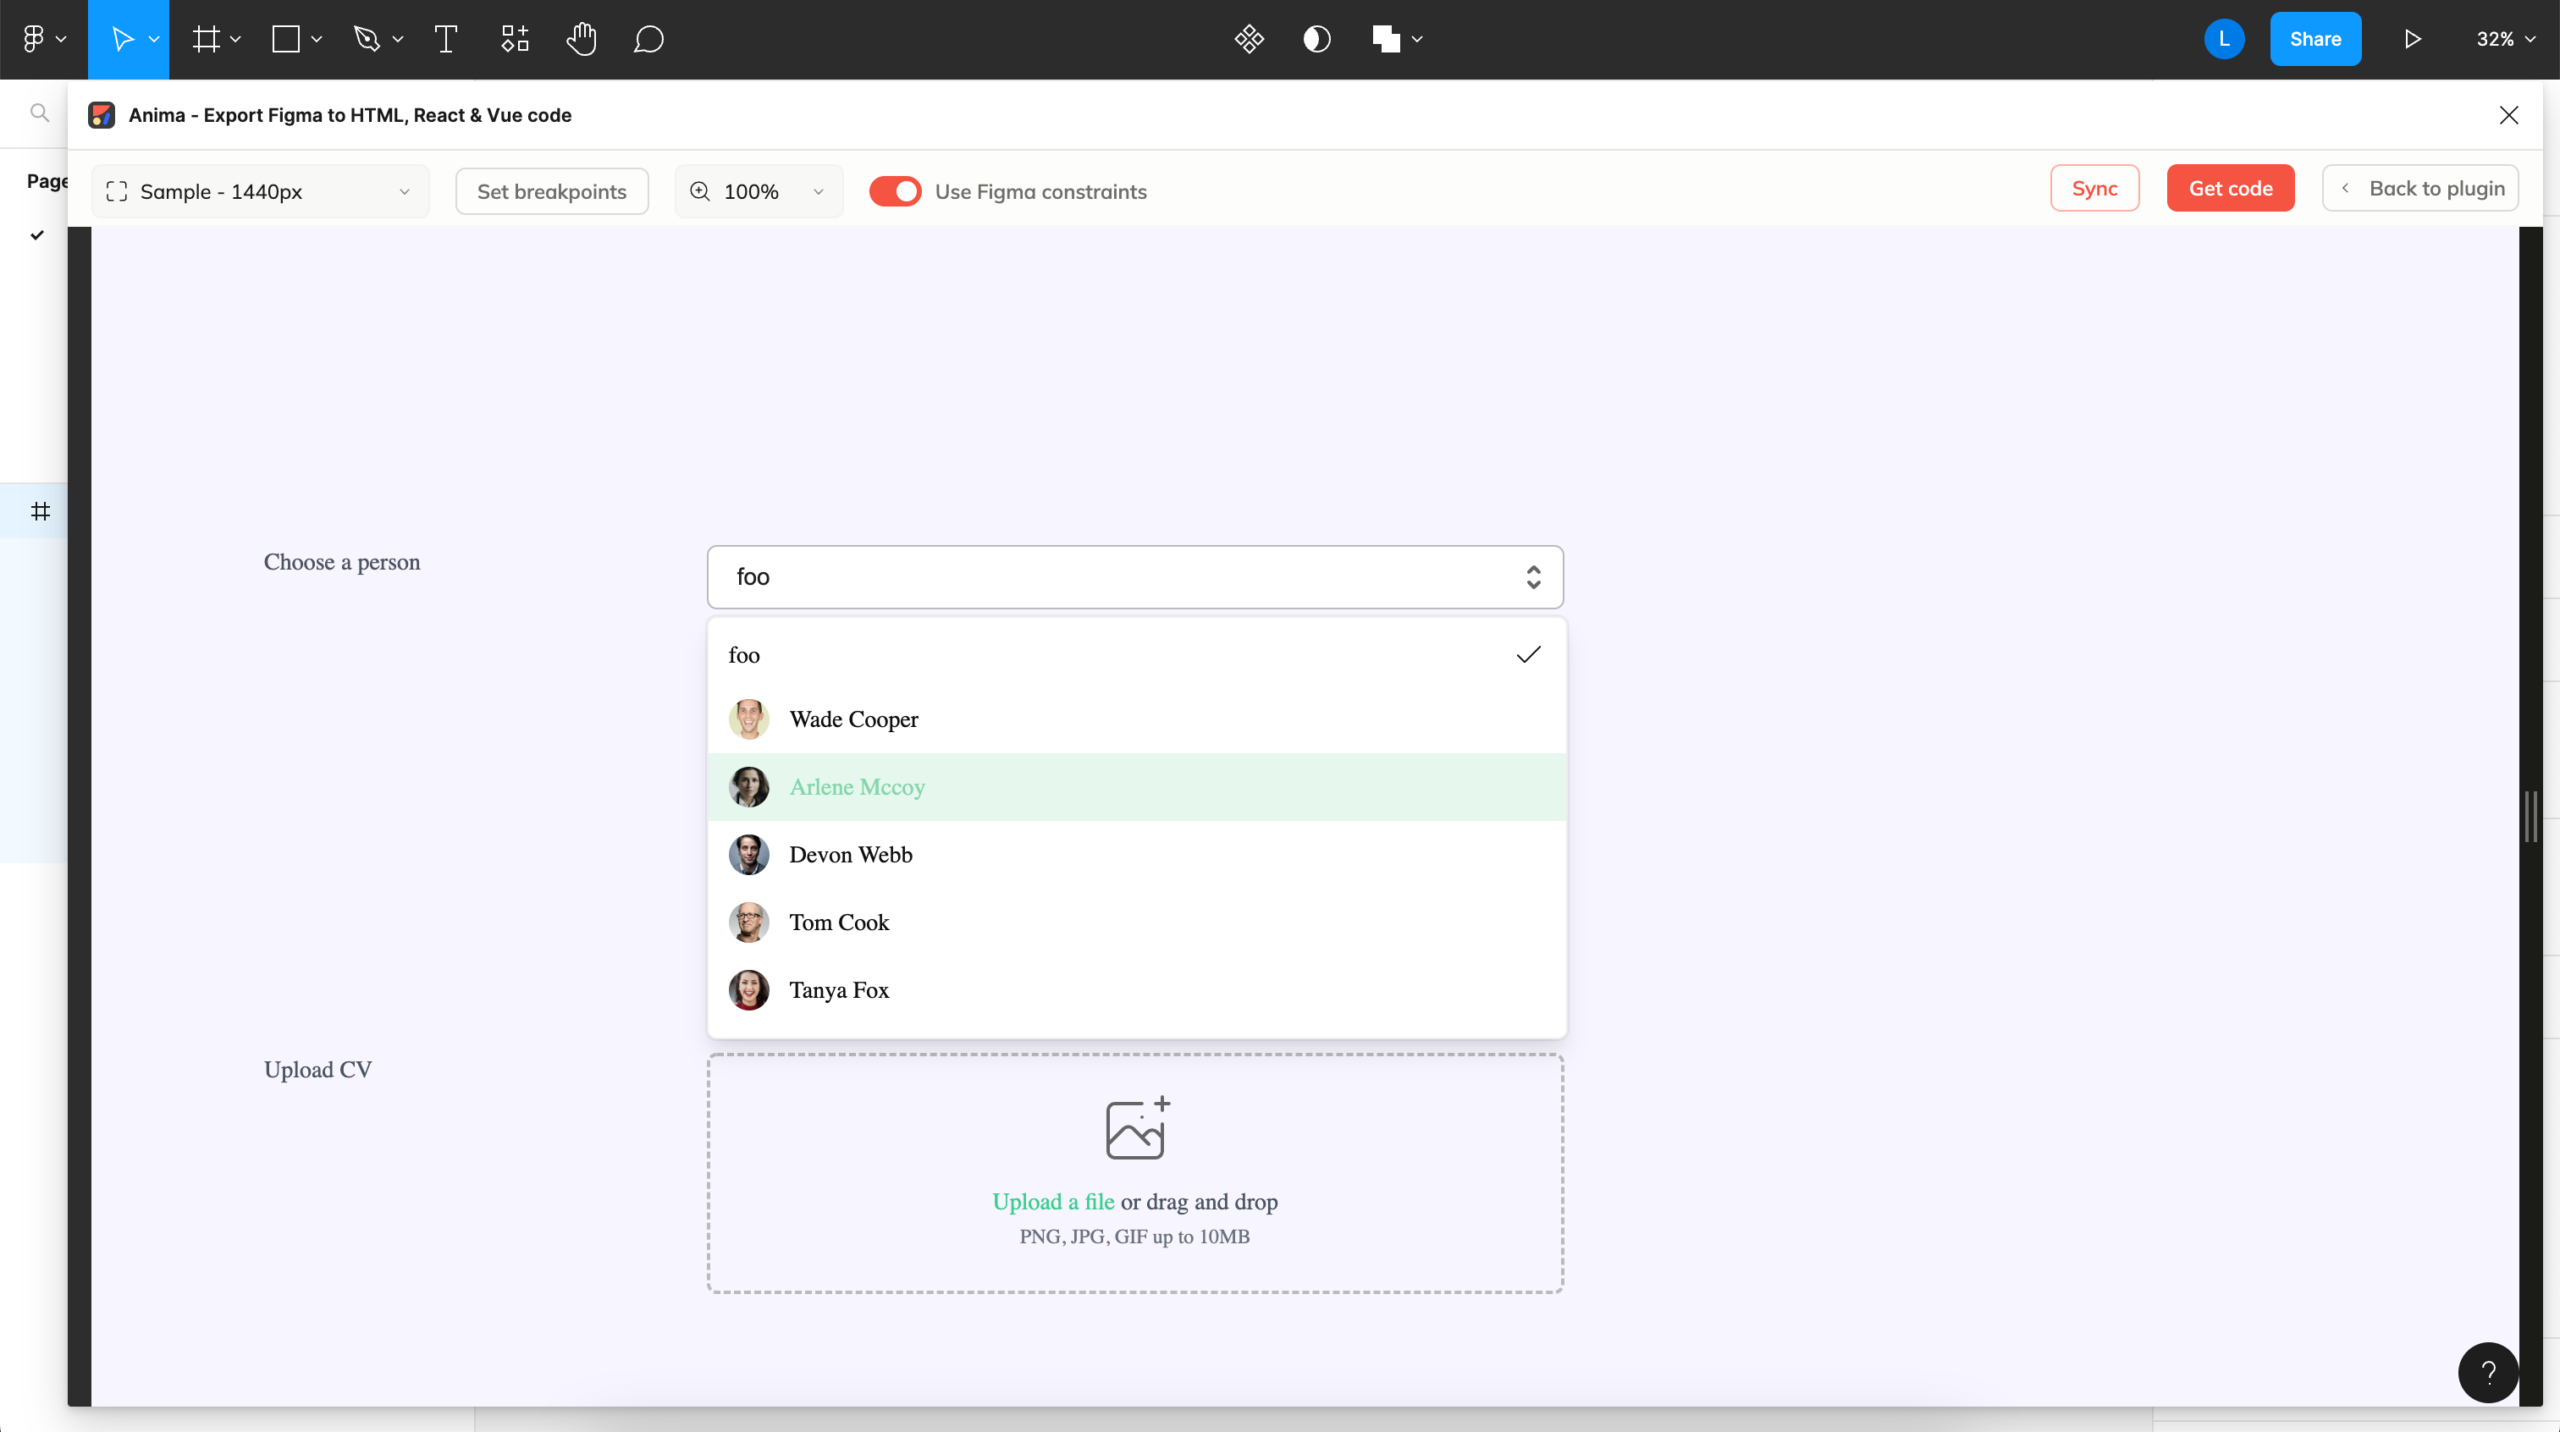
This dropdown menu rendered from Supabase's code is fully functional
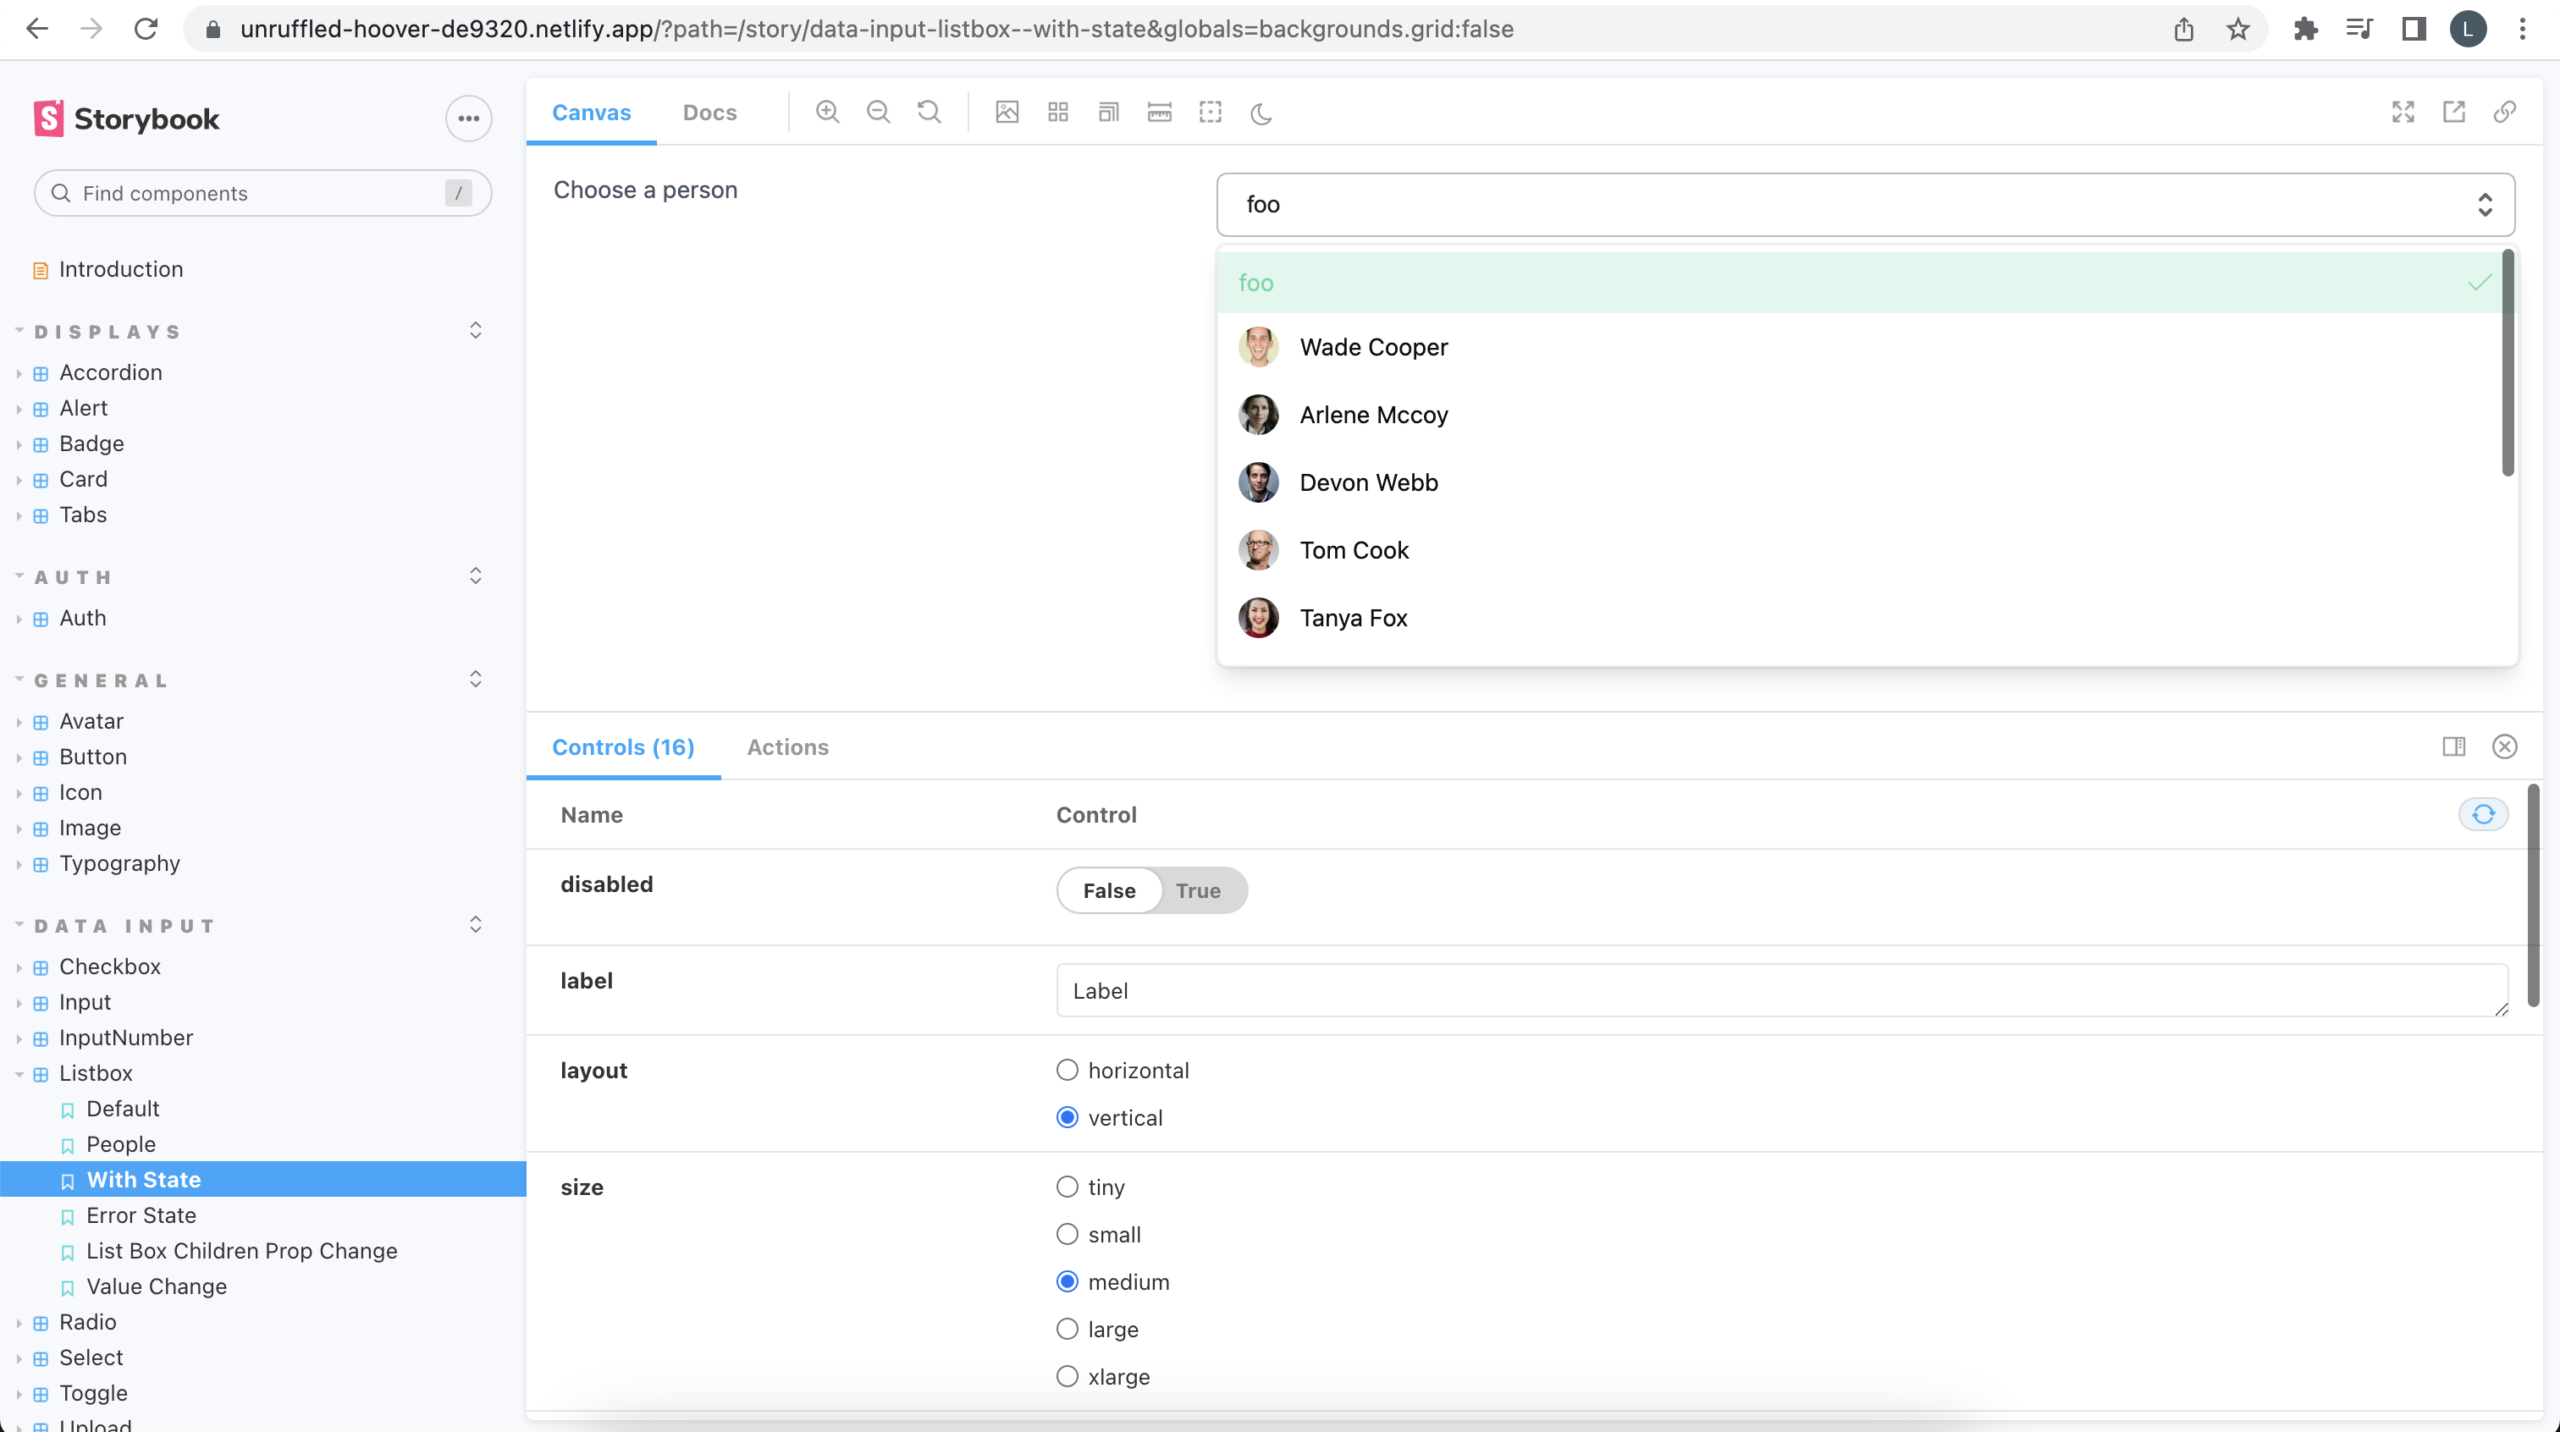
The component behavior in Storybook is precisely reproduced in Figma
If you want to change your design, all you need to do is exit the preview, make updates, and return to the preview again. You’ll see that all the changes are instantly reflected there.
Step 3. Share your interactive prototype
Once you’ve settled on your design and confirmed that it’ll be accurately reflected in production, you can easily share your prototype by syncing it with Anima’s web app. First, click on the “sync” button at the bottom of the Anima Plugin:
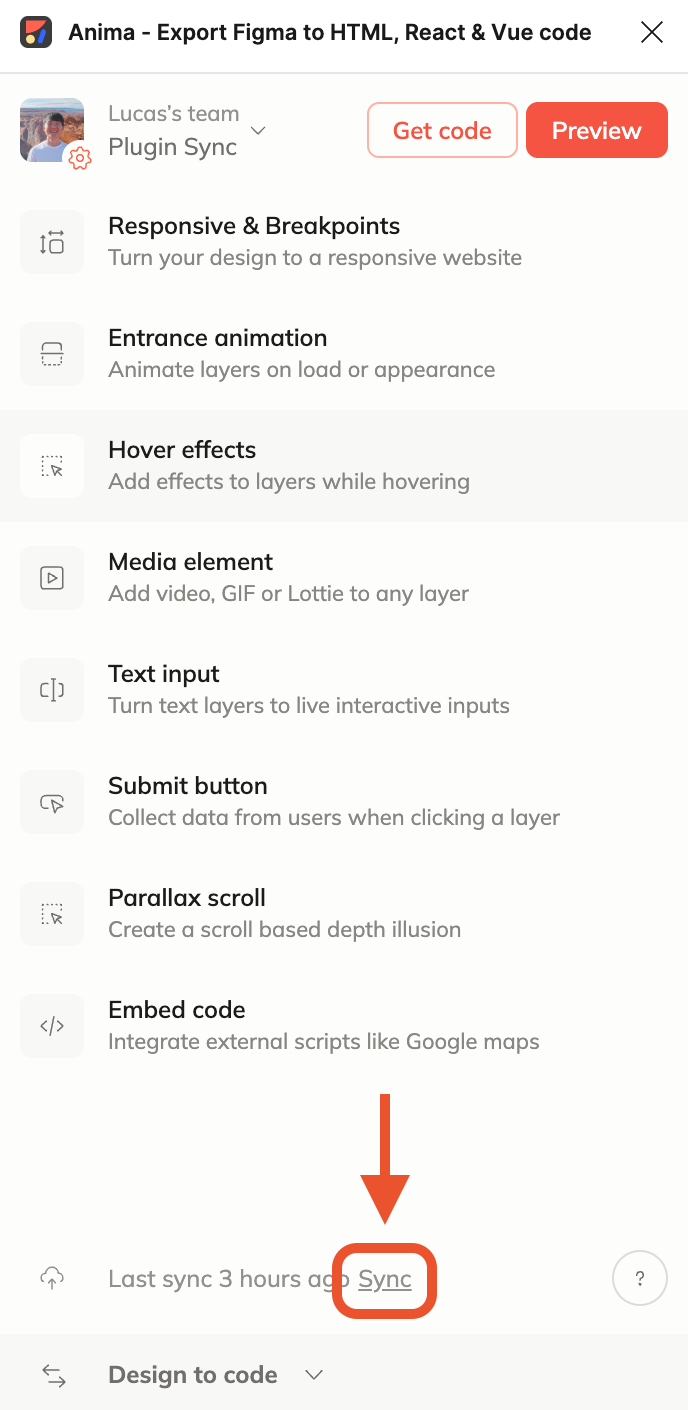
Syncing a Figma design to Anima's web app
You’ll be asked to choose a project to sync with. You can choose an existing project or create a new one to complete syncing.
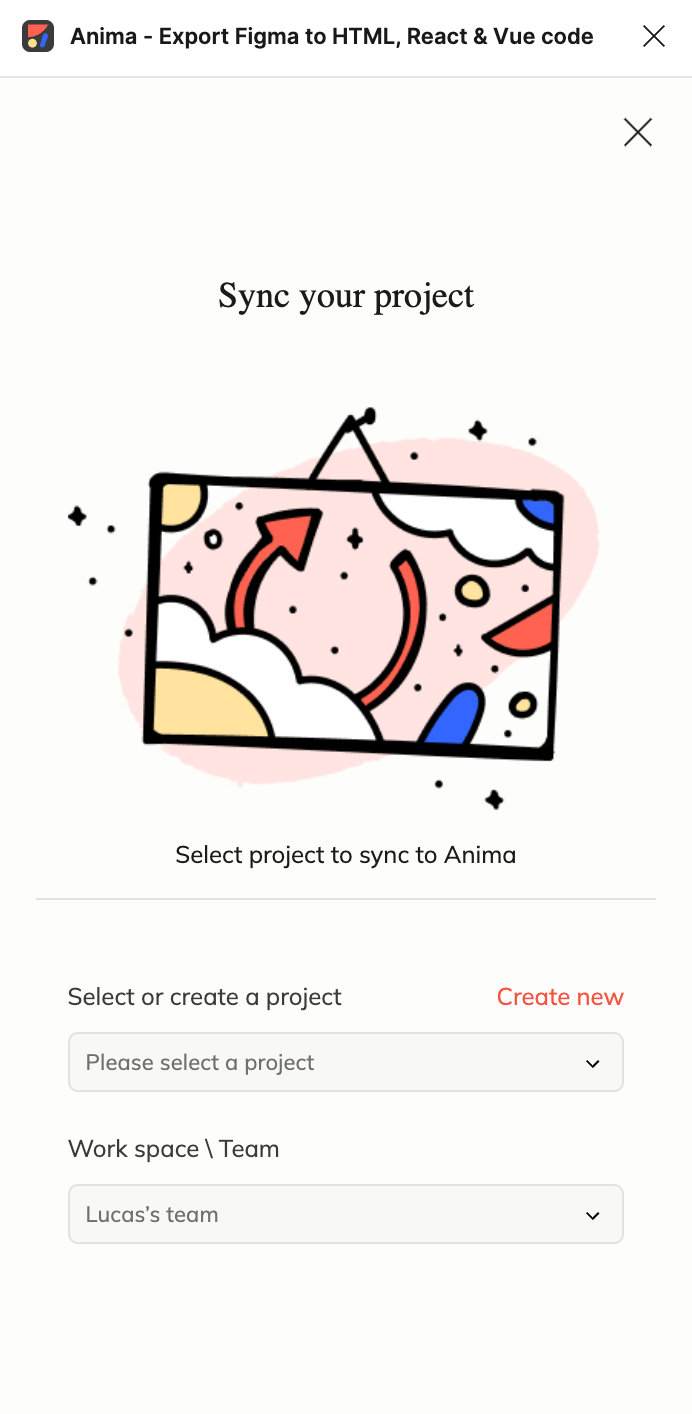
Setting up an Anima project from the plugin in Figma
When you open your project in Anima’s web app, you can see that all components are fully interactive, just like they were in the Figma preview. That’s because each component is rendered from Supabase’s actual code.
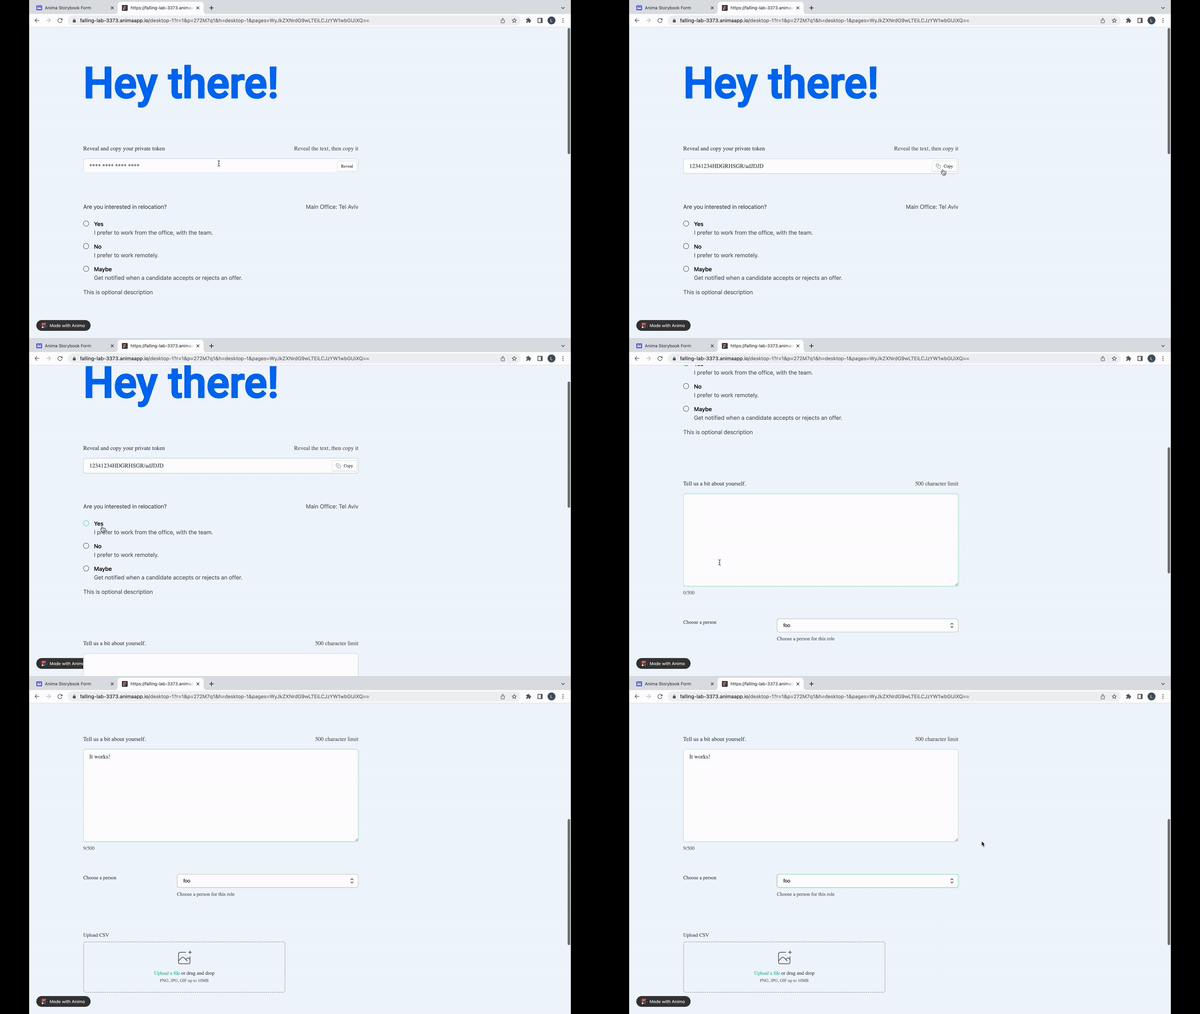
A live prototype built with Figma + Anima using code components from Supabase's Storybook
Finally, when you’re happy with your design, you can share a public link to your web-based prototype. Connect your own domain in a few simple steps, or use Anima’s generated sub-domain. Here’s the prototype link I created.
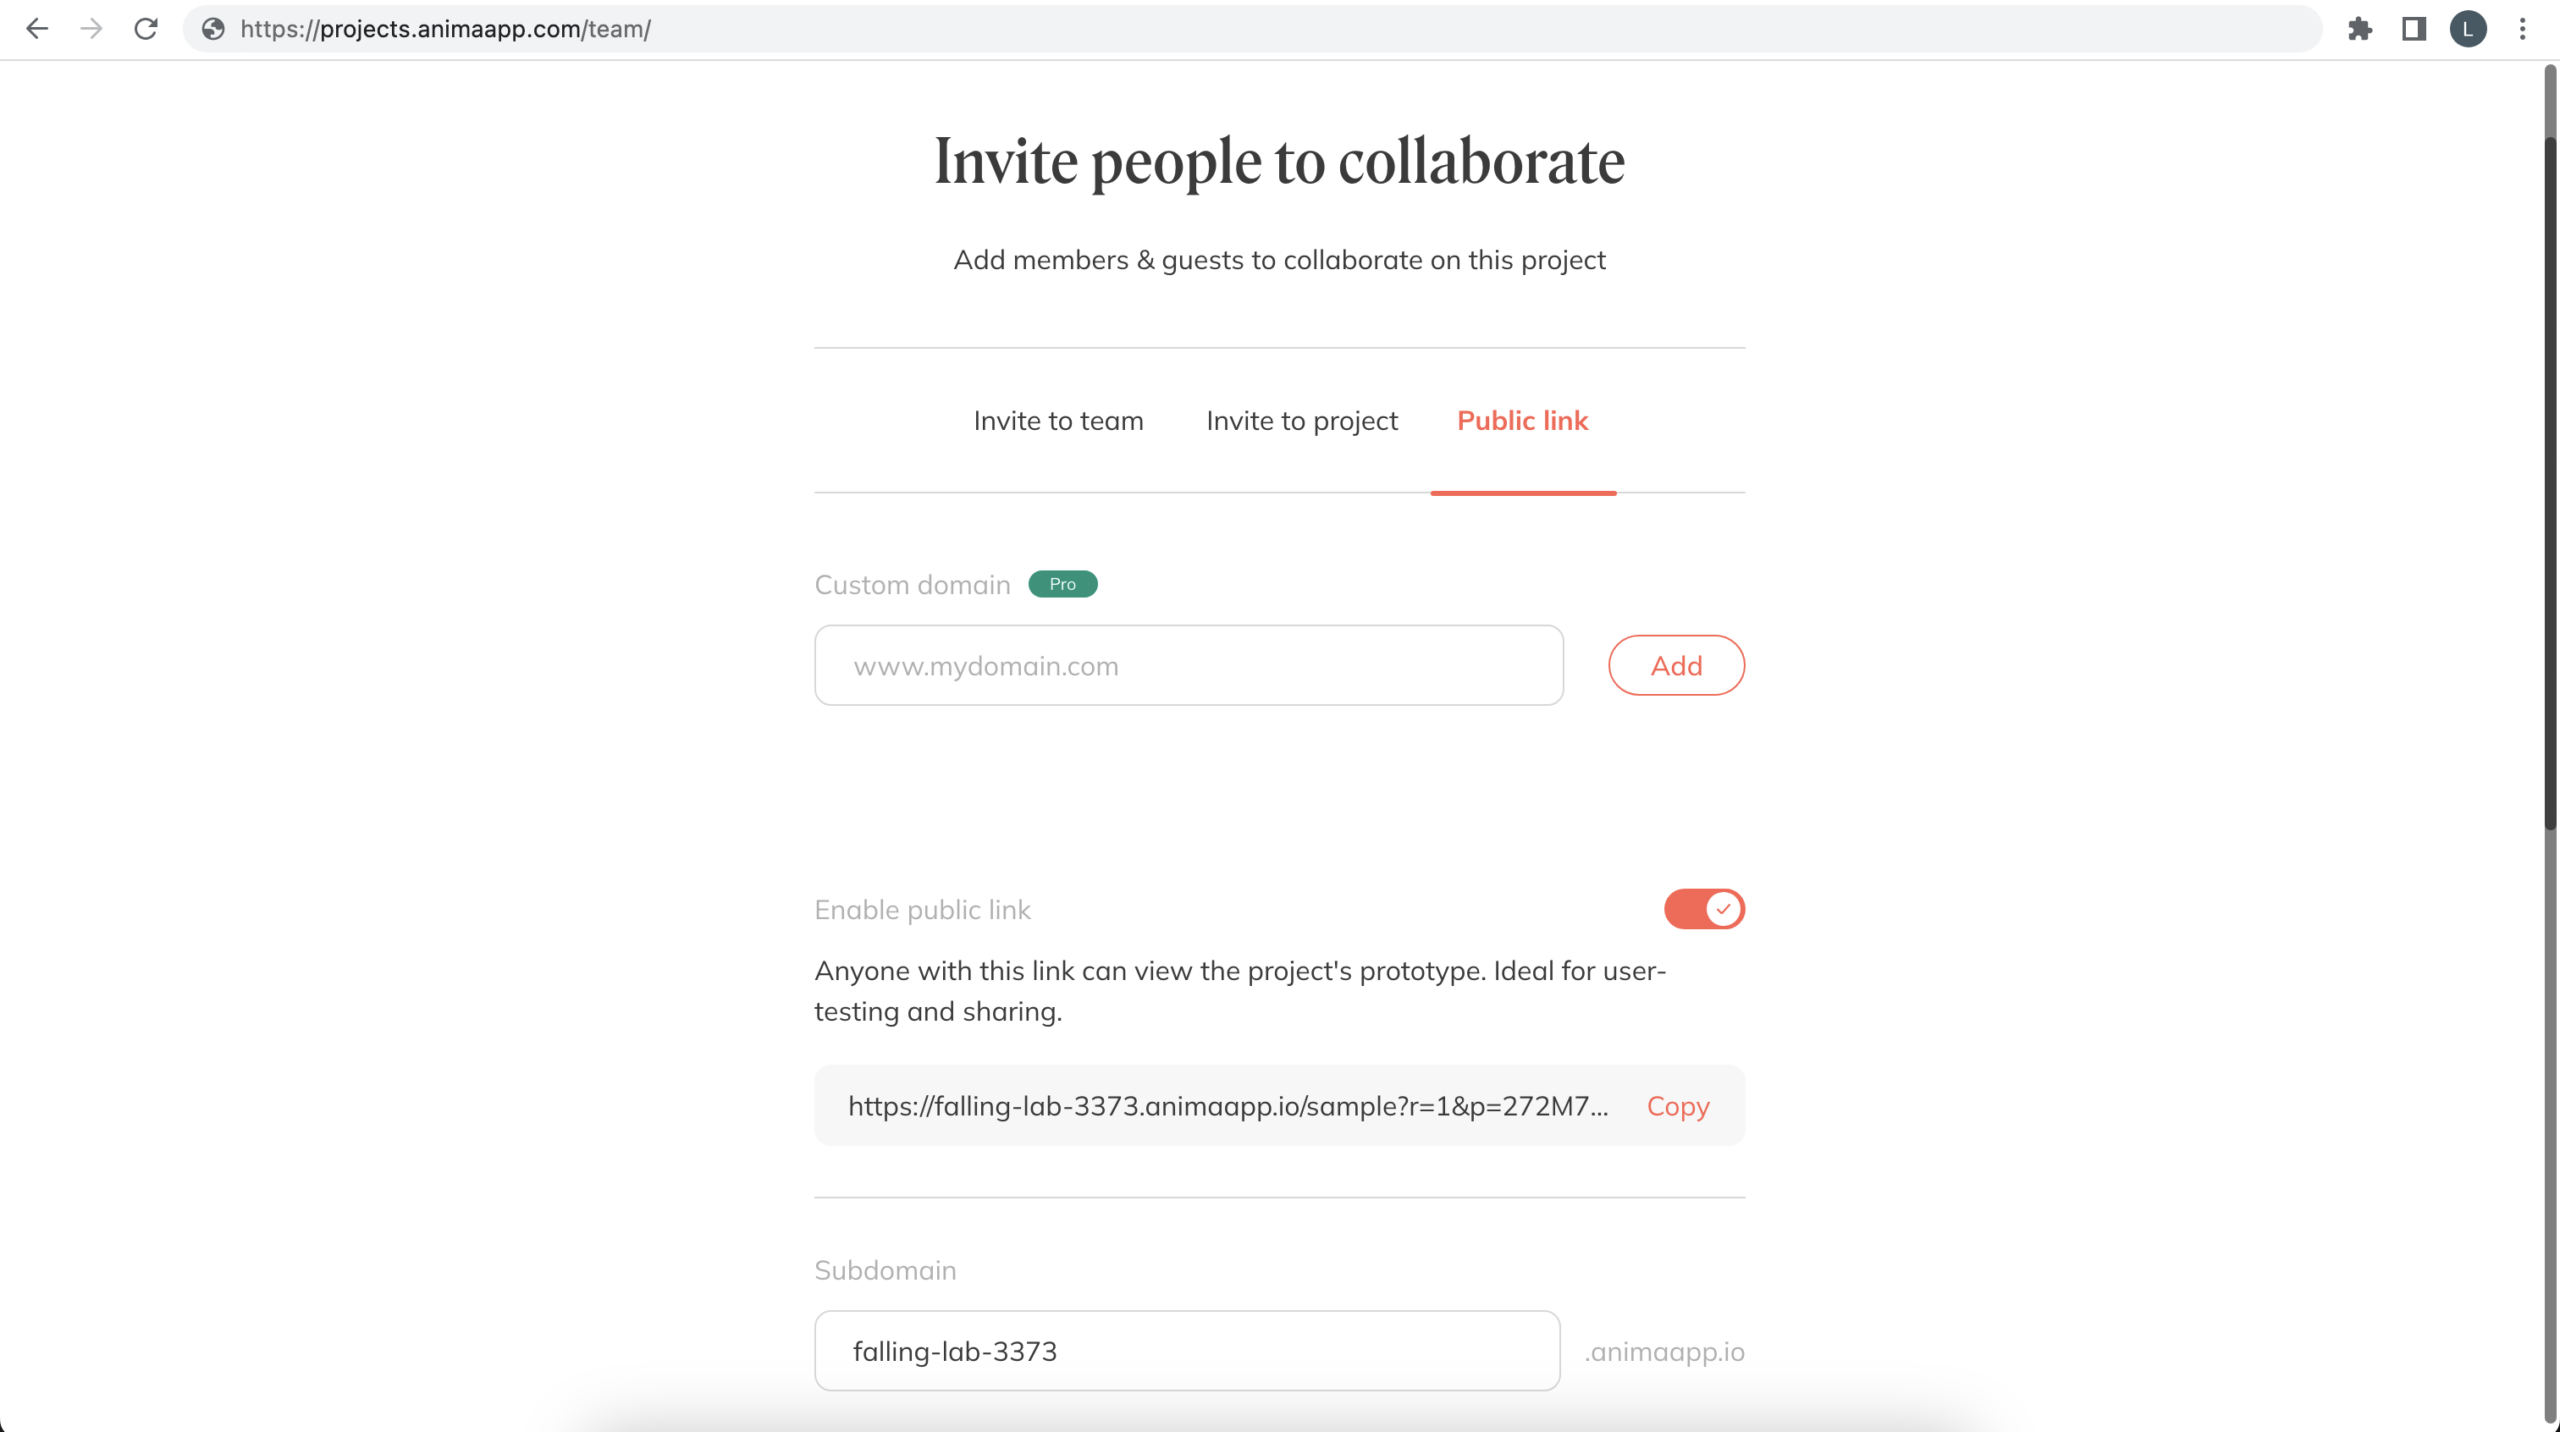
Anima makes it easy to share a live, public link to your prototype
Get better demos, more valuable user tests, and perfect fidelity from every prototype.
Try it now for free


 Figma
Figma Adobe XD
 Sketch
 Blog
Blog
